Easy Pear Tart with Puff Pastry
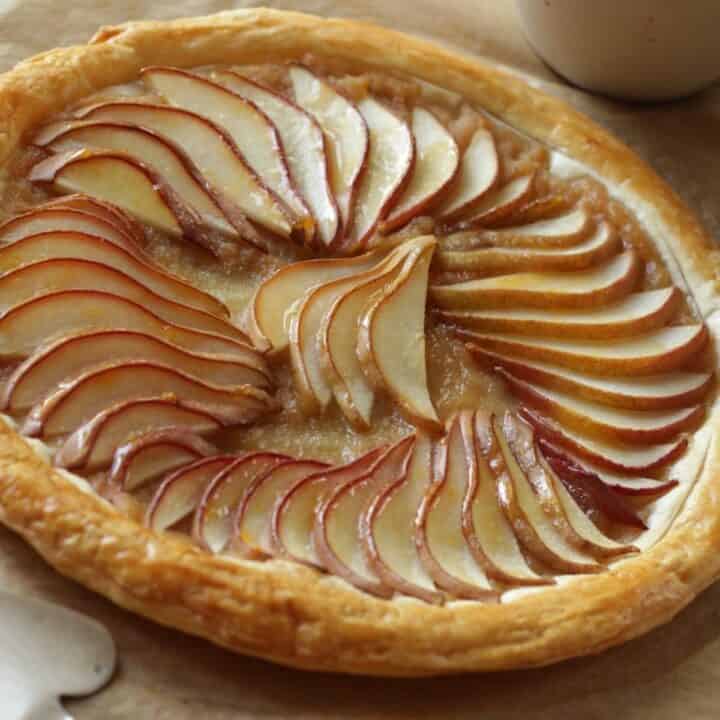
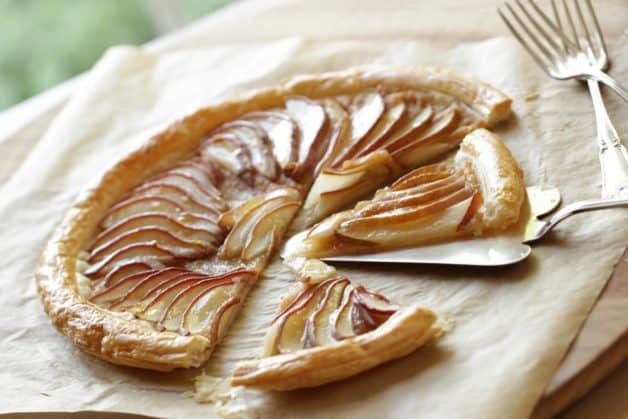
This easy pear tart with puff pastry is one of my favorite tart recipes. It’s perfect for Thanksgiving because it comes together in less than an hour and requires no fancy kitchen gadgetry!
It’s a simple, rustic tart that comes together quickly thanks to the help of some store-bought puff pastry, no homemade pie dough needed!
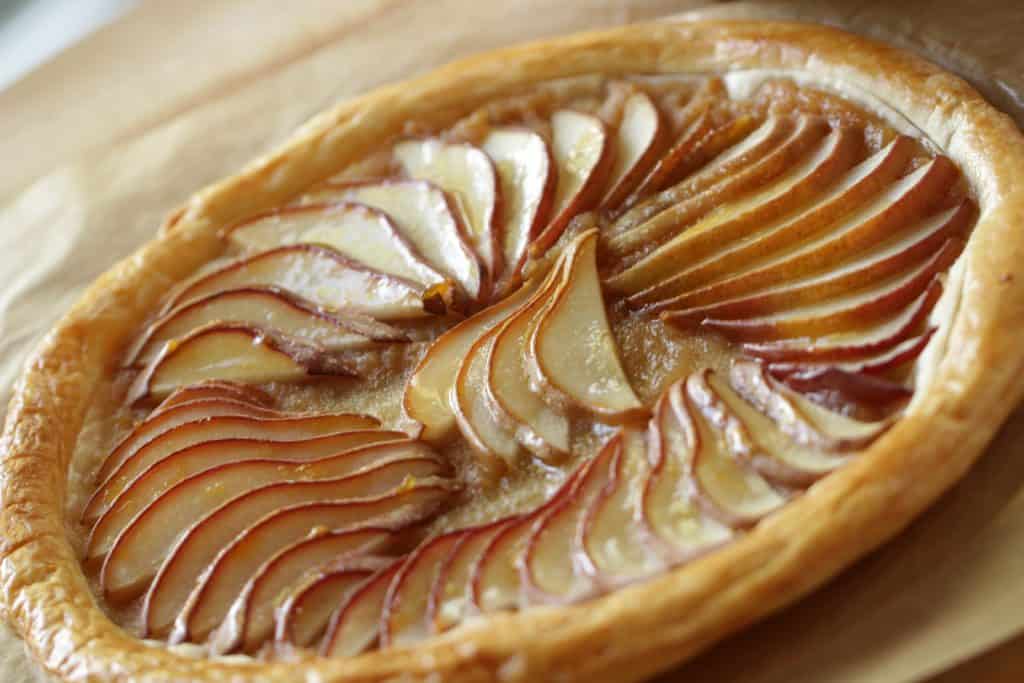
This tart gets its beauty from an easy-to-create escargot pattern, which is easier to make than you might think.
You can also create a similar effect with apples by following my French Apple Tart recipe; a real show-stopper if you want something different than the predictable American Apple Pie for Thanksgiving. Or try my Spiced Pear Cake for another fun, decorative, fruit design.
Watch My Video Demo on This Recipe
Subscribe to My YouTube Channel and never miss a video!
There comes a time during the Thanksgiving prep, that one must take a few shortcuts. Between the turkey and the side dishes not to mention getting the house in order, the thought of making homemade pie dough can make anyone unhinged, let’s face it we’ve all been there.
That’s why I love my easy pear tart recipe, it performs like a champ, gives you all the “look” of an impressive dessert without all the fuss. It’s simple and elegant and tastes divine!
How do you make a pear tart?
All it takes is some store-bought puffed pastry, applesauce, cinnamon, sugar, and 2 ripe pears, and in less than an hour, you will have this beautiful little number to present at your Thanksgiving table. People are always so impressed by this one, but not to worry the store-bought puff pastry and the arrangement of the pears does all the work for you.
This is why I love puff pastry recipes for the holidays! It can make even the simplest recipe look like a masterpiece. If you have any pastry leftover you might also enjoy making my Easier Sticky Buns, Mini Ham and Cheese Croissants of French Apple Pastries. These are also great choices for Christmas morning brunch!
Step#1: How To Roll Out The Dough
- Gently roll out the puff pastry on a floured surface. If you can find the store-bought puff pastry without any seams that will work the best.
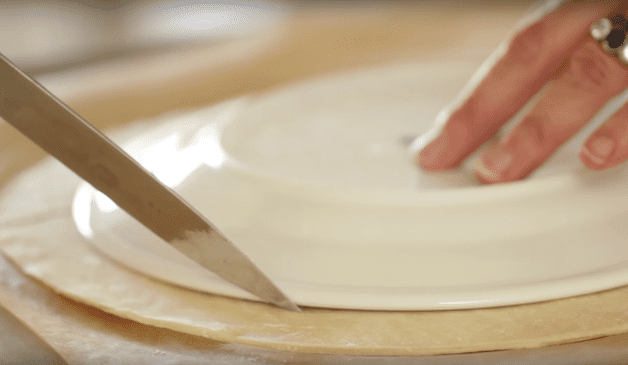
- I typically use Trader Joe’s Puff Pastry for this tart recipe. You’ll then cut out a large circle. A dinner plate works great for this. Just make sure to flour your plate so it doesn’t stick to the pastry.
Creating the Border
- Then gently score a 1-inch border inside the circle, with a smaller plate or freehand, this will create the crust once it bakes.
- Just be careful not to cut through the pastry, it should just be a gentle score.
- If you have leftover puff pastry sheets, you can use them for my Tarte au Soleil Appetizer recipe. Another easy recipe with a great “Wow” factor.
Decorate the Tart on The Baking Sheet
- Then place your pastry round on a slice of parchment paper on a flat baking sheet.
- This will help you add the filling and build the design without having to move it. It also helps your tart slide off without moving it, once it’s baked.
Step#2: Prepare the Tart Filling
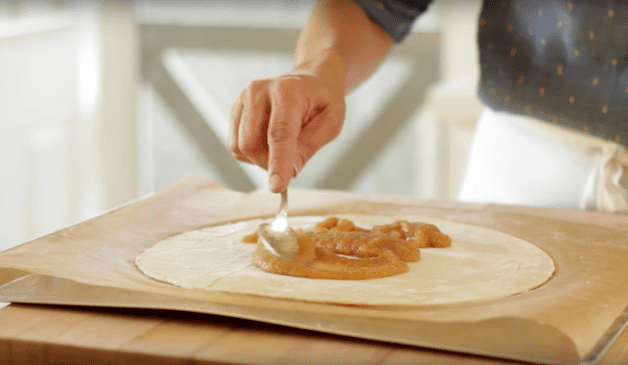
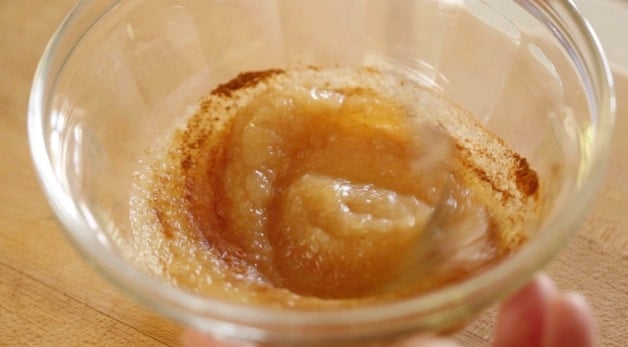
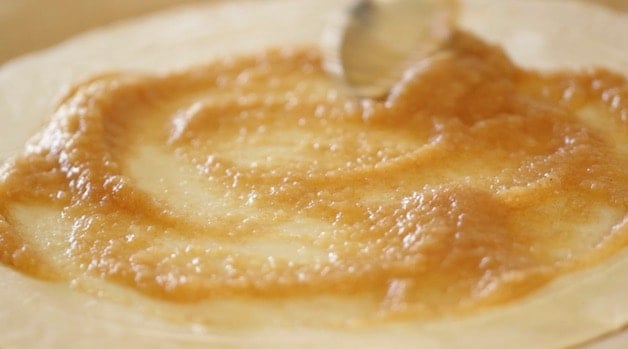
Then mix together some store-bought unsweetened apple sauce with ground cinnamon. Spoon a thin layer of apple sauce over the puff pastry, leaving the 1-inch border for the crust untouched.
What Type of Pears To Use?
- You can really use any pears you like such as Barlett Pears or Anjou Pears.
- I find these green pears are the most accessible and great for baking. I love to use them in my Spiced Pear Cake.
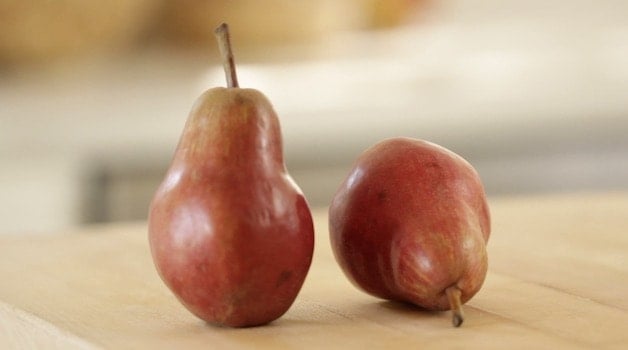
- But if you can find them, try and search out the red pears. I like to use red pears because I think they add a nice color to the tart once it is baked.
What Kind of Pears Are Red?
- Red Anjou
- Red Bartlett
- Starkrimson
- Comice Red Pears
- Forelle Pears turn red as they ripen
Being able to ask for the red pears by name is helpful if you wanted to call the store first to make sure they have them.
Can you use canned or jarred pears?
For this pear tart, I would not recommend jarred pears. They have too much moisture in them and will prevent your puff pastry from rising to its full puffy potential.
The best Pear Tart Recipe for canned or jarred pears is my Pear Almond Tart Recipe. That one is actually better with canned or jarred pears!
Step#4: Prepare the Pears
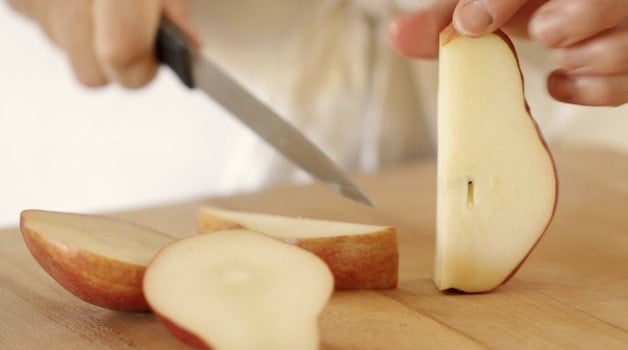
To prepare the pears, slice off each “hip” of the pear. This will leave you with a square core.
Slicing the Pears
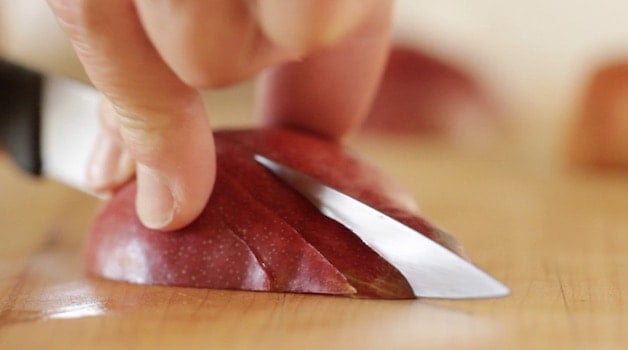
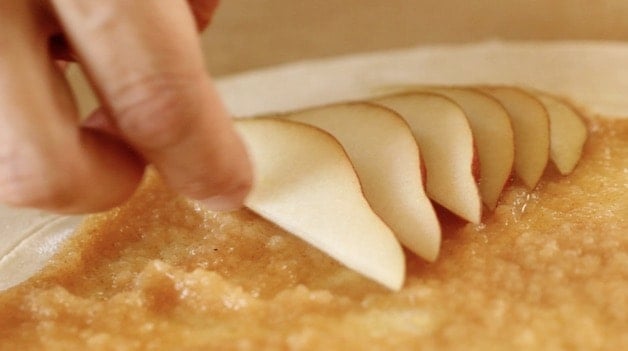
- Then slice each pear hip into 1/4″ slices and then place them on the tart in an overlapping pattern, keeping the size graduation the same.
- In order words, don’t place the slices “out-of-order” since the gradation in size adds to the beauty of the tart.
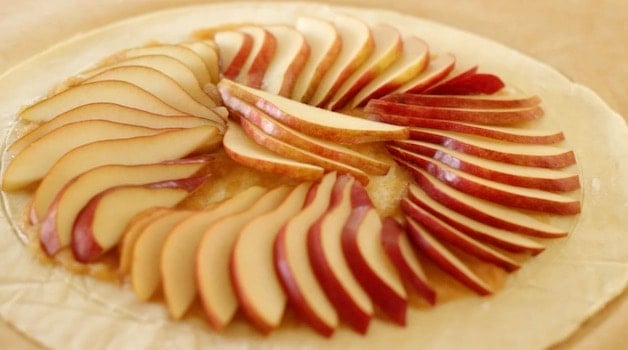
Now comes the fun part. Arrange your overlapping pears in an “escargot” pattern. This is where keeping the pear slices in the same order will pay off.
You’ll have 4-5 quadrants of design depending upon the size of your pears, and then I like to add a few in the center as well.
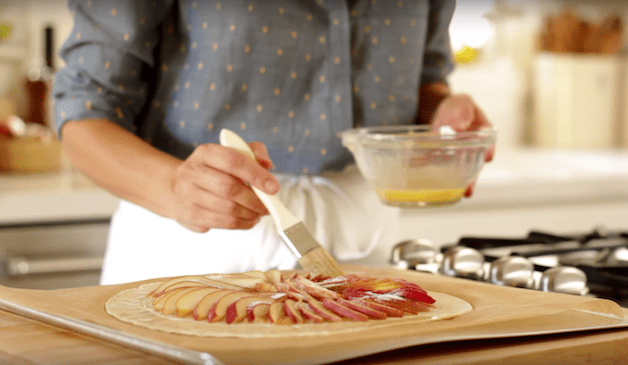
Then sprinkle the top of the pears with sugar and brush the top of the puff pastry crust with egg wash.
How Long Should You Bake Your Tart?
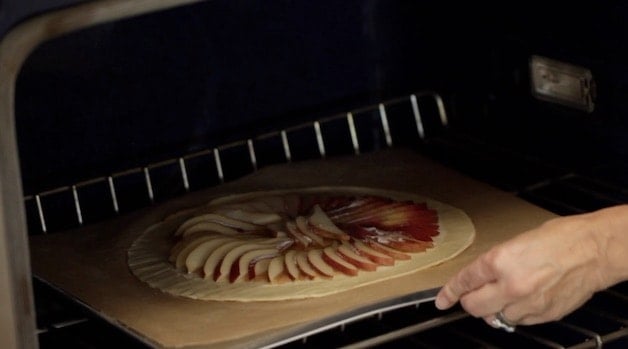
You’ll bake your tart at 400F for 30-35 minutes. The oven needs to be at least at 400F for the puff pastry to puff up, and this also helps the pears become nice and tender too.
Creating a Nice Shine
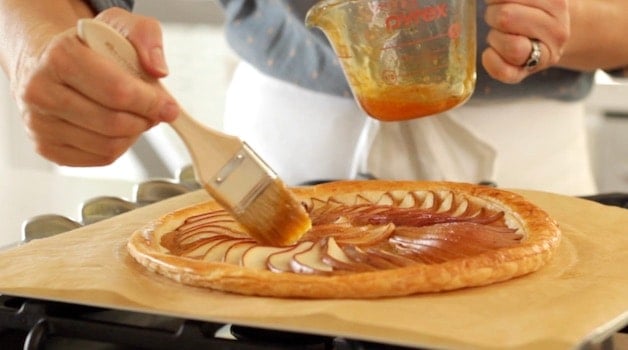
- Once your tart is fully baked and cooled, brush some heated apple jelly on the pears and tart crust.
- This will keep your pears from drying out, and create a wonderful pretty shine to your tart as well.
Serving the Tart
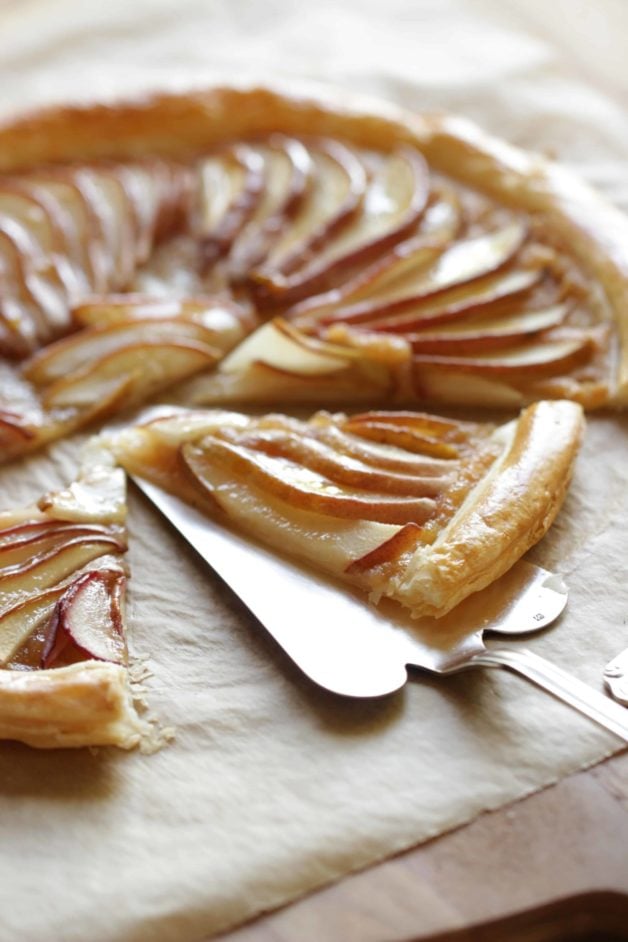
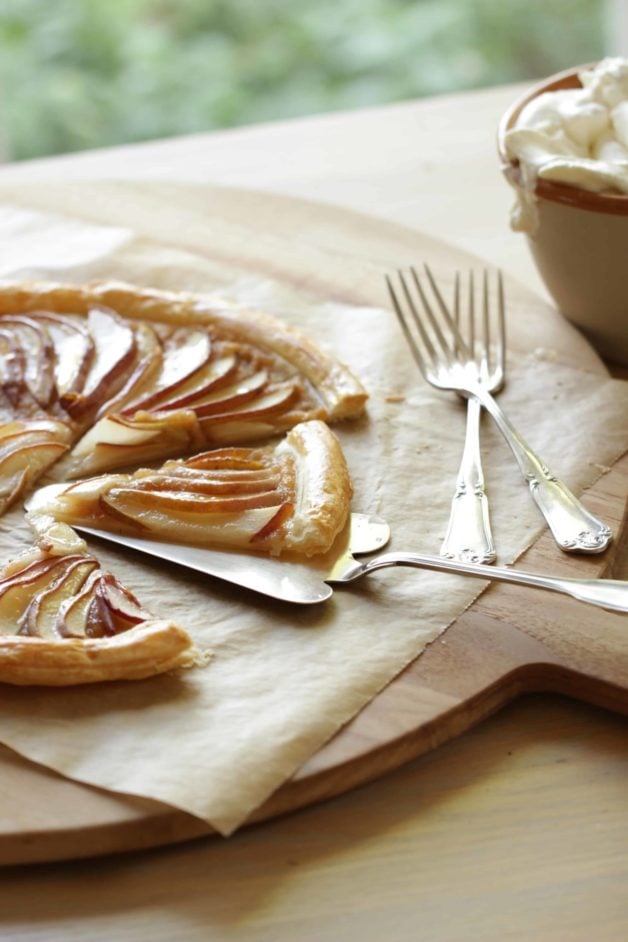
I like to serve this tart right on the parchment paper on a big cheese board. It helps to get the pre-cut parchment sheets. Not only will it look better, but having them pre-cut is so much easier too!
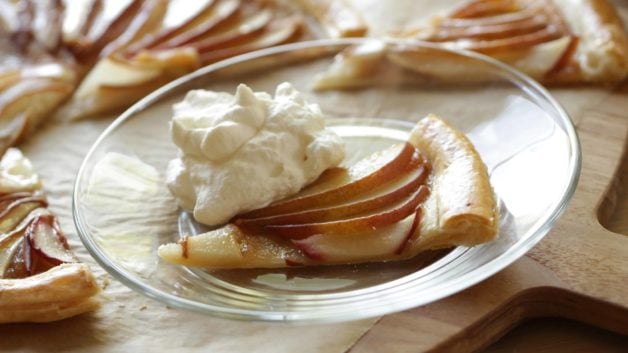
There’s something so rustic, yet refined about this type of presentation. It’s also really easy to serve this way too because you can cut right on the board. I even pop the whipped cream on the board as well for an easy “dessert” station.
Can you make this tart ahead of time?
Yes, you could absolutely make this tart ahead of time. Refrigerate once cooled and then pop in a 300F oven to warm through and crisp up the puff pastry. Then brush with the apple jelly.
More Tart Recipes:
Please let me know if you make this Recipe
by leaving a rating and review below.
Easy Pear Tart with Puffed Pastry
Easy pear tart recipe that is a great Thanksgiving Dessert Idea. It comes together in less than an hour and requires no kitchen gadgetry!
Ingredients
FOR PEAR TART
- 1 round store-bought puff pastry sheet
- 1/2 cup (120 ml) unsweetened apple sauce
- ¼ tsp (1.25ml) cinnamon
- 2 ripe red pears
- 1 tbsp (15 ml) sugar
- 2 tbsp (30 ml) apple jelly, heated in microwave to become liquefied (:30)
- 1 egg
- powdered sugar for garnish
FOR WHIPPED CREAM:
- 2 cups (480 ml) heavy cream or heavy whipping cream
- 2 tbsp (30 ml) powdered sugar
- 1 tsp (5 ml) vanilla extract
Instructions
- Preheat oven to 400F (200C).
- Roll out puff pastry on a rimless cookie sheet lined with pre-cut brown parchment paper. Place a plate that has been floured on top of the pastry that is at least 1-2 inches smaller than the pastry round.
- Score around the perimeter of the plate to create at least a 1-2” “crust”. Mix the apple sauce and cinnamon. Spoon this mixture across the center circle creating a base for your tart. Do not go into the crust area.
- Slice off all sides of the pears, avoiding the core, in 1 slice motions. You will have 2 large sides (the hips of the pear) and 2 smaller sides, and you will be left with the rectangular core.
- Put the hip cut pears flat side down and slice very thin, 1/8” thick slices. Keep the sliced order and arrange the pear slices exactly as they are creating an escargot pattern around the tart.
- The reserve the smaller pear cuts to create a splayed pear fan for the center. Do this by slicing the pear ¼” from the top of the pear, leaving the top intact so that you can create a fan-side cut. Place that in the center and fill in your overall design with any other of the pear slices.
- Sprinkle the sugar atop all the pear. Then beat 1 egg well in a small bowl and with a pastry brush only the crust very lightly with the egg wash, being careful not to get the egg in to the score cut or your pastry won’t puff up.
- Bake for 30-35 mins until pastry are golden brown and puffed up.
- Allow to cool slightly, and then brush the pears with the apple jelly for a nice shiny finish.
- For whipped cream combine all ingredients in a bowl and whisk vigorously for 10-15 mins with a wire whisk until soft peaks form, or whip with an electric mixer.
- Transfer paper and tart in one motion to a round cutting board/cheese board.
- Slice into wedges and serve with homemade whipped cream. Enjoy!
Notes
If you pastry gets to warm while arranging the pears pop it in the fridge , tray and all, for 30 mins or the freezer for 15 mins. That way when it hits the hot oven it will puff up properly.
Nutrition Information:
Yield: 8 Serving Size: 1Amount Per Serving: Calories: 173Total Fat: 6gSaturated Fat: 3gTrans Fat: 0gUnsaturated Fat: 3gCholesterol: 36mgSodium: 23mgCarbohydrates: 30gFiber: 2gSugar: 24gProtein: 2g


Where can you purchase round puff pastry? My local stores only carry puff pastry sheets (Athens and Pepperidge Farms)?
Ah OK well if you can find Jus-Rol Puff Pastry that brand is round. Here is their store locator that could tell you where to get it in your area. They store it in the refrigerated section though, not the freezer section, so be sure to look there if you find it 🙂
Can I cheat and use store bought crust? If so, can you recommend a brand? I simply do not have the energy (going through chemo) to make a homemade crust.
Oh yes of course! This recipe is for a store-bought puff pastry crust. I really like the Dufour Brand of Puff Pastry or Jus-Roll. Both are great. I’m so sorry to hear about the chemo. Sending healing energy your way!
This recipe is easy, elegant and sooo delicious! This is Only the second recipe I’ve tried of yours and like the first, it’s a winner. Thanks!
YAY! I’m so glad Marie! So glad it was a hit! 🙂
Tried this with some fresh rosemary and sprinkles of blue cheese and it was astounding
Oh that sounds fantastic! I’m so glad it was a hit! 🙂
Can I use green pears?
Of course! You really can use any pear you like. Hope you enjoy!
I want to start by stating I burn eggs, seriously! I wanted to try my hand at something new and so I chose this pear tart.
WOW !
It was so easy and fun to prepare. It looks incredibly beautiful, like a professional baker prepared it. I cant stop looking at it. 🙂 I will definitely be bringing this to a post Covid-19 event to spread some tasty cheer. Until then, I will enjoy perfecting it and eating myself.
Thank you!!!!!
Could you use apples instead of pears?
Oh sure no problem you could do that too. Just slice the apples thinly since they are a harder fruit than the pear and that way they’ll be done when the pastry is done. Hope you enjoy!
Could you recommend a substitution for apple jelly?
Oh sure my second choice would be Apricot jelly. It too has a nice golden color to it. Hope you enjoy it!
Can you freeze these tarts?
Hmmm I’m not sure the pears would do well frozen, they way they are exposed? But you certainly could try and see what you think? These apple pastries freeze beautifully! Pop right in the oven, no need to thaw first! Hope you enjoy!
This was delicious!!! I’ve never worked with puff pastry before. I couldn’t believe how easy it was. So simple, but so delicious! I have another one in the oven now. Thank you!
I made this last night, practiced on my family first before making for company. It wasn’t as pretty as yours but was very tasty and everyone enjoyed it. It is a very light and easy dessert. Since I have a leftover sheet of puff, I’ll practice your pastry with pesto. The videos are very helpful.
I made it! Not perfect, but delicious nonetheless. Had to improvise, and used pear sauce instead of applesauce. You see, I have a pair tree in the backyard, and have been experimenting with canning, jam, sauce. Nothing has turned out so far, except for this. Cannot wait to perfect it. For now, we will just enjoy this messy tart. Thank you so much
Ha! Oh that’s OK as long as it tastes good is all that matters 🙂 Hope you enjoy!!
Can I make this a day ahead?
Sure you could do that, and then pop in a 300F oven for 15 mins to crisp back up. Since puff pastry needs to be really fresh to retain its crispness 🙂 Hope you enjoy!
thank you for your reply
Thank you Beth! Im so happy I tried this recipe. Delicious!
YAY! So glad to hear it was a hit! And so easy right?! That’s the best part! Ha! 🙂