Nutella Ice Cream with and without a Machine
This Nutella Ice Cream is one fantastic summertime treat! No Ice Cream Machine? No Problem! I’ll show you three ways to make this ice cream recipe with and without a machine!
Nutella is delicious all on its own, but turn it into ice cream and the results are sublime! Kick the whole experience up another notch and serve it with my Homemade Waffle Cone Recipe. Or use this ice cream for ice cream sandwiches with my Peanut Butter Cookies or my Chewy Brown Butter Chocolate Chip Cookies.
What’s The Difference Between Recipes?
Each recipe has its pros and cons. The differences essentially boil down to; density, richness, sweetness and lightness. It’s funny how even when using the exact same ingredients, a different texture and flavor can be achieved by using a different method.
Watch My Video Demo of This Recipe Below!
Option#1: No-Churn. No Egg Nutella Ice Cream
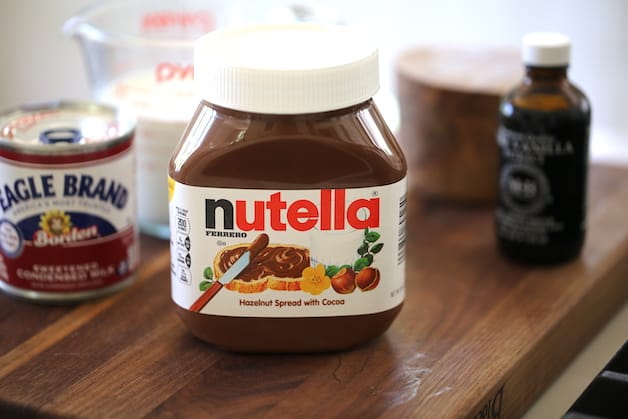
- This version of Nutella Ice Cream is certainly the easiest! It only takes 5 ingredients and requires just a bowl, a whisk, and a freezer-safe container. Place everything in a bowl and mix! Seriously, that’s all there is to it!
- It’s also a great egg-free dessert that is full of chocolate flavor! For another great egg-free dessert idea that is even quicker, try my Egg-Free Chocolate Mousse Recipe.
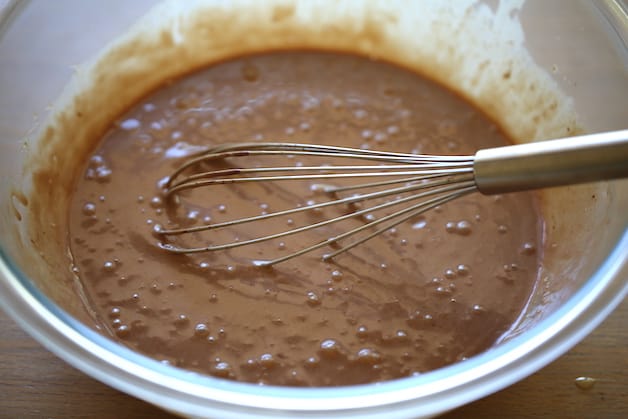
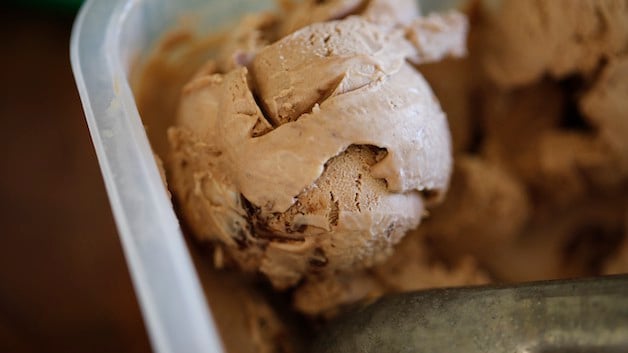
The mixture will look like this. Chocolatey and runny. Like a big batch of chocolate milk. Place it in a freezer-safe container overnight. Use up your leftover Nutella in my Homemade Crepe Recipe or my wonderful Chocolate Hazelnut Linzer Cookie Recipe. And the next day…presto! Nutella Ice Cream. It’s super-rich, dense, and full of chocolate hazelnut flavor.
The Bowl and The Whisk Method:
The Pros:
- It couldn’t be quicker or easier
- It requires no mixers, machines or gadgets
- It’s definitely decadent and delicious
The Cons:
- It’s very dense. It doesn’t have any of the lightness of traditional ice cream
- Hard to scoop and get your spoon through it
- It’s a tad on the sweet side for my taste. Without any aeration, the sweetness cannot be masked
- Probably couldn’t eat a whole bowl of it
GRADE: B-
BOTTOM LINE: If you want one step up from a spoonful of Nutella out of the jar and have a craving for ice cream. This is not a bad fix!
Option#2: The Kitchen Aid Mixer Method
This method uses the same exact ingredients as the first method, but there’s one key difference. The heavy cream is whipped first into stiff peaks. This helps the finished ice cream become so much lighter, creamier, and strangely less rich?
Whipping the Cream
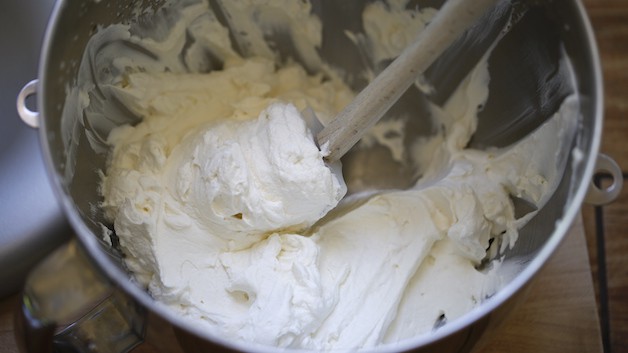
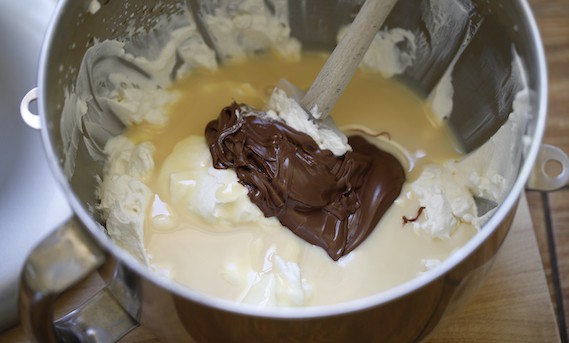
- It’s important to whip the cream into stiff peaks before adding the rest of the ingredients.
- Because the sweetened condensed milk and Nutella are very heavy and sticky.
- Without the stiff peaks, if you add the sticky ingredients and try to combine, your mixture will fall and won’t achieve the lightness you are after!
After adding the condensed milk and Nutella just whip until combined. Don’t over-mix or your peaks will fall. It’s better once they are combined, to remove the bowl and gently fold the mixture to assure all the ingredients are incorporated.
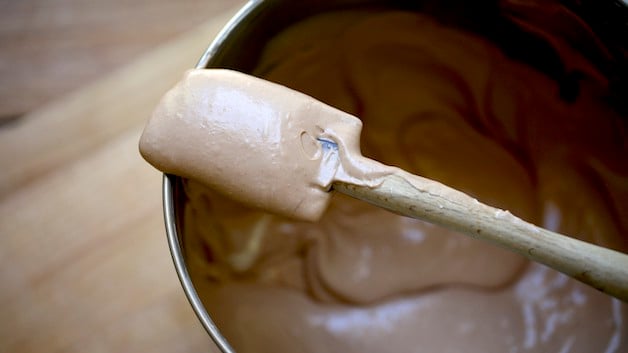
The mixture will be so much lighter and look like the batter of a Chocolate Souffle or Flourless Chocolate Cake. Then transfer it into a freezer-safe container and freeze overnight.
The Results?
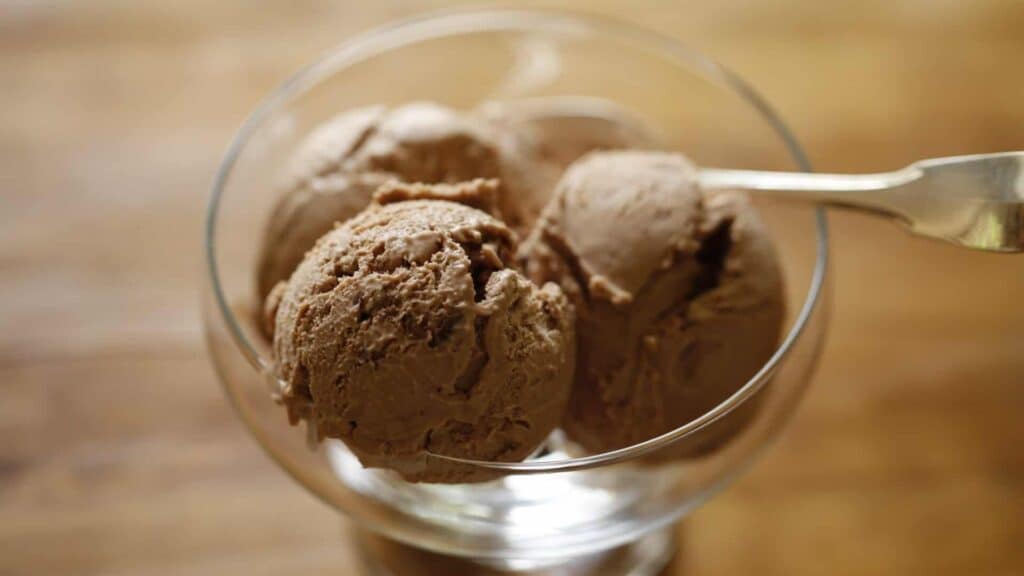
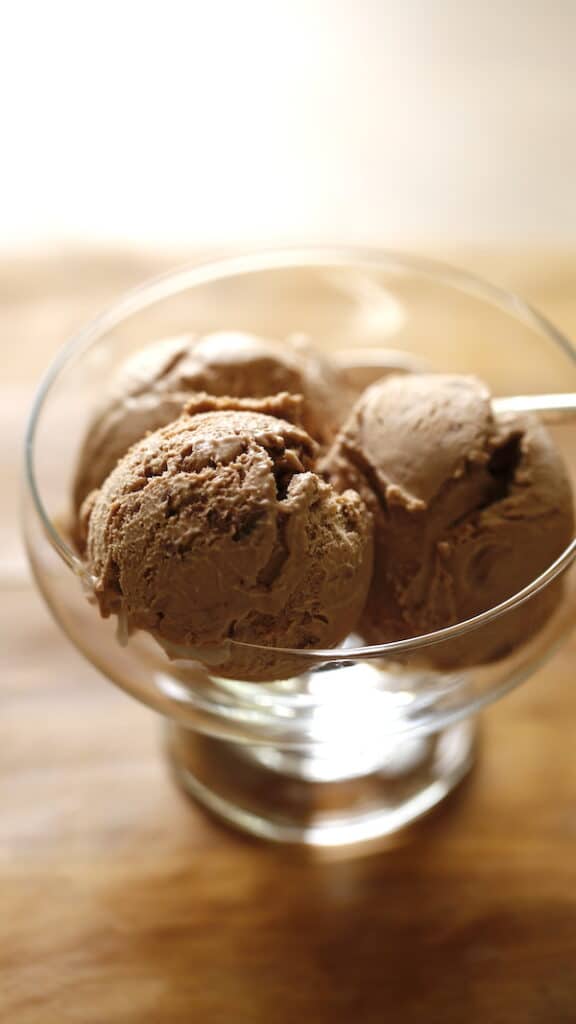
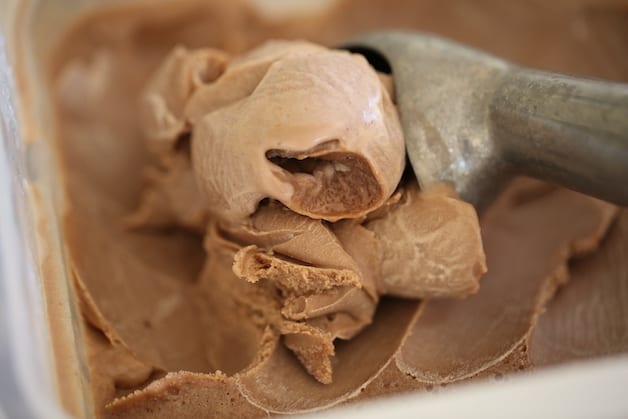
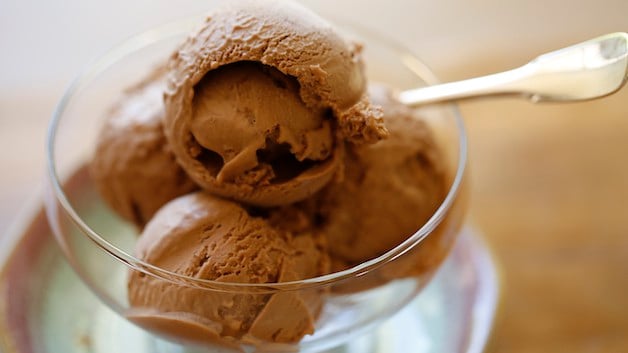
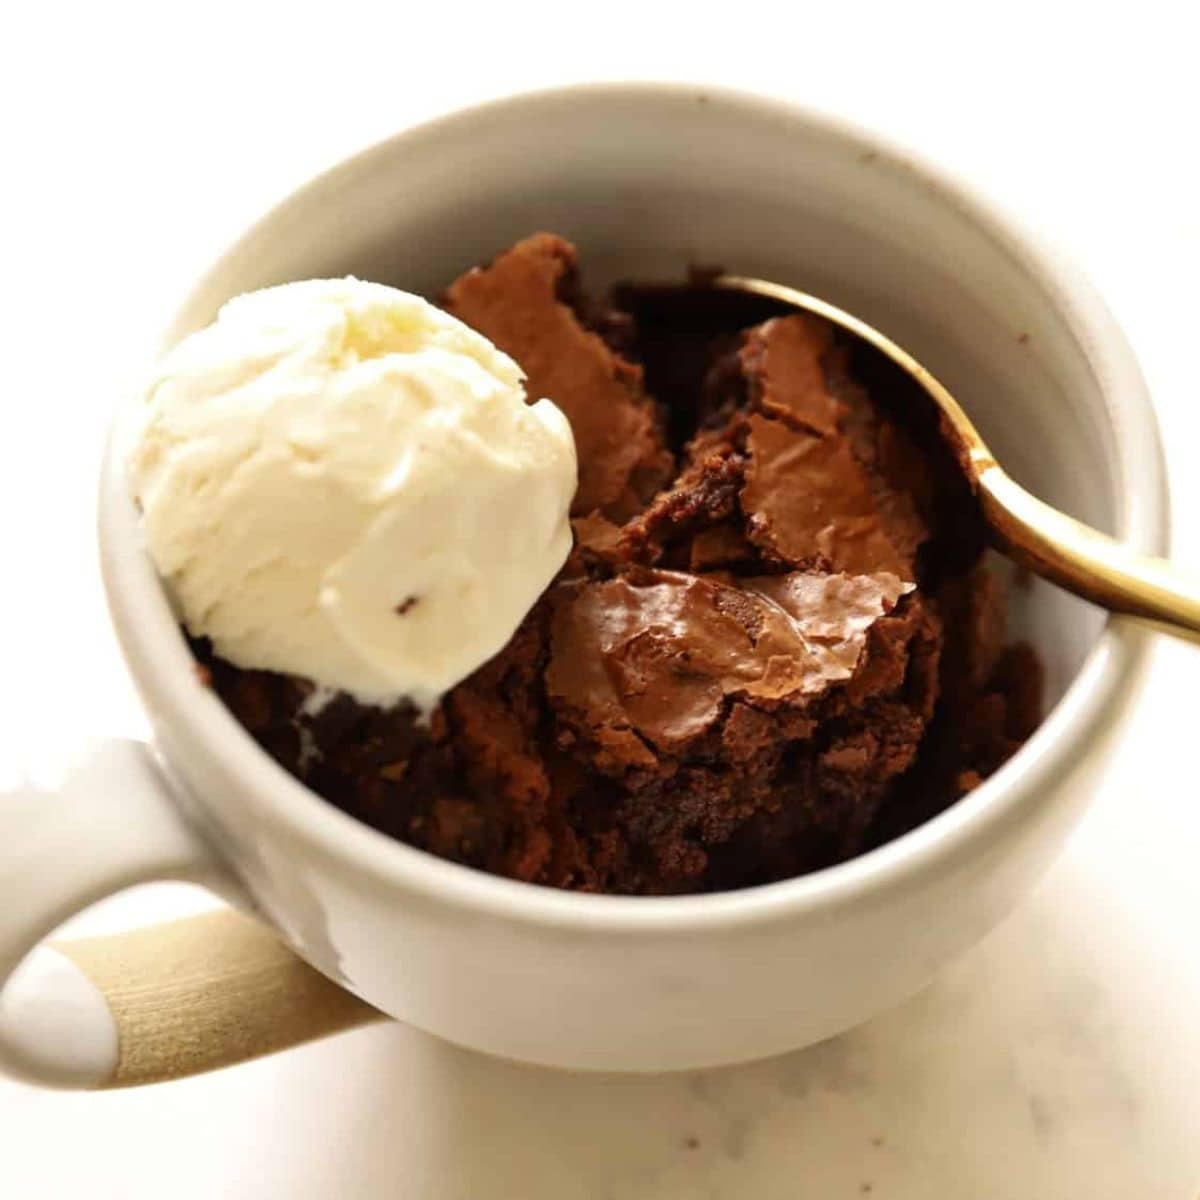
This Nutella Ice Cream is lighter and fluffier and full of chocolate-hazelnut flavor. You could serve this ice cream at a dinner party. It’s totally ready for prime time. This photo below shows how it dresses up for company!
The Kitchen Aid Mixer Method:
The Pros:
- No Ice Cream Machine needed. Just an electric mixer
- Works fine with a hand-mixer too!
- Uses less than 5 ingredients
- Easy to scoop into pretty servings
- You could serve this ice cream to company and they would be WOWed!
The Cons:
- The sweetness cannot be controlled due to the sweetened condensed milk
- As the ice cream melts the sweetness becomes more apparent
GRADE: A-
BOTTOM LINE: If you want a fantastic homemade ice cream recipe without an ice cream machine, this is the ticket!
Option#3: The Ice Cream Machine
- OK, folks, this recipe is by far my favorite! It has it all. The volume, the richness, and the lightness. Yes, it does take a lot more effort and ingredients, but for me, it’s well worth the effort!
- This version is an egg-based custard that needs to be cooked first. For other egg-based custard ice cream try my Salted Caramel Ice Cream Recipe or my Mint Chip Ice Cream Recipe.
- Instead of using the sweetened condensed milk, it gets its richness from the egg yolks. The benefit is also the fact that you can add your own sugar, which makes it less sweet and allows the Nutella flavor to really steal the show.
Cooking the Custard
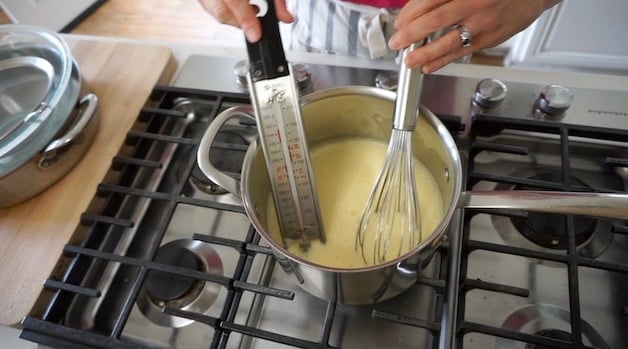
- Because it’s an egg-based custard, you must cook the custard in order to bring it up to 165F.
- This is the temperature needed to cook off the bacteria in the eggs.
- Personally, I bring it up to 180F because it will create a thicker custard will then creates a creamier ice cream!
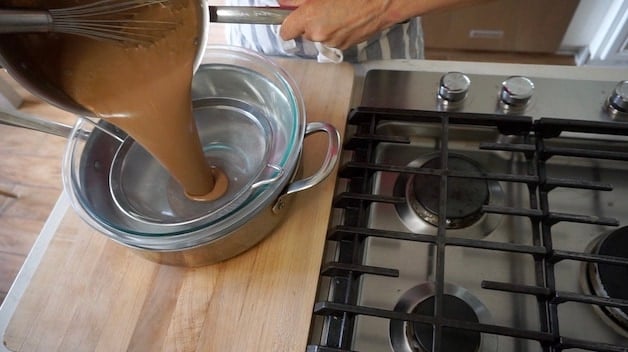
Be Sure to Strain the Custard
- The other thing that adds to its smooth and creamy texture is straining the base.
- This allows any bits of overcooked egg or chocolate that didn’t incorporate to be strained out, leaving behind only the smoothest, by silky base!
- Then once your base is chilled, process it according to your ice cream maker’s manufacturer’s instructions.
The Machine Method:
The Pros:
- It creates a more sophisticated Nutella ice cream where the flavors, sweetness, and richness is balanced
- What you taste at first, is what you get. It doesn’t suddenly turn sweeter on you as it melts
The Cons:
- It’s time-consuming
- It takes more ingredients
- You need a machine
- You need to cook it first
GRADE: A+
BOTTOM LINE: If you want a “real-deal Nutella Ice Cream” this is it! But just be prepared to work for it!
If You Enjoyed These Recipes. Please Leave a Review Below!
I’d love to know Which Method You Like Best?
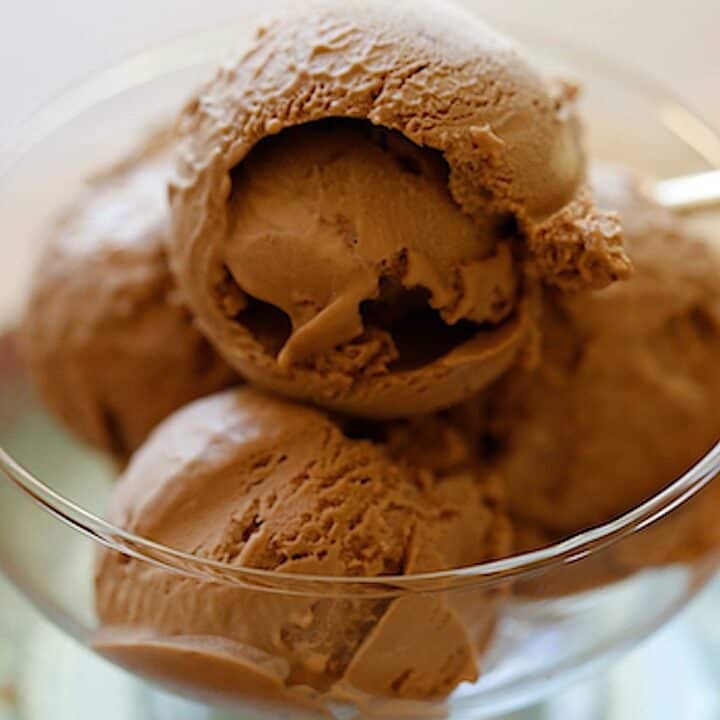
Nutella Ice Cream with and without a Machine
Nutella Ice Cream Recipe three ways, with and without a machine! Try all three and see which one you like best!
Ingredients
- NO MACHINE VERSION:
- 2 cups (480ml) heavy cream
- 1 can-14 oz (397g) of sweetened condensed milk
- ½ tsp (2.5ml) vanilla extract
- ¾ cup (180ml) Nutella
- ½ tsp (2.5ml) salt
ELECTRIC MIXER VERSION:
- 2 cups (480ml) heavy cream
- ½ tsp (2.5ml) vanilla extract
- ½ tsp (2.5ml) salt
- 1 can-14 oz (397g) of sweetened condensed milk
- ¾ cup (180ml) Nutella
ICE CREAM MAKER VERSION:
- 2 cups (480ml) heavy cream
- 1 cup (240ml) whole milk
- 2/3 cup (130g) granulated sugar
- 1 tsp (5ml) salt
- 6 egg yolks
- ½ cup (120ml) Nutella
- 1 tsp (5ml) vanilla extract
Instructions
NO MACHINE VERSION:
- Place all ingredients in a large mixing bowl.
- Whisk until smooth. Transfer to a freezer-safe container and freeze overnight.
ELECTRIC MIXER VERSION:
- Place the heavy cream, vanilla, and salt in the bowl of an electric mixer.
- Whip on high until stiff peaks form. Add the sweetened condensed milk. Whip until just combined.
- Add Nutella Whip until just combined.
- Remove bowl from mixer and then gently fold the mixture to assure all ingredients are well combined. Transfer to a freezer-safe container and freeze overnight.
ICE CREAM MAKER VERSION:
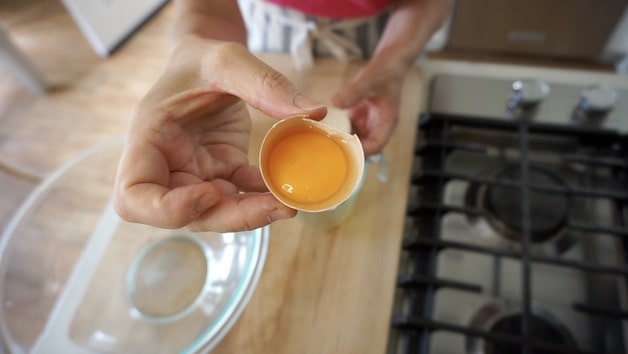
- Place 6 egg yolks in a large heat-safe mixing bowl and set aside.
- Heat cream, milk, sugar, and salt in a saucepan until sugar and salt is dissolved.
- Then slowly pour a small amount of the cream mixture into the egg yolks whisking all the while to temper the eggs and bring them up to temperature without scrambling them.
- Then add the full amount of the cream mixture and whisk to combine.
- Transfer mixture into a large saucepot.
- Then set up your straining station which you will use to strain the custard base once it is cooked. Line a large stainless steel skillet with ice (the metal on the skillet keeps the ice cold) Then place a large, clean mixing bowl on top, and then a fine-mesh sieve on top of that.
- Place your saucepot on a medium flame. Place a candy thermometer inside the pot. Whisk the mixture continuously until it reaches at least 165F. This will kill off any bacteria in the eggs. Continue to heat until 180F for thicker, creamier ice cream.
- Remove the pot from the heat and whisk in the Nutella.
- Then strain the mixture through the sieve. And you will see how it catches bits of cooked egg, bits of Nutella that didn’t melt, etc. When you remove the strainer your base below will be a smooth and silky base. Perfect for making ice cream!
- Allow the mixture to cool. Then refrigerate for at least 2 hours and process according to your ice cream maker’s instructions.
Nutrition Information:
Yield: 8 Serving Size: 1Amount Per Serving: Calories: 597Total Fat: 26gSaturated Fat: 15gTrans Fat: 0gUnsaturated Fat: 9gCholesterol: 219mgSodium: 211mgCarbohydrates: 80gFiber: 0gSugar: 77gProtein: 15g

I’ve made both the custard version and the electric mixer version. Loved both of them!
Could I refrigerate the custard for 24 hours before adding to my ice cream machine or would this ruin it?
Yes of course no problem 🙂 that would work out fine!
Hello! We did this recipe last year (using the electric mixer method) and it was a success! I was wondering if we could tweak it a bit for New Year by making a (plain) vanilla version? In that case, can I double (triple?) the vanilla and omit the Nutella? In fact, any tips on how should I tweak the vanilla quantity? Maybe scrapping a vanilla pod will be enough?…Thanks!
Oh sure you could try that, but you probably would want to add at least 1 full vanilla bean pod, scraped of its seeds for flavor. Great idea! Hope you enjoy! 🙂
Hi, Vanilla pods may not be good enough for the ice cream since there is no real cooking in the electric mixer method, even though they will add a beautiful speckled look to the ice cream, so I suggest that you use vanilla extract for the same.
Hello I was reading the recipe Me it looks so easy that I really wanna try
my question will be if to control the sweetness in the second option, can we use instead evaporated milk with sugar, or add less condensed milk and add evaporated milk. Do you think it could work?
Hmm I’m not sure that would work, since evaporated milk isn’t as thick as condensed milk. It’s the condensed milk that gives the ice cream its texture. Better to try the other options to control the sugar 🙂
We made the Nutella ice cream and loved it. Thank you for sharing the recipe.
YAY! So glad it was a hit! 🙂
I made this recipe with the ice cream machine except I used organic Nocciolata and added swirls of Nocciolata 30 seconds before the end of the machine’s timer. So it is Nutella Ice Cream, with Nuttela swirls!
The result is amazing: so smooth and the texture remain so great to make scoops! Thanks for this great recipe this is a success!
YAY! I’m so glad love the idea of the Nocciolata! That sounds so delicious!
How did you add the swirls? Just dollops from a spoon, or? Thanks!
Hmm which swirls do you mean? Maybe you are referencing another recipe? Like my blackberry cornbread or my cheesecake brownies? 🙂
Made the Ice Cream Maker option to replicate a nutella ice cream at a local nitrogen ice cream shop. Not bad but too sweet in my opinion. Could that option also he made with condensed milk instead of sugar and whole milk?
Yes you could absolutely try that with the condensed milk, but I find that condensed milk is even sweeter than the milk and sugar. I would actually go back to the Ice Cream Machine version, but just leave out the sugar altogether. The sweetness in the Nutella already could be just right for you 🙂
Made the Nutella ice cream with an ice cream maker. This is an easy to follow recipe with light smooth and oh so good ice cream. A definite keeper. Thank you. A five star favourite.
Isn’t it good!? Ha! So glad you enjoyed it too! I think it would also be pretty amazing used in some profiteroles for Holiday time 🙂
First I think you are doing a fantastic job with your videos. I agree the machine at my age (86) would be a waste. My husband is the ice creamaholic. He would eat one or two.
Ha! Aw thank you! I’m so glad you are enjoying the videos! 🙂 Yes my husband loves these recipes too! He’s a bit of a Nutellaholic so it was an easy sell Ha! 🙂