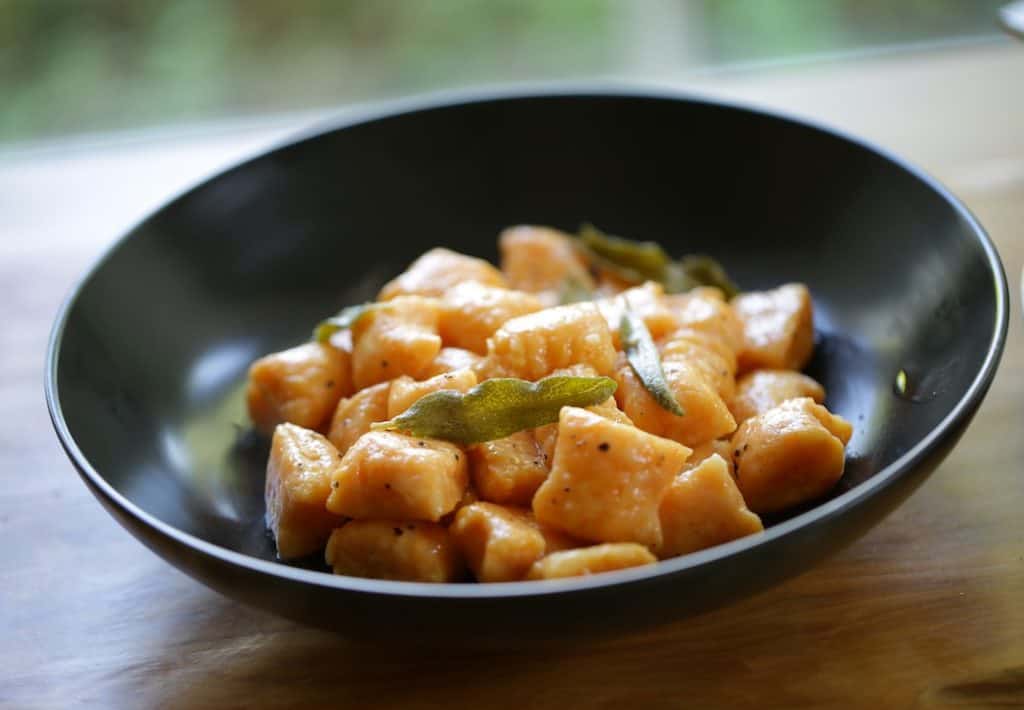
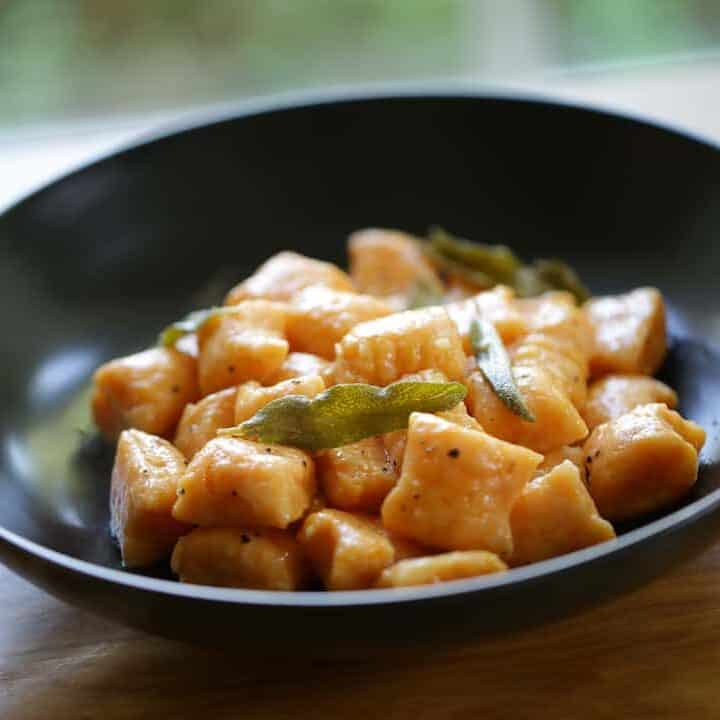
Sweet Potato Gnocchi with Brown Butter and Sage
SHARE THIS RECIPE!


A delicious Sweet Potato Gnocchi with brown butter and sage sauce. This is a great fall dinner recipe for a cozy Sunday night meal! I won’t lie it takes a bit of time to make, but it’s a fun “weekend project” that can go pretty quickly if you have some friends or relatives around to help!
Have extra sweet potato on hand? Try my Sweet Potato Biscuits with Sage. One of my favorite bread recipes for Thanksgiving!
Would you like to save this?
Making Gnocchi Is Easier Than You Think:
I used to hear the words “Homemade Gnocchi” and kinda roll my eyes a bit, in a who-has-time-for-that kind of way! Until I actually tried it and let me tell you it’s really not that bad folks and SO worth the effort! Especially when you can flavor them with seasonal twists like sweet potato and nutmeg.

A Gnocchi Recipe Without Ricotta Cheese
- Because gnocchi is made with potatoes they can be quite fragile if you don’t have something binding them together. For this reason some recipes with use ricotta cheese as the binding agent.
- However, this recipe uses an egg to bind the dough together
What To Serve with This Recipe?
- Personally, I think a browned butter sauce with crispy sage is the best flavor combination for these!
- Alternatively, you could also toss them in my homemade Pesto Sauce
- Or a drizzle of Olive Oil, Freshly Cracked Pepper, and Parmesan Cheese would also be great
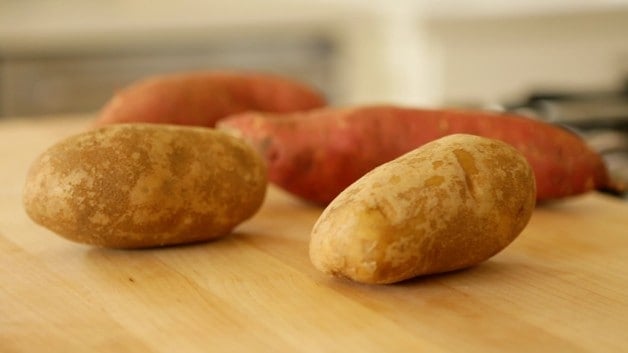
Can you Use Any Potatoes for Gnocchi?
- Starchy potatoes are the best type for gnocchi because they are dry and fluffy. A common starchy potato is a russet.
- However, for Sweet Potato Gnocchi, I like to use a combination of russet and sweet potatoes.
- The sweet potatoes give the flavor, and the russet potatoes give the best texture.
- A waxy potato has a lower starch content and will keep its shape after it’s cooked.
- Waxy potatoes are best for roasted or smashed potatoes.
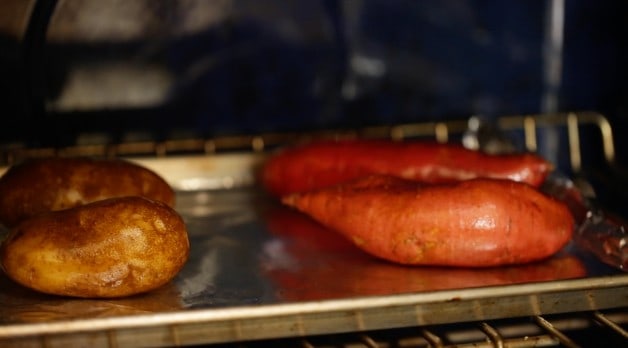
Step 1: Bake the Potatoes
- Rub each potato with olive oil to help the skins come off easily after they are baked. Poke each one several times with a fork to allow the steam to escape.
- Place in a 400°F (200 °C) oven for about an hour or until the potatoes are tender. Flip every 20 minutes or so to avoid browning.
Step 2: Make the Gnocchi Dough
The gnocchi dough comes together pretty easily and quickly. You’ll remove the potato skin and cut the potatoes into quarters.
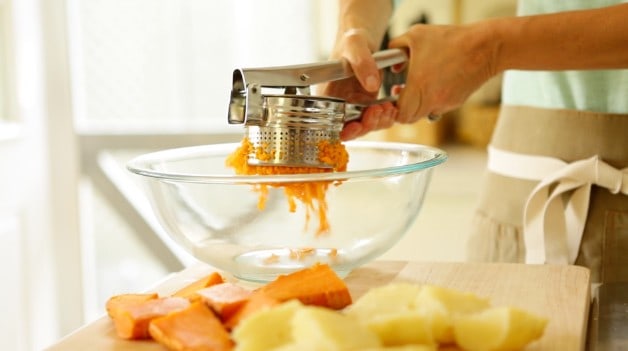
Use a Ricer: The Secret to Light and Fluffy Gnocchi
- Then, put the potatoes through a ricer and squeeze the potato pieces through it.
- If you haven’t used a ricer before, it’s a miraculous invention that gives you the smoothest, most beautiful potato mash, exactly what you want for gnocchi.
- It’s also great for mashed potatoes or my Hachis Parmentier recipe, too!
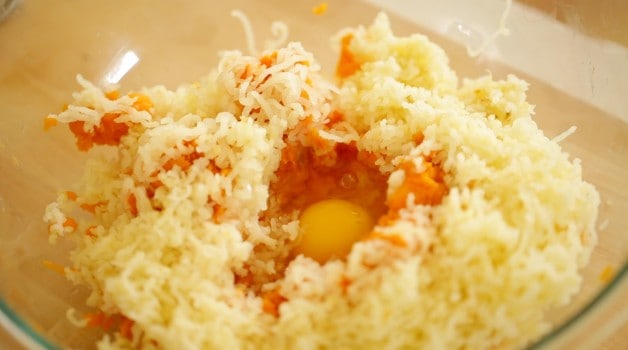
Add the Egg and Seasonings
- Make a well in the center of the potato mash and add the egg, salt, nutmeg, and part of the flour.
- The idea is to try to get away with the least amount of flour possible. You should use just enough to bind it together.
- Otherwise, you’ll end up with tough gnocchi.
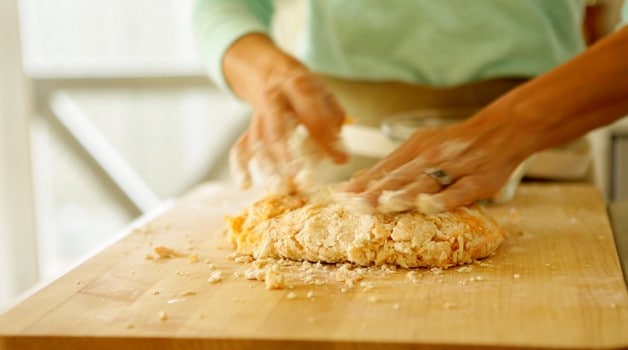
Forming the Dough
You’ll stir the mixture with a fork until a dough begins to form. Then, take the remaining flour, add a little at a time, kneading it into the dough, until the dough can be handled easily without sticking to your hands.
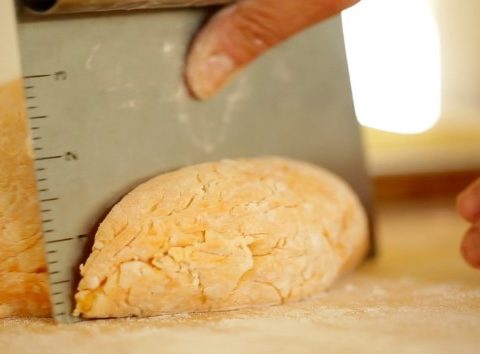
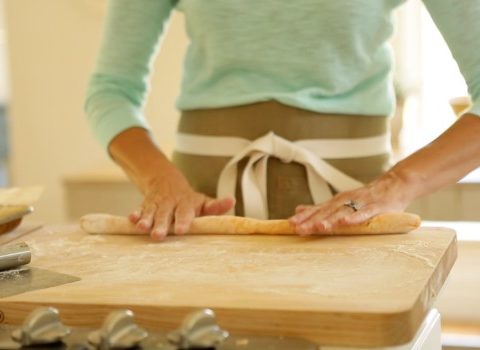
Shaping the Dough
Cut off about a tennis ball-sized dough piece and roll out like a snake. Then, cut the gnocchi into one-inch pieces using a knife or bench scraper.
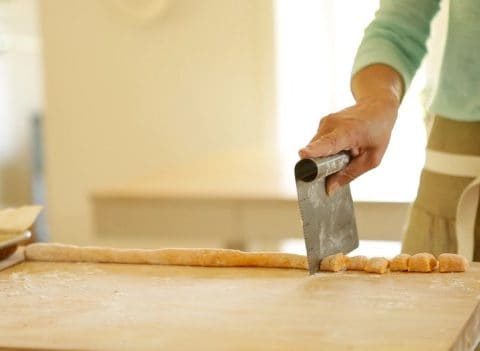
At this stage you have 2 options:
- Option#1: cut the gnocchi and leave as is
- Option#2: Roll each piece down the prongs of a fork for a decorative touch (see video above for demo!). The rolling is pretty but it does take more time, and also makes them a bit more fragile.

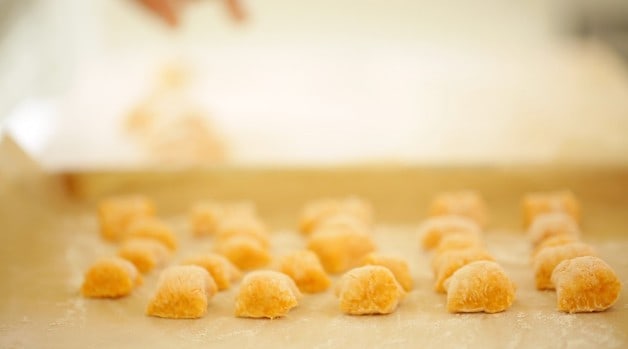
Freezing the Gnocchi
- After all the gnocchi is cut, layer them on a baking sheet lined with parchment paper and place them in the freezer until frozen – about an hour or so.
- To prevent the gnocchi from sticking, dust the parchment paper with a little flour first.
- After the gnocchi is frozen you can cook and serve!
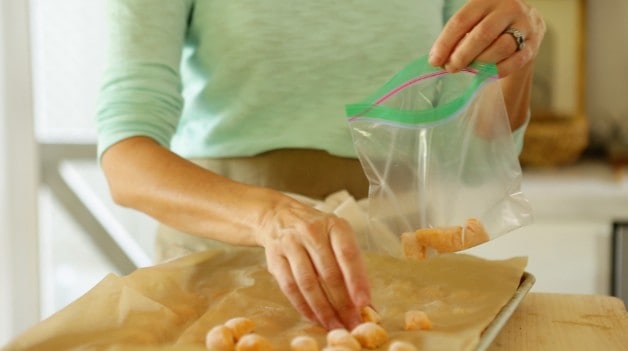
Store Them in Sandwich Bags and Avoid the Refrigerator
- But it’s better to freeze the gnocchi as individual pieces instead of one large dough ball.
- Store single portions of them in sandwich bags and freeze until you are ready to use them.
- For some reason, gnocchi does not do well in the fridge. I think it’s because the condensation gets too much, and they turn mushy, requiring more flour, which toughens them up.
- So prepping them ahead of time and storing them in the freezer is definitely the way to go!
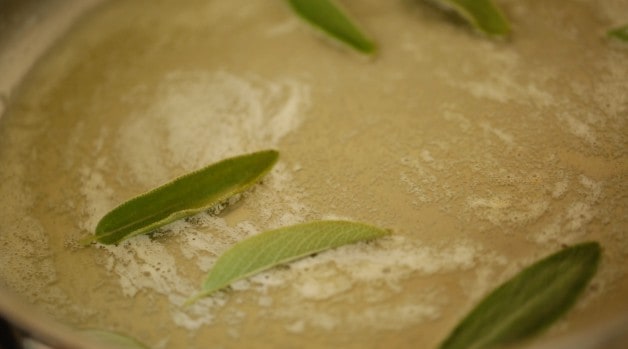
Step 3: Make the Brown Butter Sage Sauce
- The sauce has only two main ingredients and is super quick and easy to make!
- Add the butter to a large pan. The pan should be big enough to add your gnocchi later, so plan ahead.
- When the butter is melted and foamy, add sage leaves and season with salt and pepper.
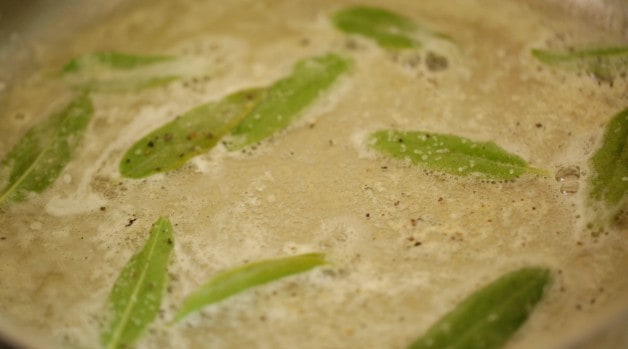
Crisping the Sage
Let the butter simmer with the sage. The sage will begin to crisp, and the butter will begin to brown, which adds beautiful flavor. When the sauce is done, turn off the heat and set it aside.
Step 4: Prep the Gnocchi and Serve
- As the sauce is finished, it’s time to prepare the gnocchi. The great thing about homemade gnocchi is that it only takes 2-3 minutes to boil.
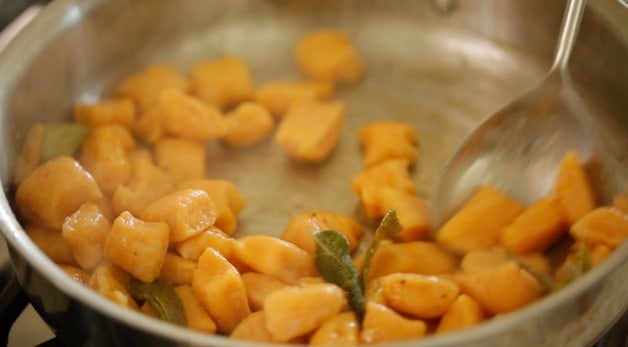
- As the gnocchi rise to the top of the pot, they’re done! Remove them with a handled strainer or slotted spoon and place them in the skillet with the butter.
- Toss the gnocchi with the butter and sage sauce until they are well-coated.
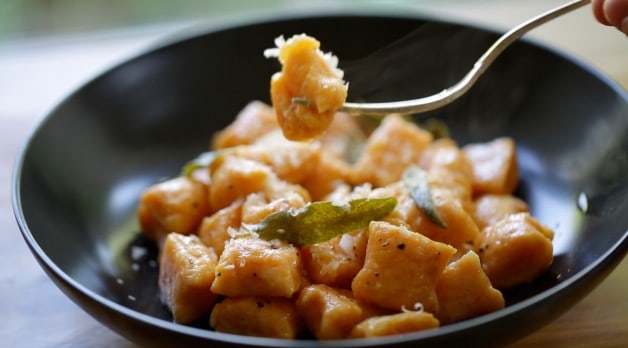
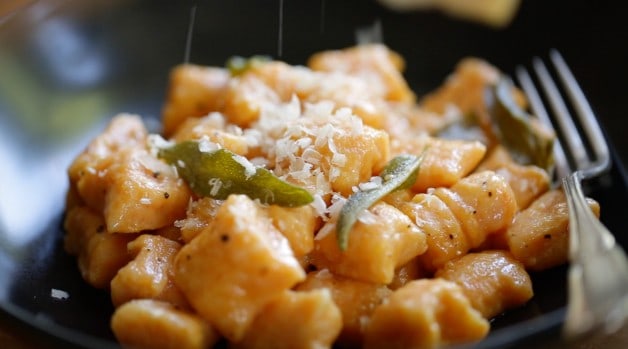
I like to add fresh Parmesan cheese to the top and then serve! No time for homemade gnocchi? Try my Pesto Gnocchi with Summer Veggies, it uses store-bought gnocchi and only takes 15-minutes to make!
More Great Fall Recipes!
- Cheesy Pasta Bake with Veggies
- Sausage and Pepper Recipe
- Sweet Potato Biscuits with Sage
- Easy Chicken Parmesan Recipe
- Foolproof Roasted Potatoes
If You Enjoyed This Recipe Please
Leave a Rating and a Review Below!
Sweet Potato Gnocchi with Brown Butter and Sage
A delicious sweet potato gnocchi recipe with brown butter and sage. So flavorful and festive for fall entertaining!
Ingredients
For Gnocchi:
- 2 large russet potatoes
- 2 large sweet potatoes
- 1 tbsp (15 ml) olive oil
- 1 egg
- 1 tsp (5 ml) salt
- 1/8 tsp (large pinch) nutmeg
- 1 ½ -2 cups (180g-240g) all-purpose flour
For Sauce (for 2 portions)
- 3 tbsp (45 g) butter
- 10 fresh sage leaves
- salt and pepper to taste
- freshly grated parmesan cheese
Instructions
- Preheat oven to 400F (200C).
- Rub potatoes with olive oil and pierce on all sides with a fork. Place on a large baking sheet and bake for 45 mins to 1 hour until soft. Turning every 20 mins to allow for even baking.
- Allow to cool slightly then remove peels and cut into quarters. Press potatoes through a ricer into a large bowl.
- Create a small well in the center of the potato mound. Add egg, salt, nutmeg and 1 ½ cups of flour. Stir with a fork and then hands until a dough forms. Sprinkle some of the remaining ½ cup of flour on a work surface and work in the remaining flour just as needed, to create a non-sticky workable dough.
- Cut off medium sized balls and roll into a large rope. Cut off 1 in pieces and transfer them to a baking sheet lined with parchment paper and lightly dusted with flour.
- Continue rolling and cutting until all the gnocchi are cut. Create several layers if needed by adding more parchment paper layers onto your baking sheet.
- Place baking sheet in freezer until ready to serve.
- Then boil a large pot of water. Meanwhile melt butter in a large skillet once foamy add the fresh sage and sizzle the sage until crispy. Add salt and pepper. Remove butter from heat and allow to rest at room temperature.
- Boil gnocchi in batches (2-3 servings at a time) they only take 2-3 minutes and will float to the top when done.
- Strain with a hand strainer and transfer to skillet to gently coat with butter sage mixture. Once coated, portion out into bowls and serve with freshly grated parmesan. YUM!
Notes
These gnocchi can be made ahead of time. Just place on a baking sheet lined with parchment paper, in a single layer and freeze.
Once frozen place in a zip lock bag and keep frozen until ready to use.
Drop frozen gnocchi into boiling water and cook until they float to the top. Takes only a few minutes!
Nutrition Information:
Yield: 8 Serving Size: 1Amount Per Serving: Calories: 262Total Fat: 3gSaturated Fat: 1gTrans Fat: 0gUnsaturated Fat: 2gCholesterol: 24mgSodium: 157mgCarbohydrates: 51gFiber: 4gSugar: 5gProtein: 7g

Hi Beth, I made this the other day and it was delicious. I cooked it straight away without freezing, then put the rest uncooked in the freezer. I am assuming from your instructions that you put it straight from the freezer into the boiling water and they rise when cooked (you don’t defrost them first?)
Thanks,
Yes exactly! No need to defrost first! 🙂 Straight into the pot they go! I’m so glad you enjoyed them!
Where did you get your potatoe ricer? I haven’t seen them with holes on the sides.
Oh sure you can find it on my Amazon Store 🙂 Here’s the link https://www.amazon.com/shop/entertainingwithbeth?ref=ac_inf_hm_vp
Sage isn’t a common herb from where i come from. Any other substitutes?
Oh sure you could use Rosemary 🙂 . That would be great too!