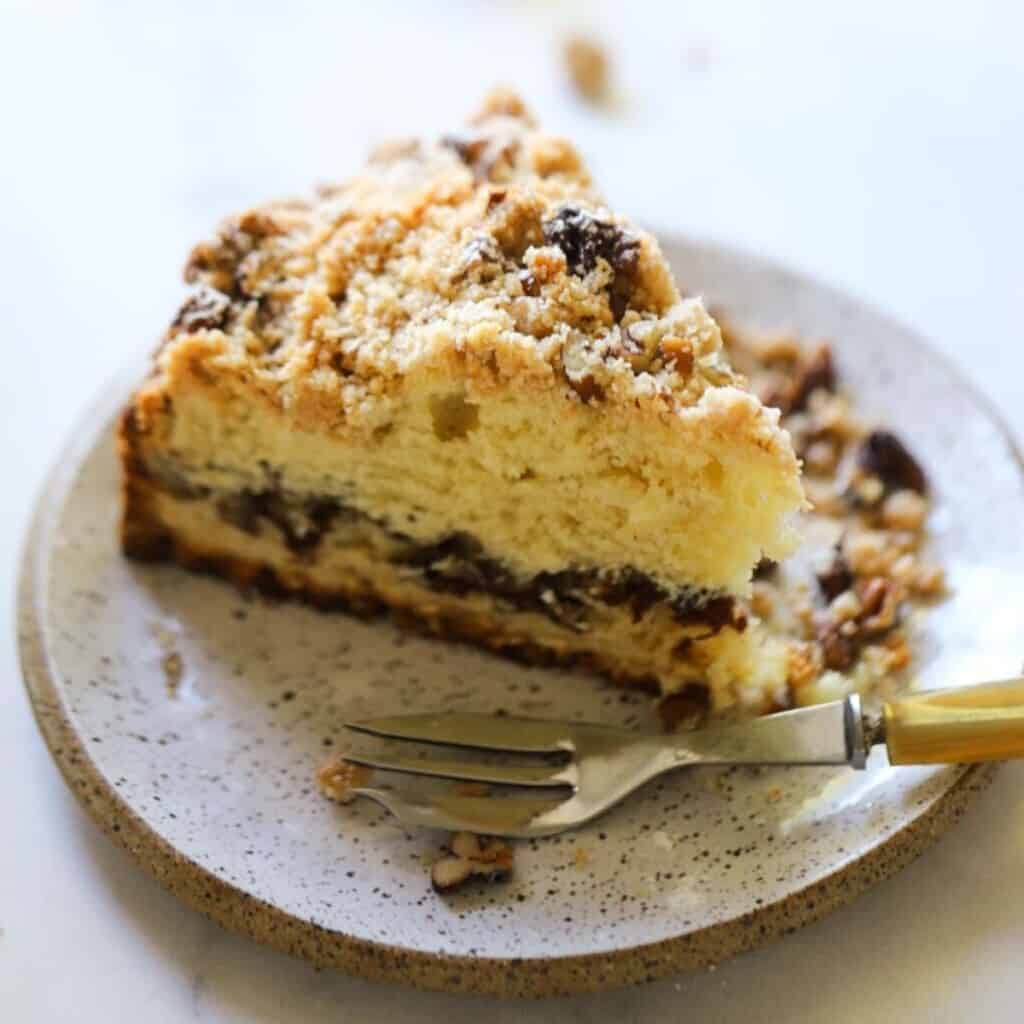
Lemon Poppy Seed Scone Recipe
SHARE THIS RECIPE!


These Lemon Poppy Seed Scones are so light and flaky, with just the right amount of lemon. Serve them with some raspberry jam or use the lemon glaze recipe from my Lemon Poppy Seed Pound Cake recipe to drizzle over the top.
It’s a wonderful scone recipe to serve in the spring, because the flavors are so fresh! For a fall-flavored scone try my Pumpkin Spice Scone with Chai Glaze, in the summer try my Strawberry Almond Scones or my Blueberry Scones with Lemon Glaze.

Would you like to save this?
Why You’ll Love This Recipe
- Homemade scones are so much better than anything store-bought! They are lighter and flakier.
- These scones are also full of lemon flavor without the overpowering sweetness you find in store-bought scones.
- They are great for a brunch when entertaining, since you can prep them the night before and then pop them in the oven 20 minutes before guests arrive. They will be welcomed with the aroma of freshly baked buttery scones as soon as they arrive!
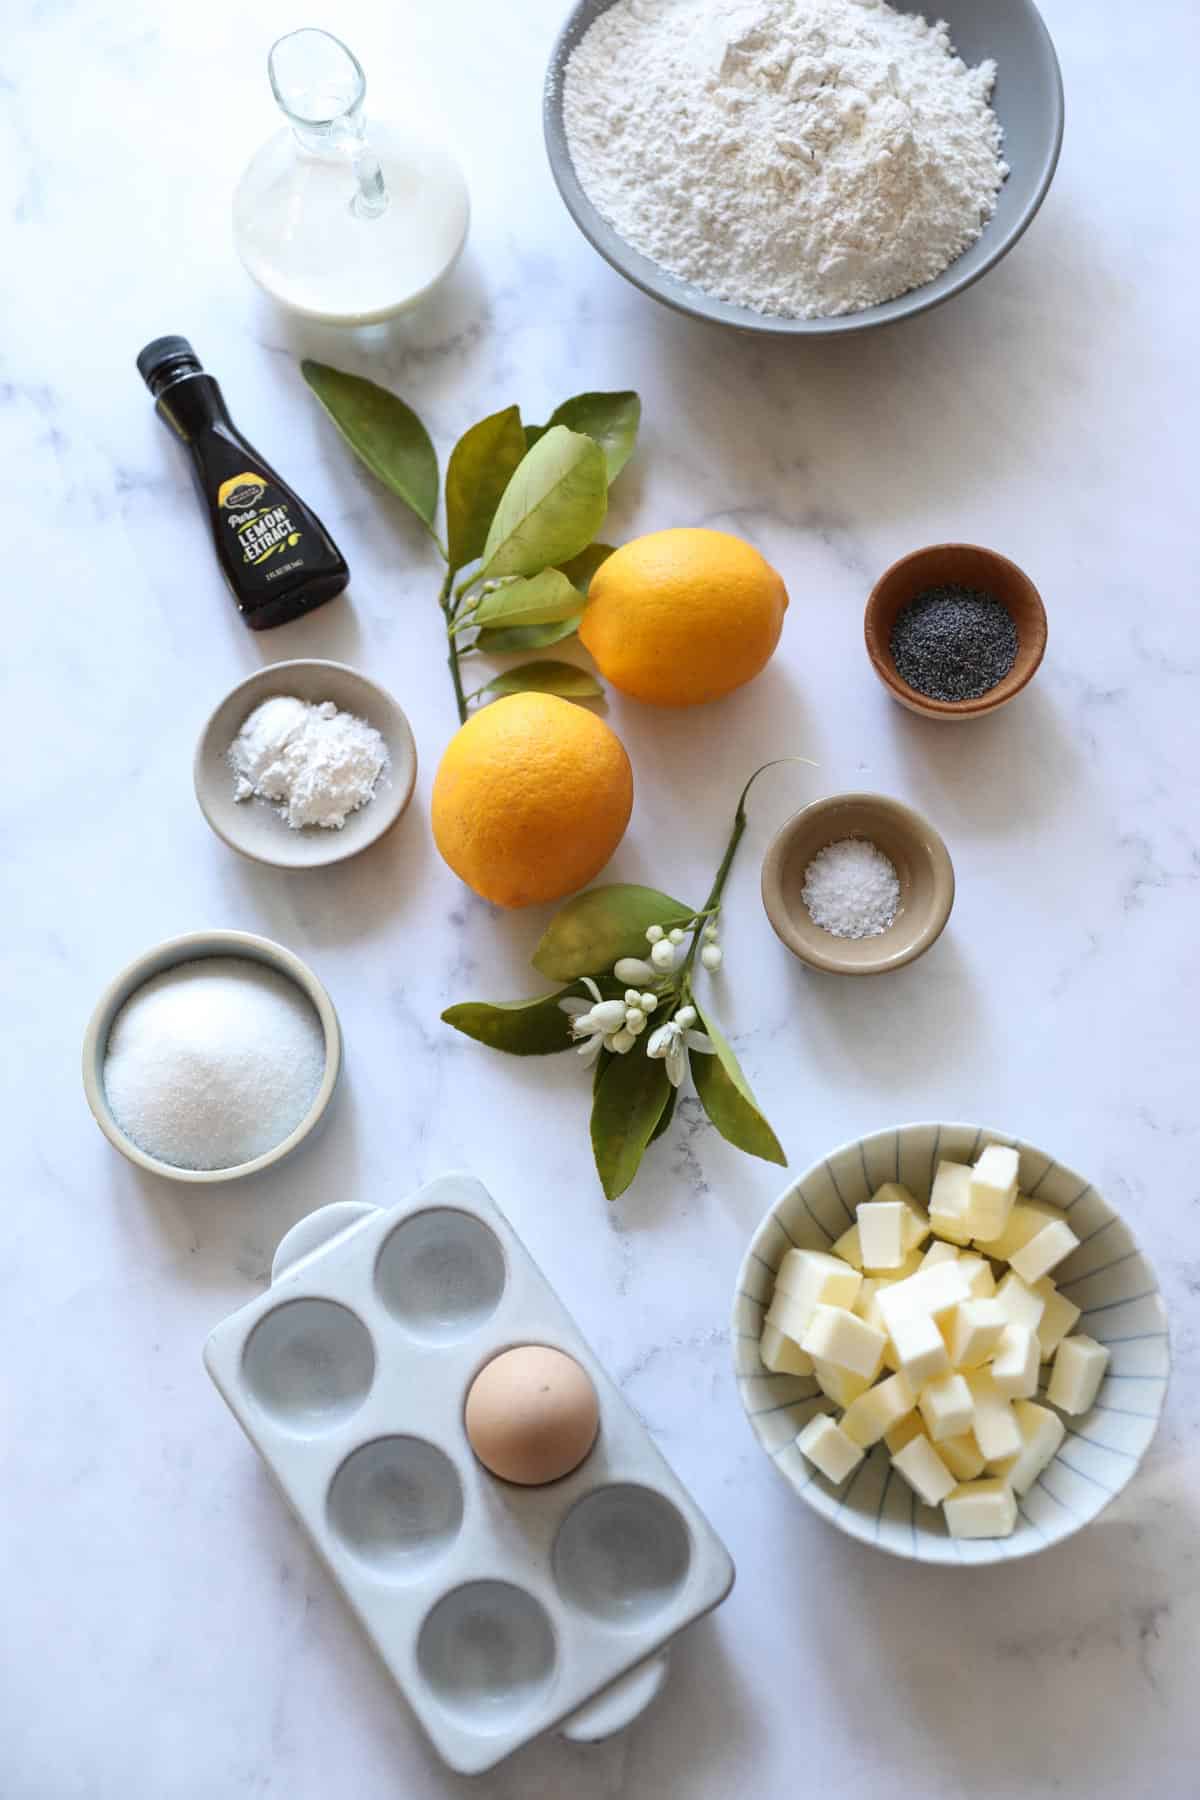
Ingredients:
- All-Purpose Flour: No fancy flours needed; all-purpose flour is all you need.
- Salt to enhance the lemon flavor and balance the sweetness. If using unsalted butter, increase the salt to 3/4 teaspoon.
- Baking Powder: I use 2 full teaspoons for the best lift on the scones.
- Sugar: White granulated sugar yields the best light, flaky texture.
- Butter: I prefer salted American butter in baking. Land O’ Lakes Salted Butter delivers the best flavor. But if you are outside the U.S.A., use unsalted butter, since salted butter outside the U.S.A can be pretty salty.
- Poppy Seeds: Poppy seeds can go rancid like nuts, so it’s best to use them up within 6 months.
- Lemon Zest: I use a microplane, typically a Cheese Grating Microplane, to get nice, larger pieces of zest, which add to the flavor.
- Pure Lemon Extract: This will further enhance the lemon flavor. It delivers much more flavor than lemon juice does. But only use Pure Lemon Extract. It has the most natural lemon flavor, unlike imitation lemon extracts. You could also skip the lemon zest and add pure almond extract for an Almond Poppy Seed Scone, which would be delicious too.
- Heavy Cream + Egg The combination of heavy cream mixed with an egg adds a wonderful richness to the scones, as well as moisture, preventing “dry scone syndrome!”
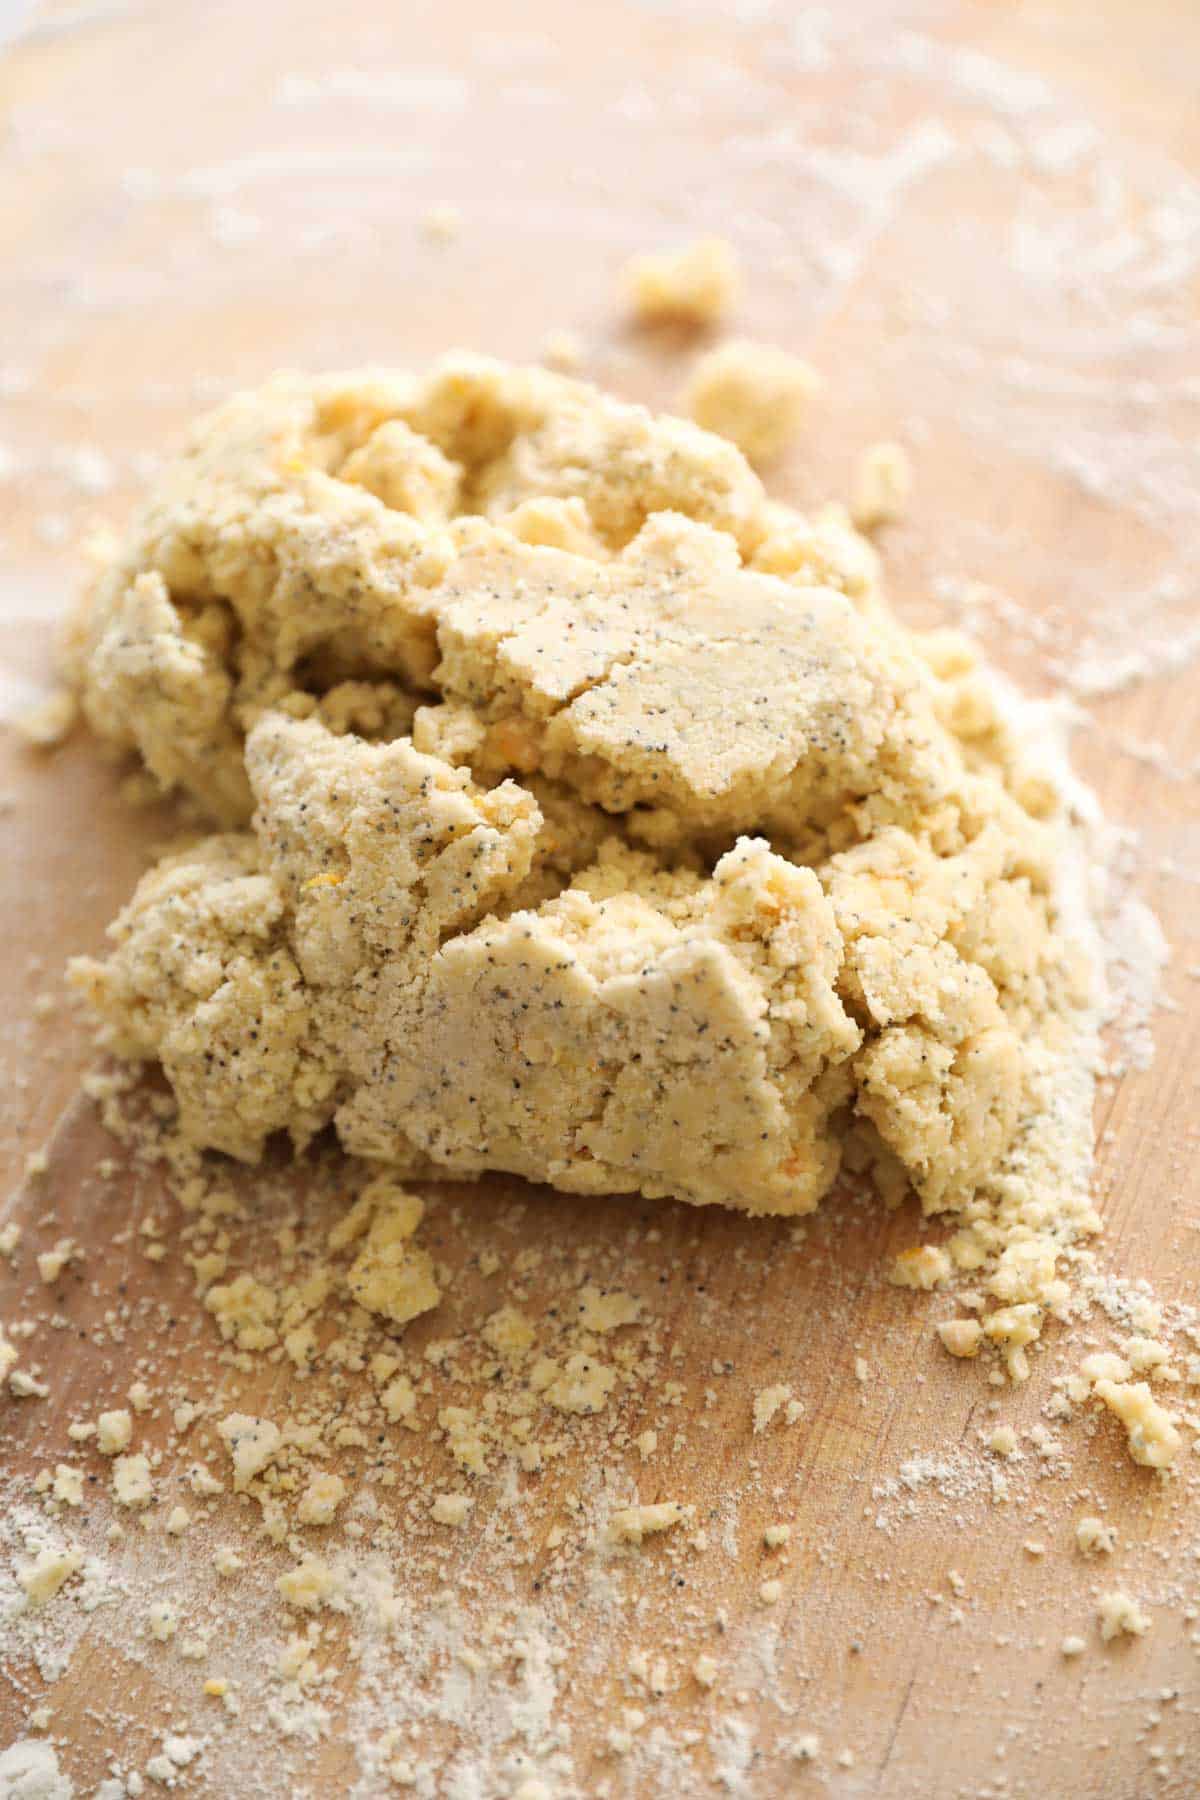
Step#1: Create the Dough
- Whisk together the dry ingredients, and then work in the chilled butter with your fingertips.
- Personally, I think scone dough is best made by hand, just like Grandma did!
- It prevents overworking the dough by leaving the butter chunks larger than they would be if processed in a food processor.
- Larger chunks of butter create larger air pockets when the butter melts in the hot oven, contributing to a flakier, lighter scone. This is one of the secrets to making good scones.

Step#2: Form the Dough
- After adding the heavy cream and egg mixture, stir the dough gently until just combined, and it begins to come together.
- A great tool for mixing scone and muffin recipes is a Danish Dough Whisk. It combines the dough much better than a wooden spoon or a traditional whisk, without overworking it. Overworking the dough is one of the biggest mistakes in making scones. So easy does it!
- The Danish dough Whisk also works well for Buttermilk Biscuits too! Alternatively, you can also use a fork.
- Once the dough comes together, transfer the mound to a floured surface and then form it into a ball.
Step#3: Shape the Dough
- After the dough is shaped into a ball, it will be easy to flatten it and form it into a square with the edge of a Chef’s knife. The side of a chef’s knife blade helps straighten and square the scone. See video demo below in the recipe card for the technique.
- It also helps to gently roll over the scone square with a rolling pin to smooth out any cracks.
- Then cut once vertically down the middle of the square, and once horizontally to create 4 equally sized small squares.
- Then cut each small square down the diagonal into mini triangles.

Step#4: Cut the Scones into Triangles
- Place the cut triangles on a baking sheet lined with parchment paper or a baking mat.
- The paper or the mat will prevent the scone’s bottom from over-browning.
- Then brush the top of the scones with heavy cream and top with Turbinado sugar for a little extra sweetness and crunch.

Step#5: Chill and Bake
- The secret to a well-formed scone that doesn’t ooze butter as soon as it hits the hot oven is the chill factor!
- Scones must be well chilled before baking. Especially for scone dough like this, which is rolled out. The butter becomes softer the more it rests at room temperature and is handled, so it’s best to chill it back up again.
- If you are making these ahead of time and baking them within a day or two, they can be refrigerated, covered with foil.
- But if you are baking them right away, it’s best to place the tray in the freezer for 10-15 minutes before baking to get them nice and chilled.

Serving Suggestions and Storage
- These scones only take about 15-16 minutes to bake. So they are easy to prepare ahead of time and bake off right before guests arrive.
- Alternatively, you can freeze the scones once baked and cooled, then reheat them in the microwave for a freshly baked-tasting scone! Be sure to wrap them in a paper towel before microwaving to preserve their soft texture.
- Serve with raspberry or strawberry jam!

Make Ahead Tips:
- These lemon poppy seed scones are also the perfect breakfast treat to whip up while entertaining because all the prep work can be done the day before.
- Roll out the dough, shape, cut and slice and place them on a baking sheet, covered and place in the refrigerator.
- Then all you have to do the day of your brunch is brush their tops with cream, add the sugar on top and pop in your oven and bake!


Lemon Poppy Seed Scones
Easy and delicious lemon poppy seed scones! Light and flakey with just the right amount of Lemon flavor! A great one for Easter Sunday or Mother's Day brunch.
Ingredients
- 2 cups (240g) flour
- ¼ cup (50 g) sugar
- 2 tsp (10 ml) of baking powder
- ½ tsp (2.5 ml) salt
- 1 tbsp (15 ml) poppy seeds
- 1 tbsp (15 ml) lemon zest
- 10 tbsp (150 g) cold butter, diced into cubes
- ½ cup (120 ml) heavy cream + 1 tsp for brushing tops
- 1 egg
- ¾ tsp (3.75ml) pure lemon extract
- Raw, turbinado sugar for tops
Instructions
- Preheat oven to 400F (200C).
- Line sheet pan with parchment paper. In a bowl combine flour, sugar, salt, baking powder, poppy seeds and lemon zest. Add butter and work by hand until dough resembles a coarse meal.
- Mix the egg with the cream and lemon extract. Create a well in the center of the dry mixture and pour wet mixture in well. Gently mix with a fork until combined, and then grab dough with floured hands.
- Turn dough out onto a floured surface. Shape dough into a square, cut into 4 squares and then cut the squares into triangles. You will have 8 triangles.
- Brush each scone lightly with heavy cream and a sprinkle with the raw sugar.
- Pop tray in freezer for 5 mins to firm up, (or fridge for 15 mins) and then bake for 15-17 mins until golden brown.
- Serve with raspberry jam.
Notes
You can make the dough ahead of time, cut into triangles, place on your baking tray (covered) and refrigerate. Then all you have to do is bake!
Nutrition Information:
Yield: 8 Serving Size: 1Amount Per Serving: Calories: 144Total Fat: 15gSaturated Fat: 9gTrans Fat: 1gUnsaturated Fat: 5gCholesterol: 62mgSodium: 245mgCarbohydrates: 2gFiber: 0gSugar: 1gProtein: 1g

Could you use lemon juice if you didn’t have lemon extract?
Funny enough the lemon juice doesn’t have much flavor when baled and the acidic can affect the ability of the scones to rose. Just use more lemon zest. That will provide the best option. Hope you enjoy it!
2 cups of flour…plain, all purpose, self rising?
Just regular all-purpose 🙂