Creme Brûlée Cheesecake Recipe
SHARE THIS RECIPE!

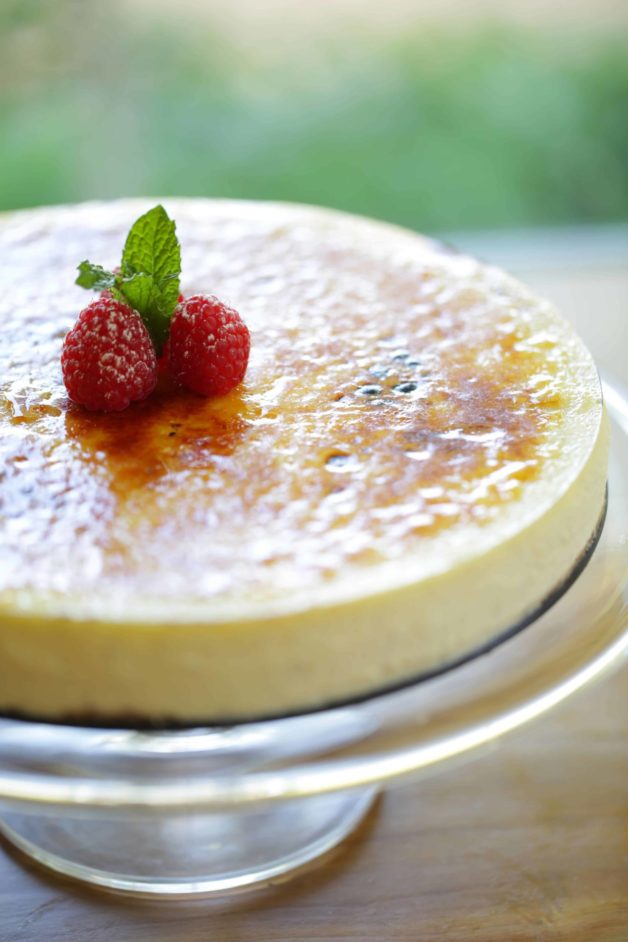
If you can’t decide between making a cheesecake or a creme brûlée why not combine both! I love this Creme Brûlée Cheesecake Recipe because it’s fairly simple to put together and the results are well worth the effort.
It has the creaminess of creme brûlée, mixed with the decadence of cheesecake, and the burnt sugar on top is just the cherry on top!
For another rich and decadent cheesecake recipe try my Burnt Basque Cheesecake. This recipe is even easier and requires no kitchen torch.

Would you like to save this?
This is a great recipe to make for Easter Sunday or Mother’s Day. The flavors are just so fantastic, it’s a dessert that has a serious wow factor and is definitely worthy of a “Special Occasion!”
Embrace the Kitchen Torch
- You will need a kitchen torch for this recipe (unfortunately, it doesn’t work under the broiler), but I found this Rosle Kitchen Torch model is really easy to use.
- The torch doesn’t come with the butane (they can’t sell it online due to the flammable aspects) so you just need to pick that up at Williams-Sonoma, Sur La Table, or any hardware store. But then you’ll be all set!
Creme Brulee Recipes without a Kitchen Torch
- If you are looking for creme brulee recipes without a torch you can try my Lavender Creme Brulee Recipe or my Classic Creme Brulee Recipe.
- These recipes use the oven broiler to create the burnt sugar toppings.
- Unfortunately, the cheesecake is too big for the broiler and doesn’t work as well. The kitchen torch is your best bet.
Watch my Video Demo of this recipe below
Subscribe to My YouTube Channel and Never Miss a Video!
Tips For Making the Cheesecake Filling
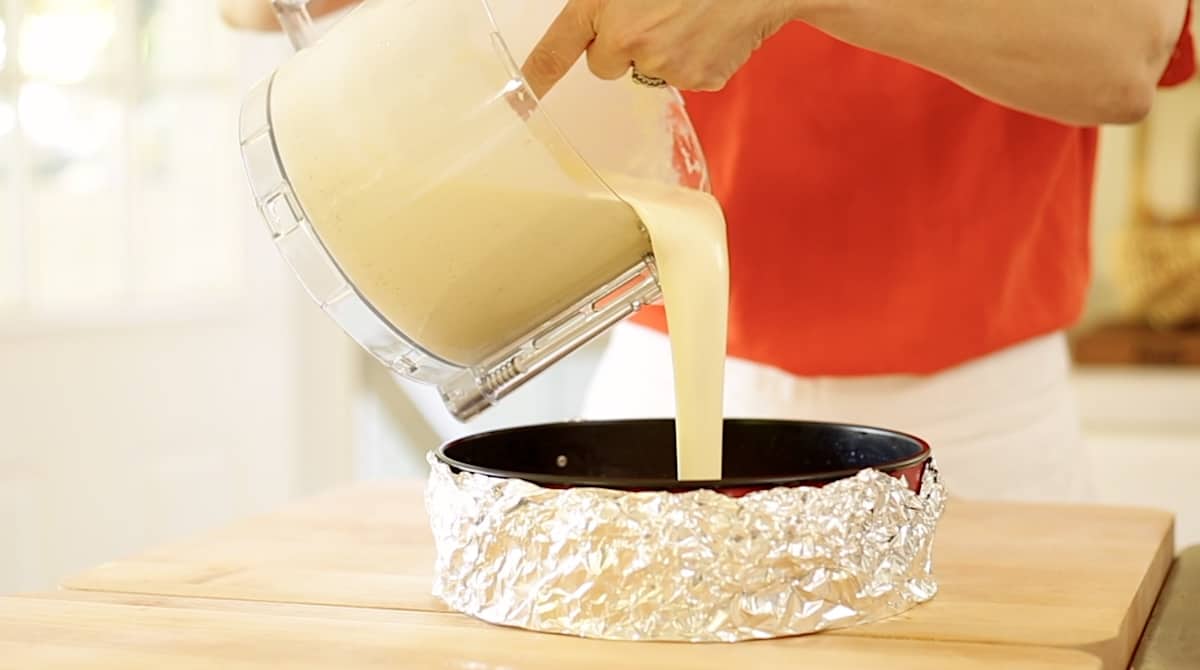
- To make the cheesecake extra smooth and creamy, I whirl it up in the food processor. The creates the most delicious texture. Then pour it into your cooled crust.
- I also splurge on vanilla beans. I know they are expensive but for a special dessert like this, I splurge. The specs of vanilla bean paste also help to sell the “creme brulee” part of this dessert.
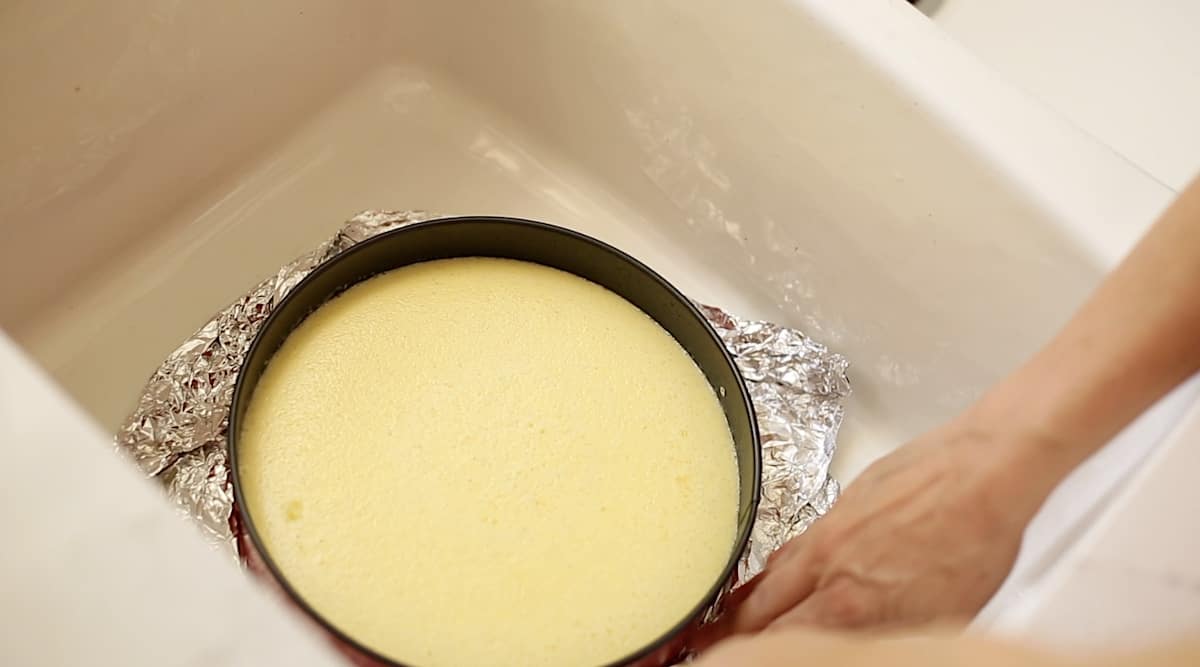
- Be sure your cheesecake pan is wrapped in foil before adding the filling. This will protect it against water leaks in the water bath stage.
- Looking for a cheesecake recipe that doesn’t require a baked filling? Then try this Triple Berry Cheesecake Recipe, you only need to bake the crust!
The Benefits of a Water Bath
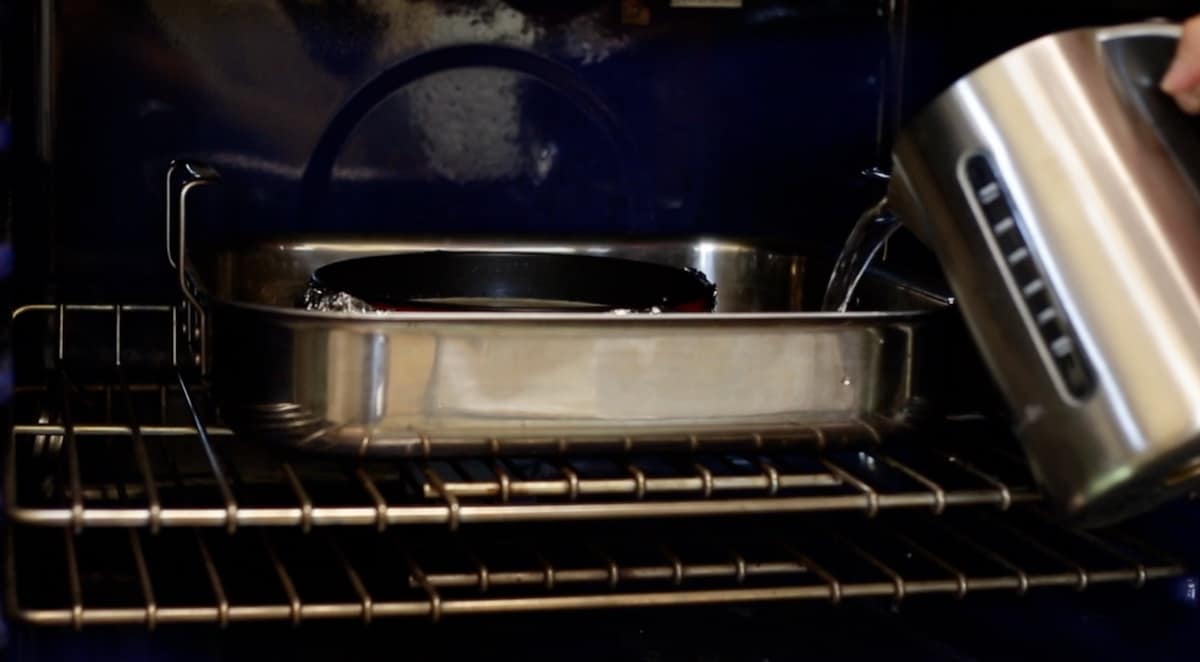
- The water bath will bake the cheesecake with gentle heat which will preserve its creamy, custardy texture and prevent the cheesecake from cracking which can be caused by too much heat or over baking.
- Place the cheesecake in a shallow roasting pan first, then add the hot water from a kettle. That way you can isolate where you pour the water.
- I stay to the corner, to avoid splashing the cheesecake batter with water which can affect its ability to bake and set properly.
The Cooling Process
- Once the cheesecake is baked, place it in your clean sink to remove the foil.
- That way if water has collected it will run in your sink and not all down your countertops.
- Then allow the cheesecake to cool completely and then refrigerate it.
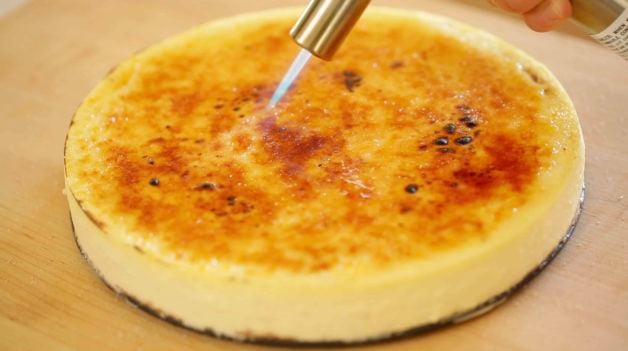
Creating the Burnt Sugar Topping
- Right before serving, is when the “cooking theater” begins.
- Caramelizing the sugar is something you need to do right before serving because you want that burnt sugar texture to be warm against the chilled custardy cheesecake. It’s what makes it so delicious.
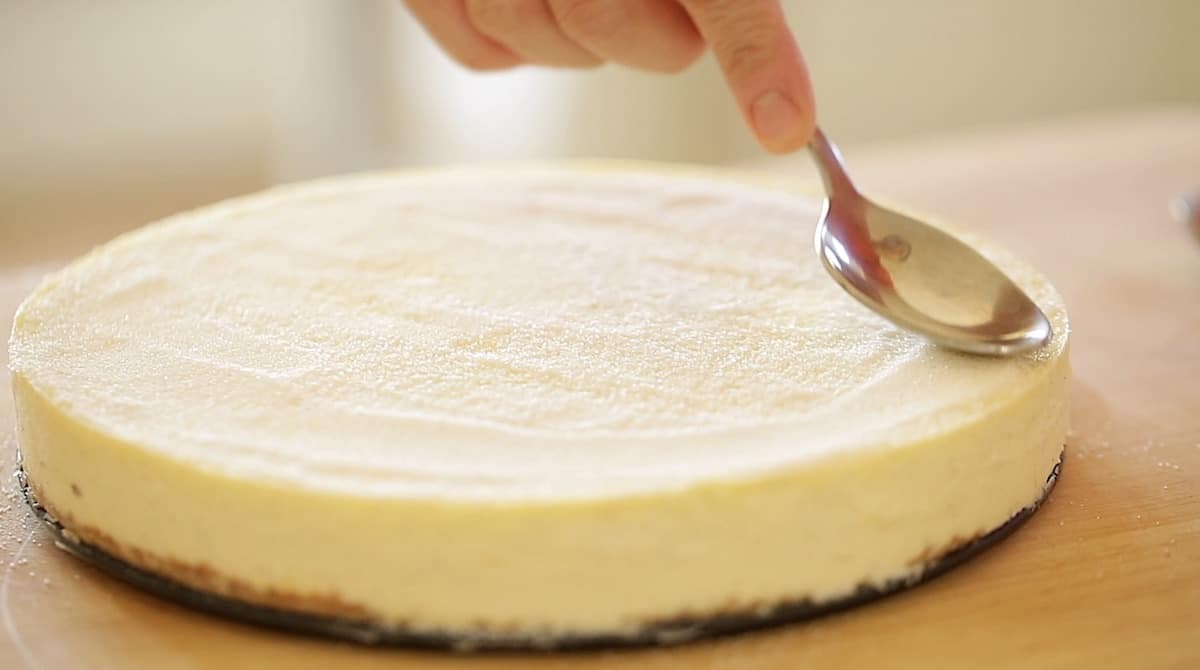
- The trick is to get an even layer of burnt sugar is to spread the sugar in an even layer first. I find the back of a spoon helps with that.
Slow and Steady Wins the Race
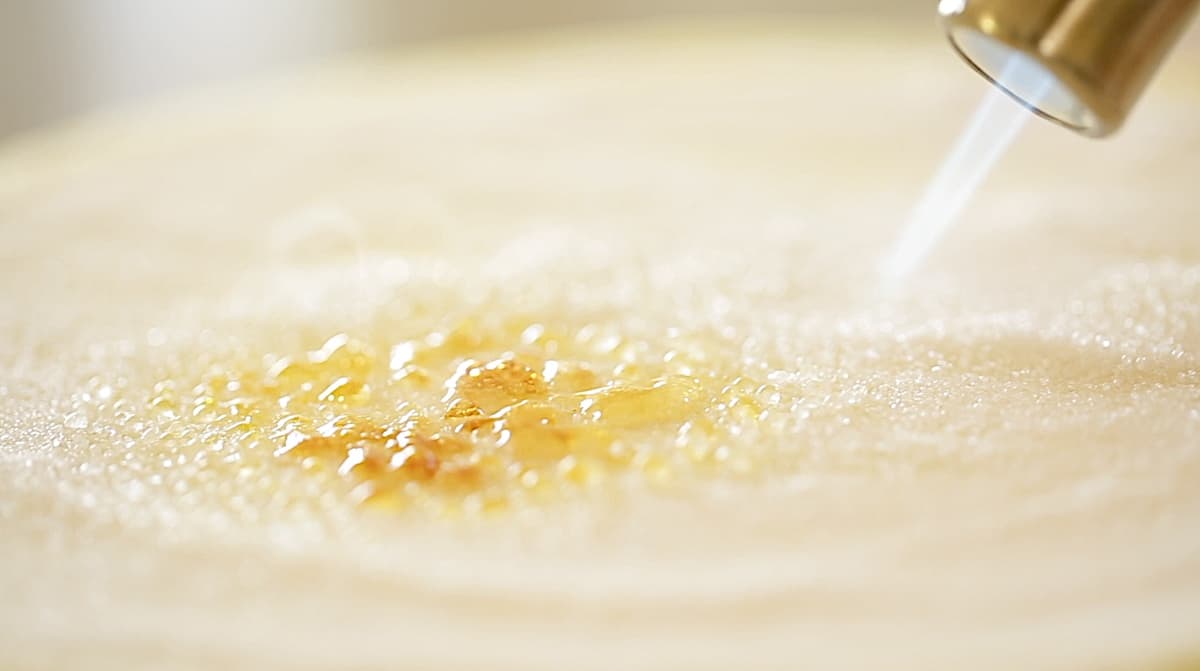
This process takes patience and once you start by doing a little section at a time, you’ll see it will catch on and start to create larger caramelized sections. So just be patient and keep at it, moving the torch around the cake.
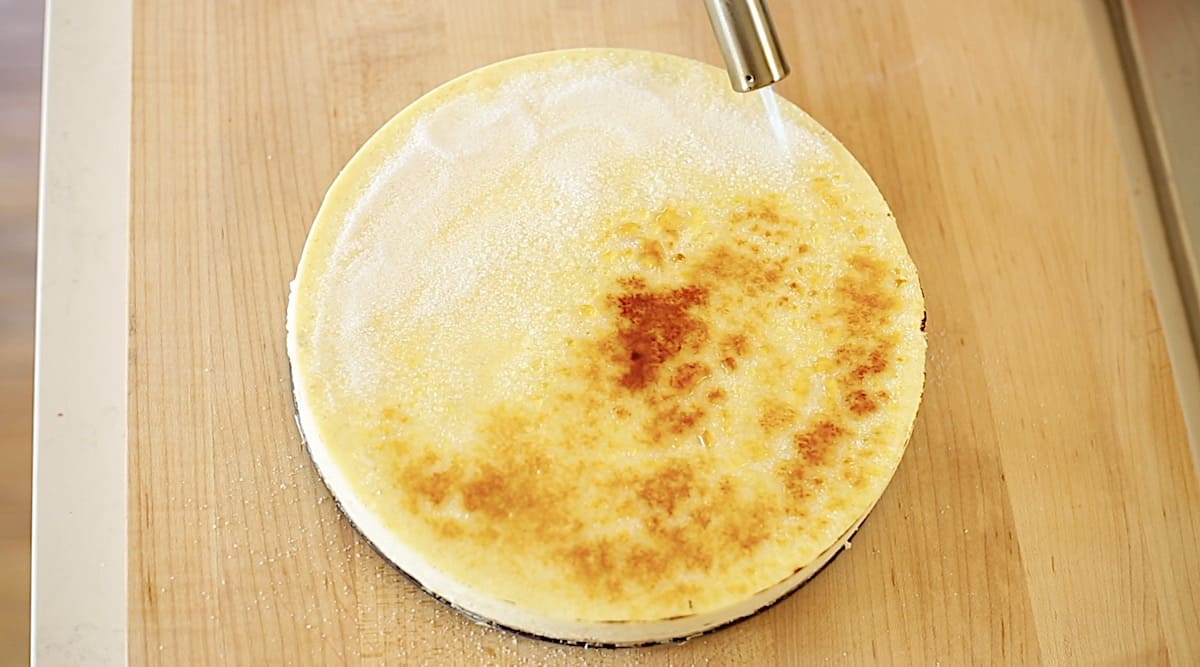
And before you know it, the burnt sugar will cover the cake little by little until it ultimately will cover the entire cake. You can get a little obsessive about this part, so just stop when you feel it’s enough for your liking.
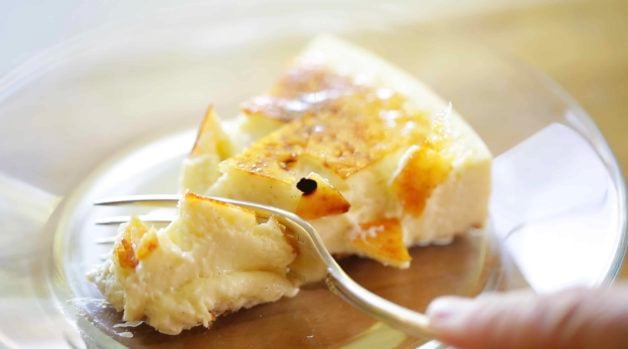
Allow it to cool slightly before serving just so no one burns their tongues with the hot sugar! Then you can garnish it with a sprig of mint and 3 raspberries dusted with powdered sugar.
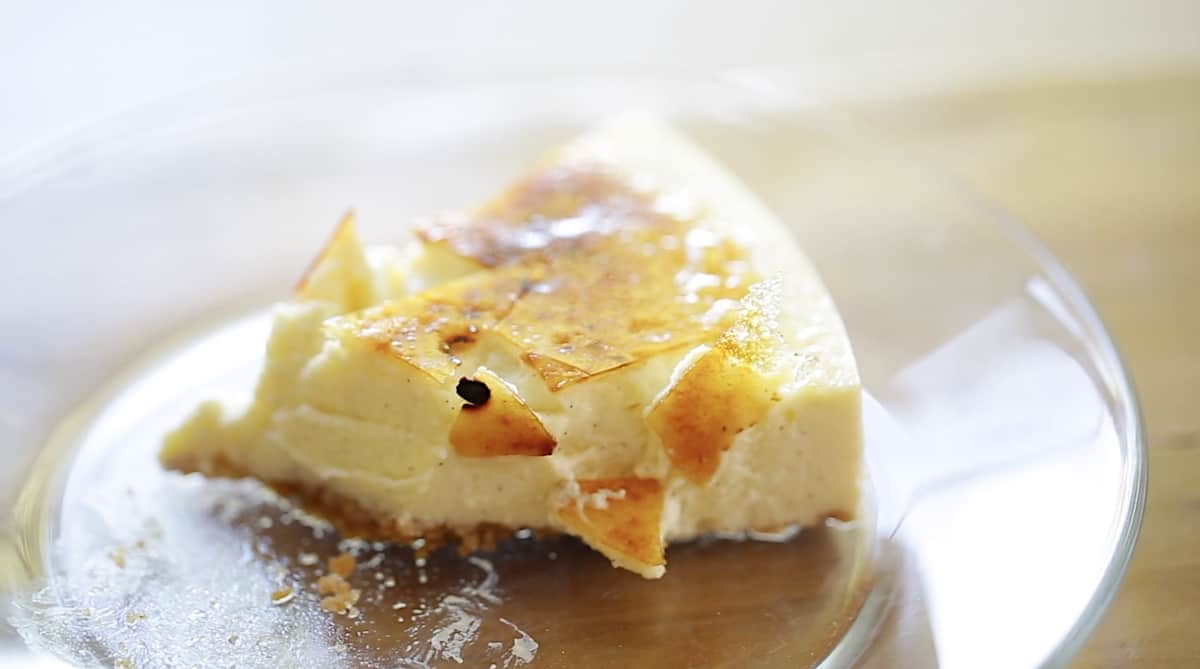
The texture combines the best of both worlds, the richness of cheesecake combined with the smoothness of a creme brûlée, and of course that caramelized sugar on top is just divine!
More Great Spring Desserts Below!
- Pistachio Olive Oil Cake
- No-Bake Berry Cheesecake
- Blood Orange Pound Cake
- Flourless Chocolate Cake with Creme Anglaise
Please let me know if you make this recipe
by leaving a rating and review below!

Creme Brûlée Cheesecake Recipe
A delicious combination of texture and flavors! Combining the crunch of a Creme Brûlée and the creamy decadence of cheesecake.
Ingredients
For crust:
- 9 graham crackers
- 1 tbsp (13g) sugar
- pinch of salt
- 5-6 tbsp (75-90ml) of melted butter
For Filling:
- 15 ounces (424g) ricotta cheese
- 8 ounces (230g) whipped cream cheese
- 8 ounces (230g) mascarpone cheese
- ¾ cup (150g) of sugar
- 3 eggs
- 2 vanilla beans, scraped of their seeds
For Topping:
- 3 tbsp (22g) white sugar
- Kitchen Torch
For garnish:
- 3 raspberries, dusted with powdered sugar
- 1 sprig of fresh mint
Instructions
- Preheat oven to 325F (162C)
- Place graham crackers in a large Ziploc bag and whack them with a rolling pin until crushed. Roll over them with rolling pin until a fine crumb forms. Transfer to a bowl, add sugar, salt and butter.
- Prepare a 9 inch (23cm) spring form pan. Grease it and then wrap the bottom and sides with foil to create a seal for the water bath it will ultimately go into.
- Transfer crumbs into spring form pan. Press crumbs into pan, with a measure cup to pat down. Bake for 10 mins until fragrant and set. Set aside to cool.
- Meanwhile, in a food processor combine the 3types of cheese. Pulse to combine and blend until smooth. Add sugar, pulse, add eggs, one at a time, pulsing in between each addition. Add vanilla bean seeds and pulse.
- Transfer batter into the cooled cheesecake pan.
- Then place a large roasting pan in the oven. Place cheesecake in roasting pan, THEN fill roasting pan with hot water, until it reaches half way up the sides of the cheesecake pan, creating a water bath.
- Bake for 45-50 mins until just set and slightly giggly. Then TURN OFF OVEN, open oven door slightly, and allow cheesecake to drop in temperature for 15 mins.
- Remove cheesecake pan from bath. Leave roasting pan in oven until water cools down.
- Remove foil from pan over the sink to drain any water.
- Allow cheesecake to cool for 30 mins. Then place uncovered in the fridge overnight or for at least 4-6 hours.
- Before serving. Run a sharp knife around the perimeter of the cheesecake to loosen. Then release the cheesecake spring,
- Then sprinkle 3 tbsp of white sugar in an even layer on top of cake. Then taking a kitchen torch, brulee the top of the cake. It will turn into little melted sugar dots and then pools of burnt sugar. Brulee top in this manner. Place on cake stand. Top with 3 raspberries dusted with powdered sugar and a sprig of mint. And serve!
Nutrition Information:
Yield: 8 Serving Size: 1Amount Per Serving: Calories: 670Total Fat: 49gSaturated Fat: 27gTrans Fat: 1gUnsaturated Fat: 17gCholesterol: 202mgSodium: 807mgCarbohydrates: 35gFiber: 1gSugar: 22gProtein: 24g

It came out perfect. Well, not as perfect as Beth’s. My crust was a little thick. Everyone loved it. Nothing was left! Thank you for another successful recipe.
I bought part skimmed milk ricotta cheese. Is that okay?
Thank you for your wonderful videos.
Oh sure the part skimmed ricotta should be fine 🙂 So glad you enjoy the videos!!
Hi Beth! I’m baking it right now and it is still not set after 50 minute. I have increased the time to a total of 60 minutes and am hoping for the best. I wonder if it is because I used vanilla extract instead of beans.
I hope it will turn out well. It’s for my dad’s 80th birthday tomorrow! ?
I will keep you posted!
My favorite recipe of yours!
Incredible recipe! It took an extra 10 minutes in the oven but I followed the rest of the recipe to a T and it was absolutely delicious. Thank you!
YAY! I’m so glad you enjoyed it! 🙂
Can you use vanilla extract instead of the beans
Sure you could use the extract instead no prob 🙂
Wow so delicious i want to make this at home…