Chocolate Cream Pie Recipe
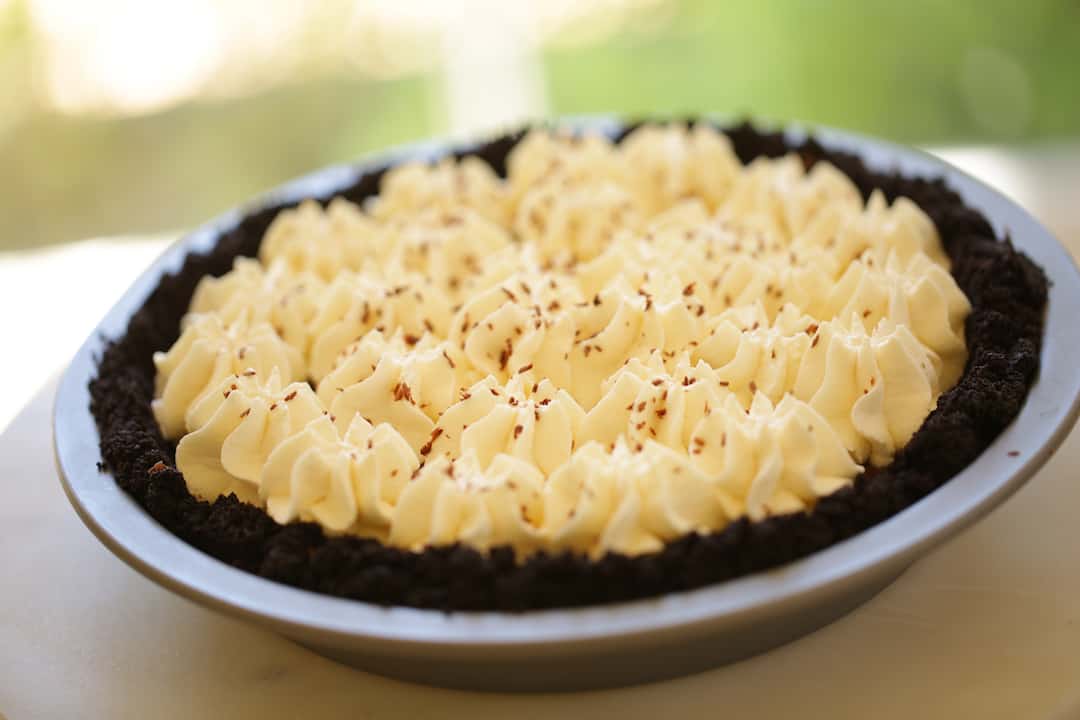
This chocolate cream pie recipe is a decadent, delicious dessert recipe for any special occasion! It reminds me of those cream pies we all grew up with as kids, the kind you would order at the diner.
It’s rich and creamy and oh so chocolatey! The combination of the fantastic custard and crumbly cookie crumbs, balanced out by the softly whipped cream is just to-die-for!
Why You’ll Love This:
- This recipe is also really easy to make ahead, which makes it ideal for entertaining.
- You can make the crust and pie filling the day before and refrigerate it overnight. This will also help it set up so you get nice clean slices.
- Then all you have to do the next day is pipe the whipped cream on. It should then set up for at least 4 hours in the refrigerator to set the whipped cream.
Watch My Video Demo of This Recipe Below!
Subscribe to My YouTube Channel and Never Miss a Video!
If you are looking for other pie recipes, you might also like my Coconut Cream Pie with Coconut Milk, my Pumpkin Pie with Marshmallow Topping or my Foolproof Apple Pie.
Step 1: Make the Chocolate Cookie Crust
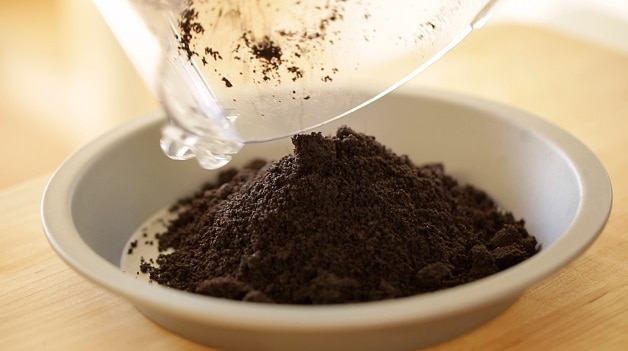
- You’ll begin by adding chocolate wafers to a food processor and pulse until crumbly, then add the butter.
- The mixture should stick together when pinched together. If the crumbs are not sticking together, continue adding more butter until they become sticky.
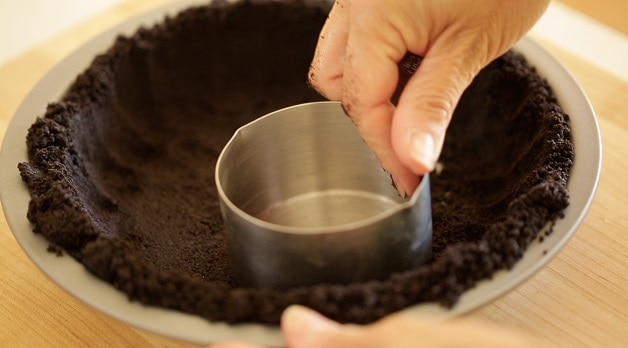
- Then transfer the crumbs into a pie tin, being careful to press the crumbs into the bottom and around the sides of the tin. If the edges are too jagged and messy you can shape them gently with your fingertips.
Crumb Forming Tip:
- I like to use a measuring cup to make sure the crust is even along the sides and bottom of the tin. This also helps to push the crumbs up and form a good size crust.
- Place your tin in a 375F (170C) degree oven for about 6-7 minutes and then set aside to cool.
Step 2: Make the Chocolate Filling
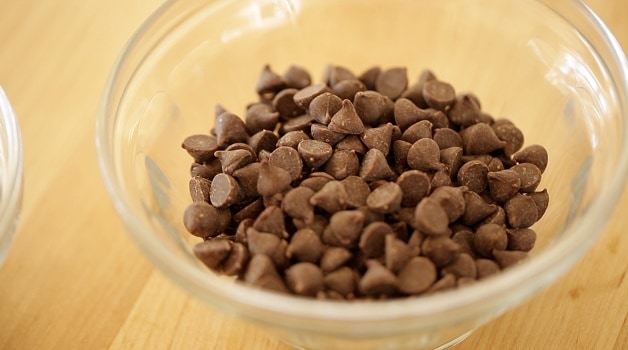
To give the pie a richer, more decadent chocolate flavor I like to use both semi-sweet and bitter-sweet chocolate chips, but you can use just semi-sweet if you prefer a sweeter pie.
What is the difference between semisweet and bittersweet chocolate?
- Essentially, the big difference is the amount of sugar.
- Bittersweet chocolate is akin to dark chocolate, which doesn’t have as sweet of a flavor as the semisweet, but it does add a lot of richness to the recipe.
- Personally, I found the bittersweet has a more pronounced chocolate flavor than semi-sweet which is why I like to use both; one for sweetness and one for flavor.
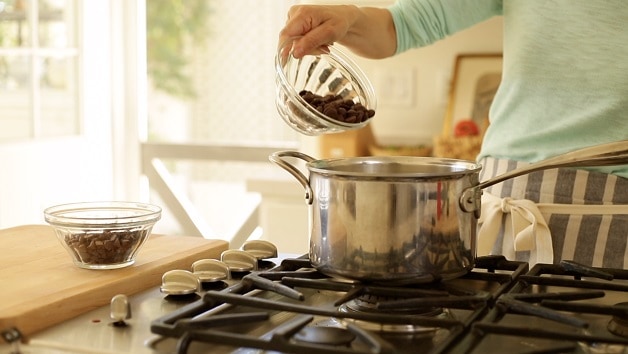
- Add the chocolate chips to the pot and whisk until melted and smooth.
Tempering the Eggs
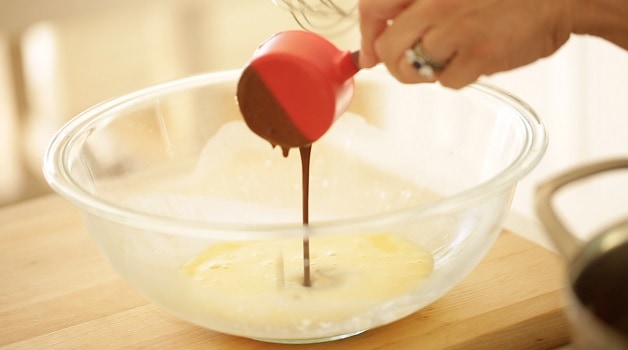
- Then, with a 1/3 cup measuring cup, slowly add the melted chocolate mixture to the egg mixture.
- This will “temper” the eggs for the remainder of the melted chocolate and prevent the egg from scrambling.
- Once the mixture is combined, add the remainder of the chocolate to the bowl.
Why do you “temper” eggs?
- Tempering is something you do when adding something hot to a mixture of eggs.
- It will bring the temperature of the eggs slowly up while breaking down the egg proteins.
- When you add small amounts of liquid at a time to raw eggs, it dilutes the egg proteins and makes it hard for them to link up or scramble.
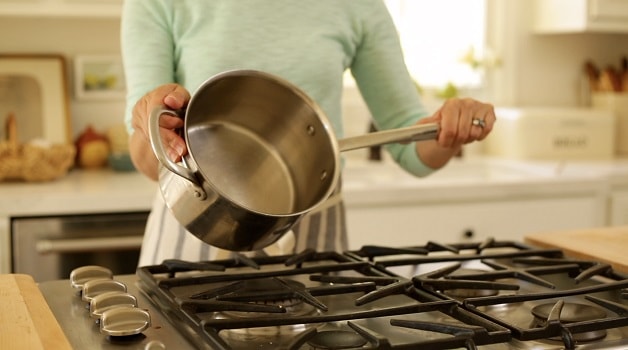
- Then you’ll want to rinse out the pot that had the chocolate mixture in it so you have a clean pot to work with. A clean pot will assure a smooth custard and prevent scorching at the bottom.
Cooking the Mixture
- Because of the raw egg, we need to “cook” this mixture to at least 165F which will kill off the bacteria of the eggs, and at the same time thicken the mixture into a custard.
- The final step is to add a pat of butter to the custard and swirl it in to combine, this will add a nice velvety finish.
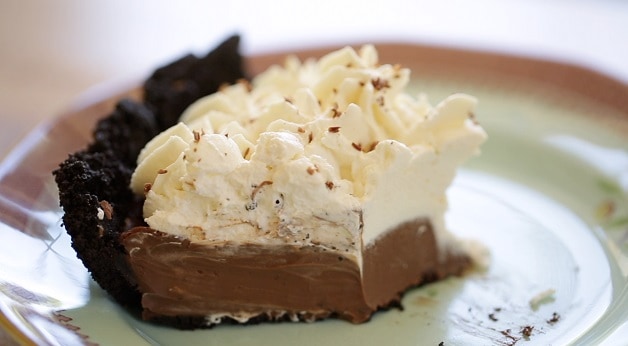
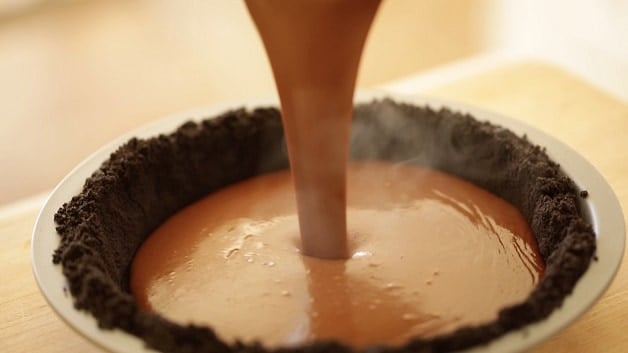
- Then, pour the warm filling into the cooled crust. The pie will need to set up overnight to become firm and chilled. This will result in the best texture.
Step 3: Make the Whipped Cream
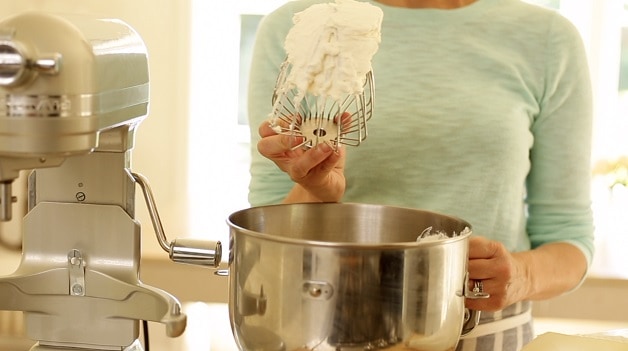
Since the whipped cream is piped onto the pie, it’s better if it has a stiff texture to it to keep its shape is as opposed to a texture with soft peaks.
Can you whip cream by hand?
- If you are only making a small amount, whipping by hand could be the way to go.
- However, it does take several minutes of elbow grease to get the desired result! Especially, for this pie which requires a stiff whipped cream to achieve the best decorative piping.
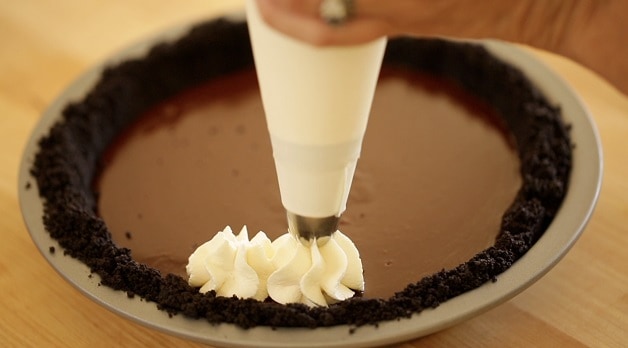
- Transfer the whipped cream into a pastry bag and pipe all around the pie. Be generous with your piping for those big, beautiful peaks!
Garnishing the Pie:
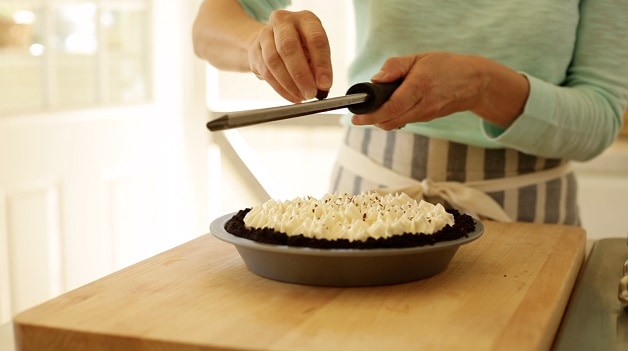
Then, I like to grate a chocolate chip over the pie for a little garnish. Or you could get extra fancy and make some chocolate curls as seen in my Chocolate Mousse Cake Recipe.
Get a Clean Slice
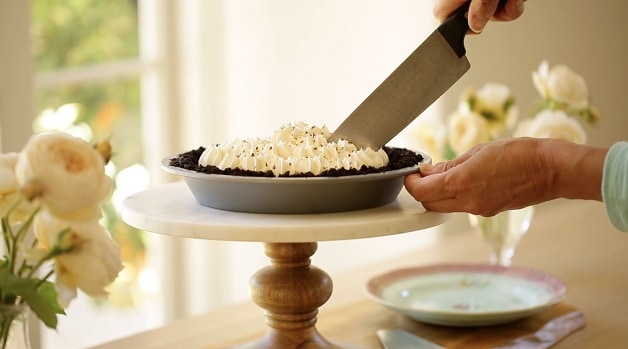
Then be sure to place it back in the fridge for 2-3 hours before serving to allow the whipped cream to set up and allow you to cut a really clean slice!
More Recipes You’ll Enjoy!
- Chocolate Chunk Ice Cream
- Raspberry Cheesecake Recipe
- Cherry Pie Recipe
- Raspberry Almond Brunch Cake
If you Enjoyed This Recipe
Please Leave a Rating and a Review Below!
Chocolate Cream Pie Recipe
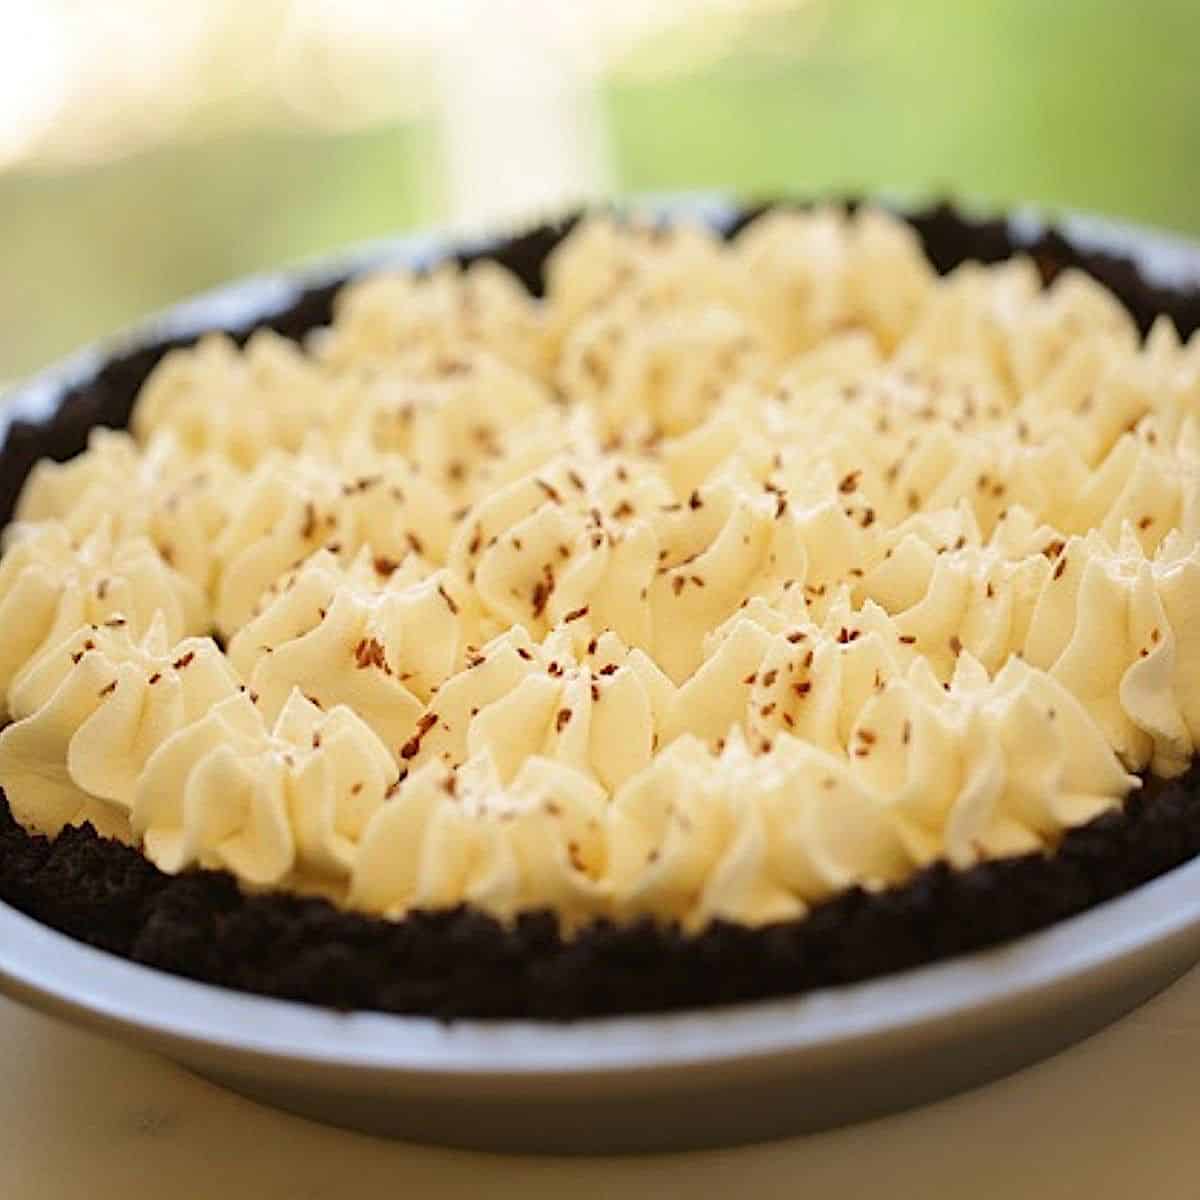
This decadent chocolate cream pie can be made ahead, making it the perfect party dessert. Rich chocolate custard combines with a delicious chocolate cookie crumb crust for the ultimate chocolate cream pie recipe.
Ingredients
Pie Filling:
- 7 oz (196g) chocolate wafer cookies
- 5 tbsp (75ml) of melted unsalted butter
- 1 cup (240 ml) whole milk
- 1 cup (240 ml) heavy cream
- ¼ cup (50 g) of sugar
- 1 cup (150 g) semi-sweet chocolate chips
- 1 cup (150 g) bittersweet chocolate chips
- 3 egg yolks
- 1 tbsp (7 g) cornstarch
- 1 tsp (5 ml) vanilla
- 1 tbsp (15g) butter
Whipped Cream Topping:
- 1 cup (240 ml) heavy cream
- 2 tsp (10 ml) powdered sugar
- ½ tsp (2.5ml) vanilla extract
Instructions
- Pre-heat oven to 375F (190C).
- Place cookies in a food processor and pulse until finely ground. Add melted butter and pulse until a wet crumb forms. Place crumbs in a 9” (23 cm) pie tin, working them up the sides with your hands and flattening the bottom with a measuring cup until a tight, crumbly crust forms. Bake for 6-7 mins until fragrant and set. Set aside to cool.
- In a large mixing bowl whisk egg yolks and cornstarch until pale yellow and smooth. Set aside.
- In a large sauce pot combine milk, cream, sugar, and chocolates. Heat on medium, whisking all the while until chocolate melts and a smooth liquid forms.
- Measure out 1/3 cup of the hot chocolate mixture and add it to the egg mixture whisking to combine and tempering the eggs. Then pour the rest of the chocolate mixture into the egg mixture and whisk to combine. Rinse out pot.
- Pour the new chocolate mixture back into the clean sauce pot and cook on medium, whisking constantly until custard thickens and “cooks”. It’s import you do this for at least 5 minutes to cook off the bacteria of the raw egg. 165F degrees with a candy thermometer to be sure.
- Add butter and whisk until smooth, add vanilla.
- Pour chocolate mixture into cooled pie crust and refrigerate 4-6 hours, overnight even better!
- -3 hours before serving create the whipped cream topping.
- In the bowl of an electric mixer combine heavy cream, sugar and vanilla. Whip until stiff peaks form. Transfer to a pastry bag fitted with a star tip.
- Begin piping stars ½ inch from the crust so that you can see a little bit of the chocolate cream below. Pipe little stars all around pie in decorative fashion. Top with grated chocolate coming from bittersweet chocolate chip.
- Place pie (uncovered) in fridge for another 2-3 hours. Cut and serve chilled!
Notes
- Be sure to allow at least 4 hours for the pie to set up in the refrigerator. That will make it easier and less messy to slice
Nutrition Information:
Yield: 8 Serving Size: 1Amount Per Serving: Calories: 195Total Fat: 16gSaturated Fat: 9gTrans Fat: 0gUnsaturated Fat: 6gCholesterol: 99mgSodium: 36mgCarbohydrates: 12gFiber: 1gSugar: 8gProtein: 3g


I made this pie for Thanksgiving last week, along with 4 other flavors, all different. I assumed this pie would be popular amongst the kids, but had no idea how popular it would be with the adults too. In fact, out of 5 pies, this chocolate on was the first to be gone. I made 3 changes: I only used bittersweet chocolate chips, it’s what I already had. Also, instead of heavy cream and milk, I used 2 cups of half and half. I figured it’s the same exact thing, since you’re mixing cream with milk, but buying half and half is SO much cheaper. Also, I never could find chocolate wafer cookies anywhere, so I had two choices, either chocolate graham crackers or Oreo cookies. I decided Oreos would have the more chocolate flavor. (I first scraped off all the frosting.)
Hi,
I would like to say I really love your videos it looks really good. I have one question for the crust I don’t have chocolate wafer or Oreos but I do have regular graham crackers. Is that okay to use graham crackers for the crust?
Oh sure! You could absolutely use graham crackers no problem. It will still be delicious! So glad you are enjoying the videos!