Holiday Baked Alaska Recipe
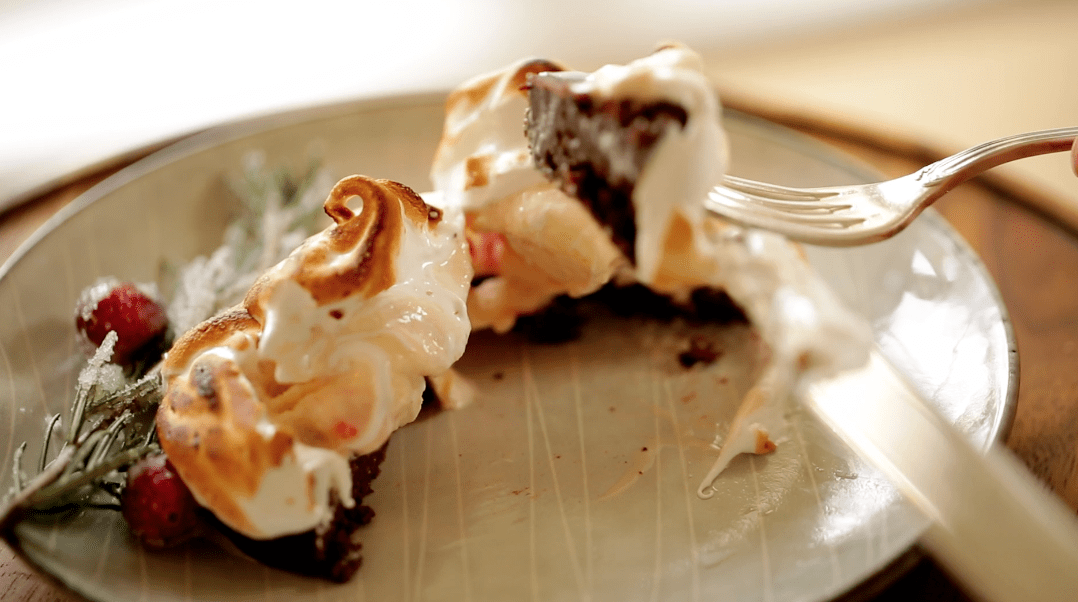
This Holiday Baked Alaska is a real show-stopper for a Christmas-themed dessert. It has a fudgy chocolate brownie base, topped with a “cheater” candy cane ice cream, which is covered in a pillowy, light meringue!
It’s a holiday recipe that will surely become a family favorite!
For a step-by-step tutorial, watch my video demo below!
SUBSCRIBE TO MY YOUTUBE CHANNEL and never miss a recipe!
STEP#1: Bake the Brownie Base
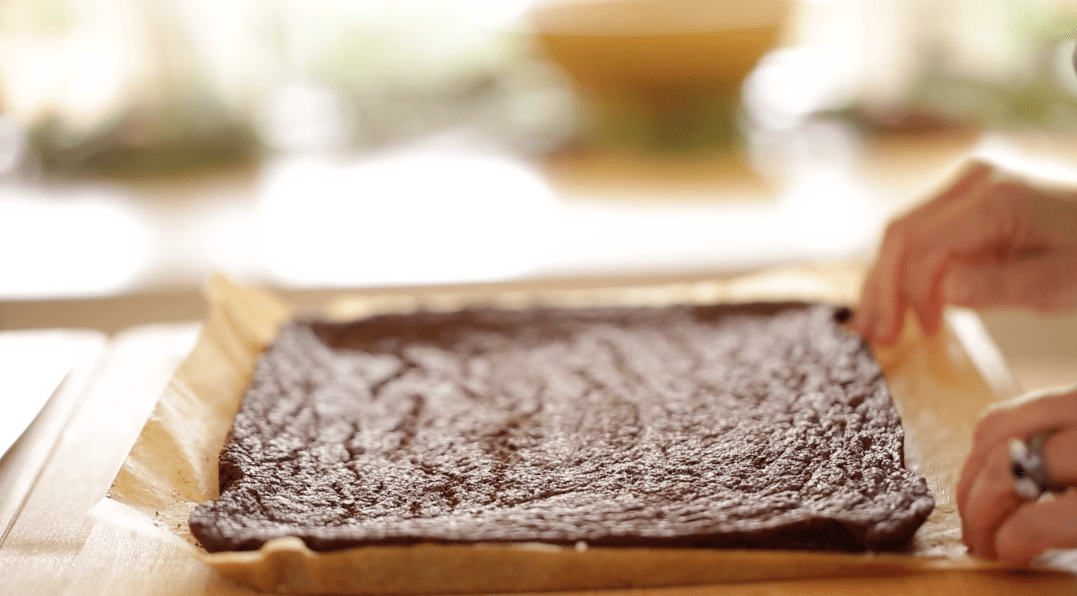
This dessert does need a little pre-planning since it takes time for the brownies and ice cream to set up. First, you’ll want to bake your brownies. Allow them to cool and then refrigerate. You can do this up to 2 days before to help with the prep, and keep them covered with foil and refrigerated.
STEP#2: Create the Candy Cane Ice Cream
I call this Candy Cane Ice Cream “cheater ice cream” because it’s only semi-homemade. This is one of my favorite shortcuts to getting the appearance of “homemade ice cream” but in half the time. I do this also for the 4th of July with a “cheater” Red, White, and Blue Ice Cream made with fruit puree and serve it with homemade waffle cones, which is always a bit hit too!
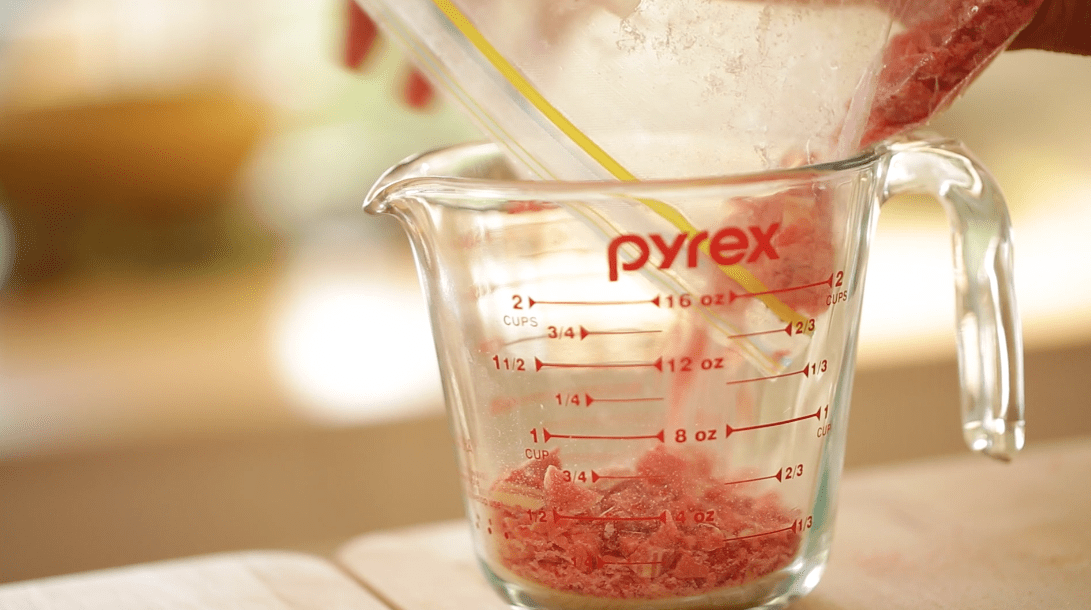
First crush 2-3 large candy canes. The easiest way to do this is by placing them in a Ziploc bag and give them a good whack with a rolling pin until you get 2/3 cup of crushed candy canes. If you have leftover candy canes you can use them up in my Chocolate Candy Cane Cupcakes. Another great holiday dessert to try!
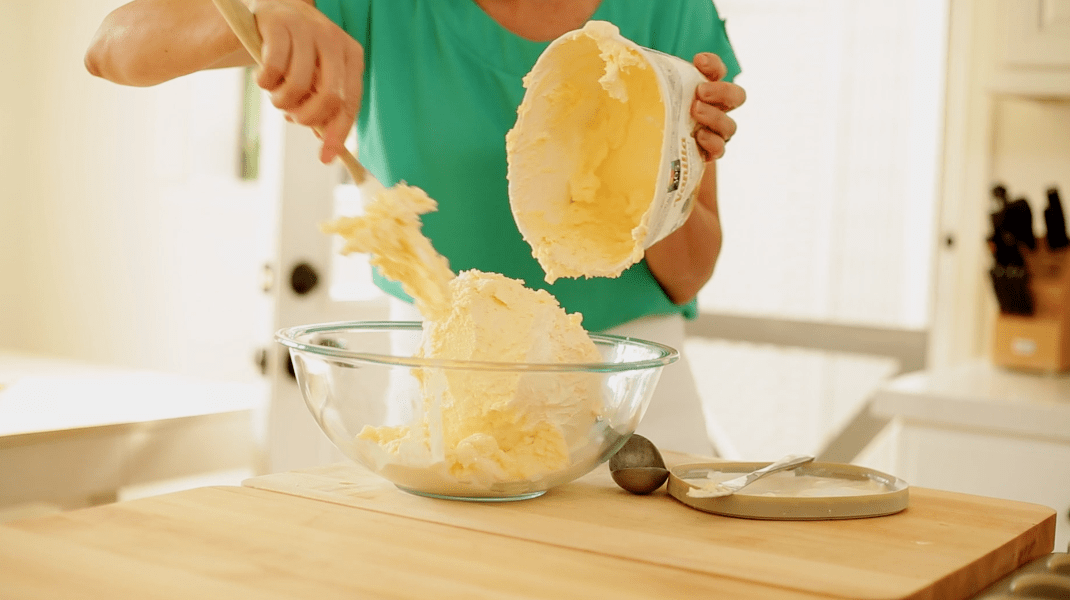
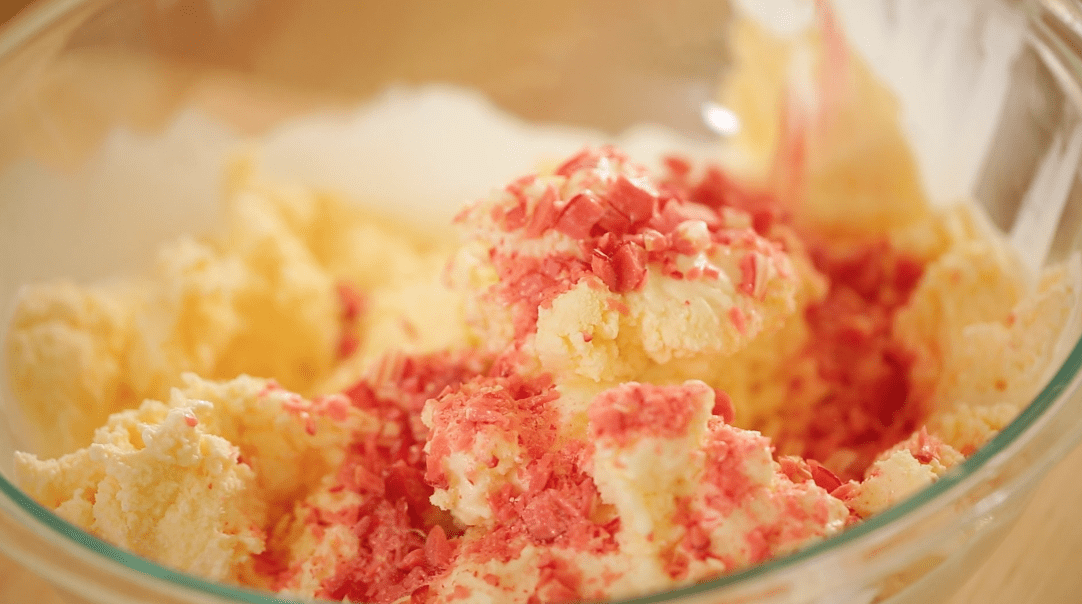
Then transfer a quart of softened, store-bought vanilla ice cream, to a bowl. And mix in the crushed candy canes. You can also do this in a stand mixer and it’s even quicker!
I also think it’s worth splurging on some high-quality, artisan-style candy canes like Hammond Canes. You’ll get a less sugary, medicine-like flavor, and they also don’t use corn syrup in their products if that is also a concern.
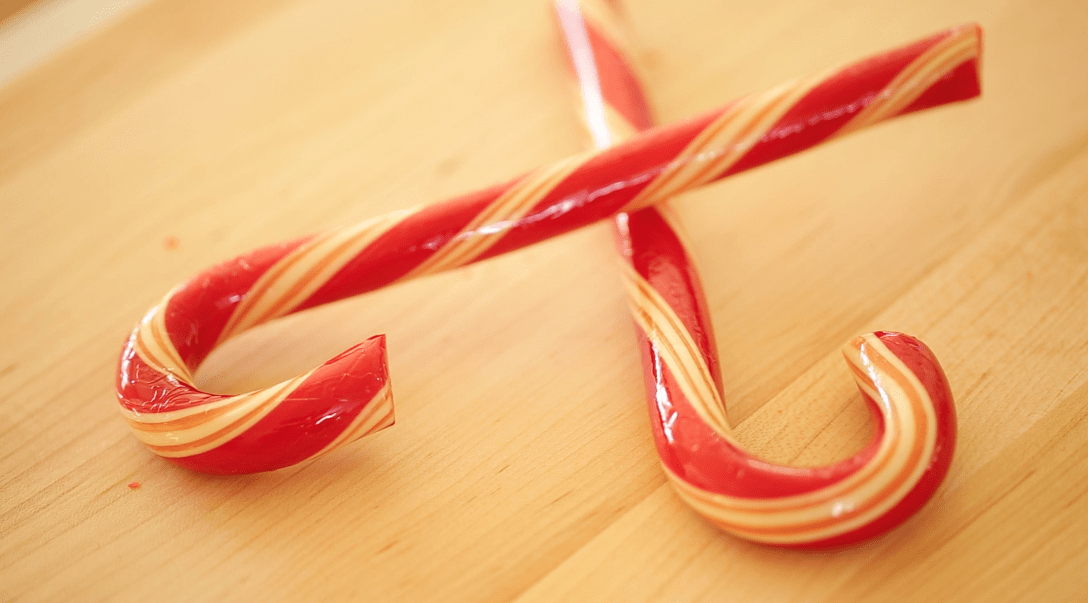
Then transfer your new “Candy Cane Ice Cream” back into the vanilla ice cream tub and allow it to refreeze, for a minimum of 4 hours but overnight is even better! Since you are going to be using a kitchen torch to toast the meringue before serving, it does help if the ice cream underneath is very cold.
STEP#3: Prep the Baked Alaskas for Serving
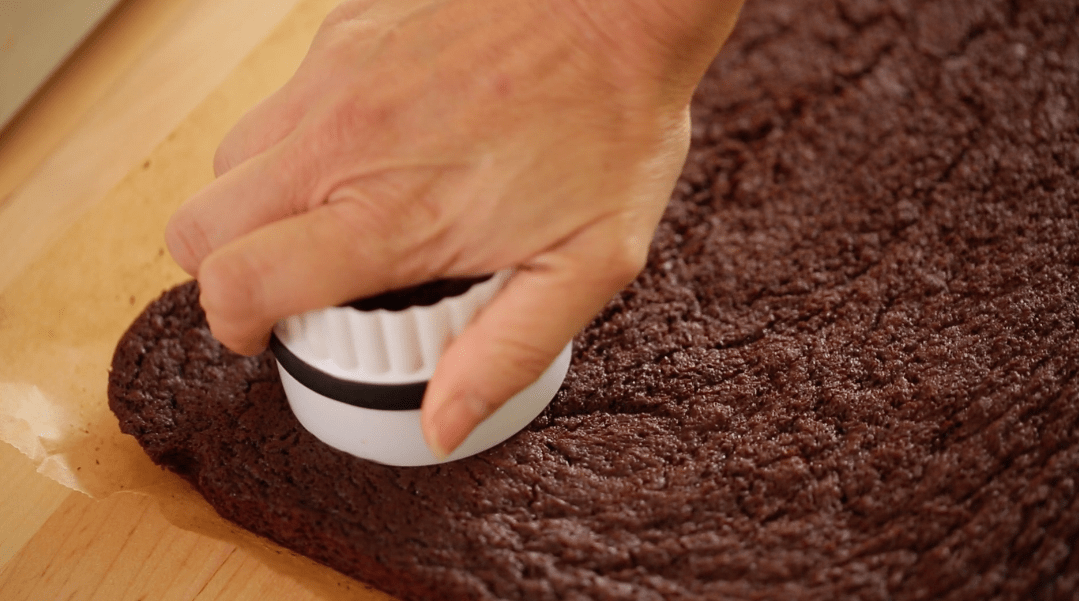
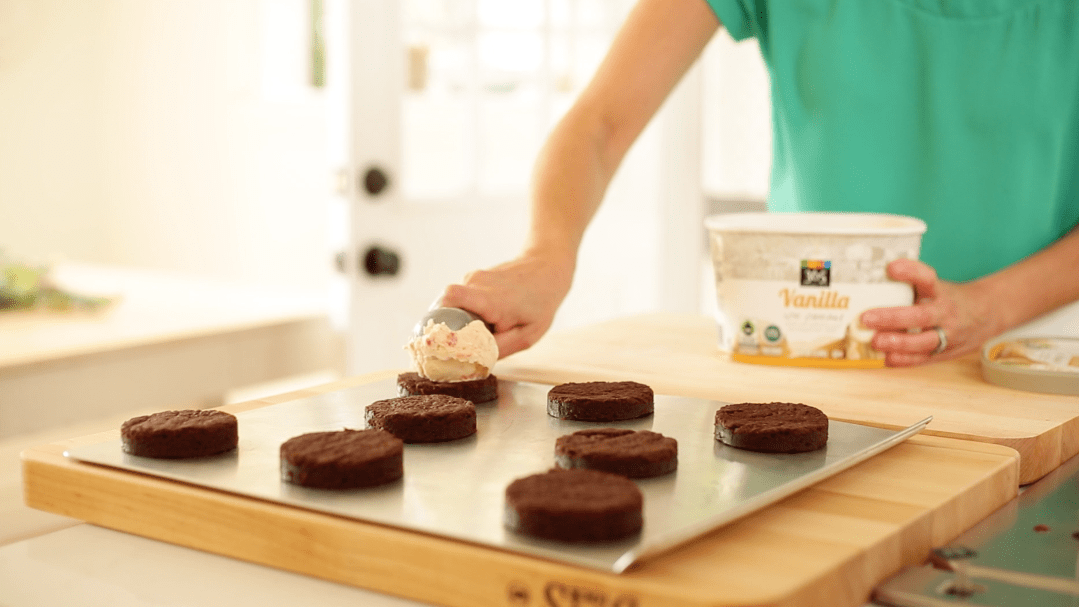
30 minutes before cutting, remove the brownies from the refrigerator to come to room temperature. They will be easier to cut out if they have softened up a bit. Then cut out the brownie bases for your Baked Alaska with a 2 1/2 inch biscuit cutter.
Place them on a metal cookie sheet. This will keep them (and your cutting board!) safe for the kitchen torching part!
Then top each brownie base with a scoop of the Candy-Cane Ice Cream. Then at this point, you can store this whole tray in the freezer until ready to serve. If your freezer does not fit a full baking tray you could also freeze on freezer-safe plates or smaller pans.
Prep the Garnishes In Advance Too!
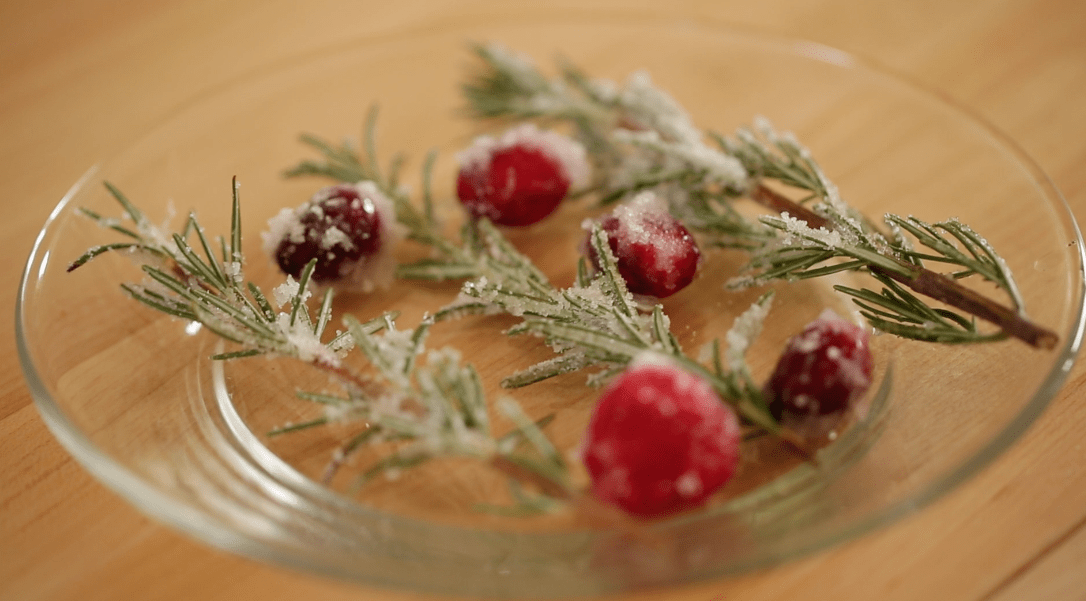
I love the look of these charming “frost-bitten” garnishes. And they couldn’t be easier to do! Just dip fresh rosemary and cranberries in water and then roll them in white sugar. They will keep in the fridge on a plate for at least 2-3 hours until ready to serve. It creates such a festive touch to these fun little Christmas desserts.
STEP#4: Make The Meringue
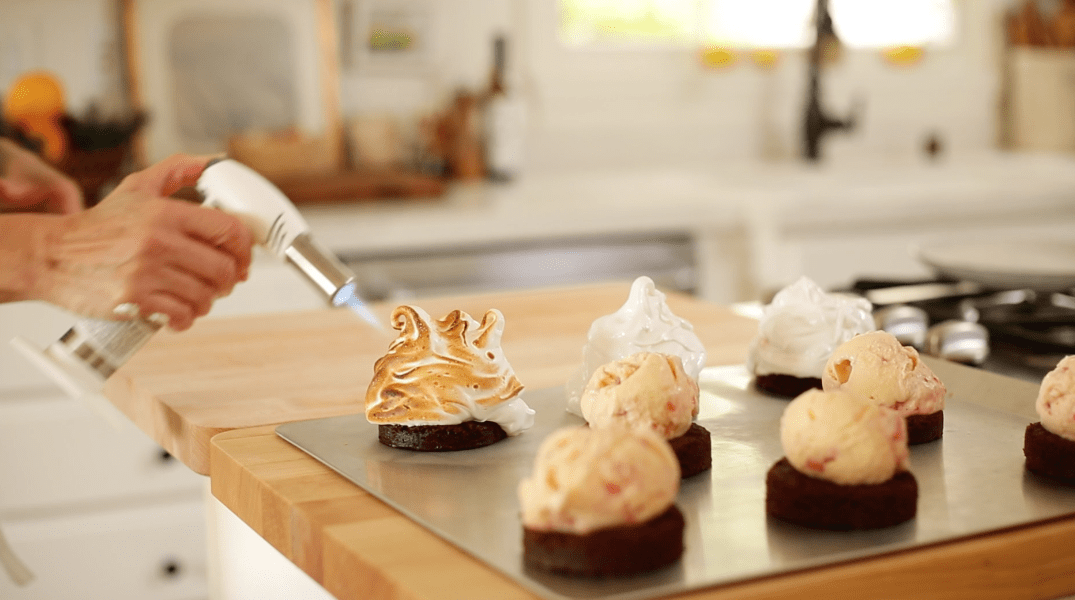
Then moments before serving, whip up the meringue and cover each baked Alaska completely with the meringue, creating nice dollops and swoops. The more texture your baked Alaskas have at this stage, the prettier they will be when they toasted with the kitchen torch.
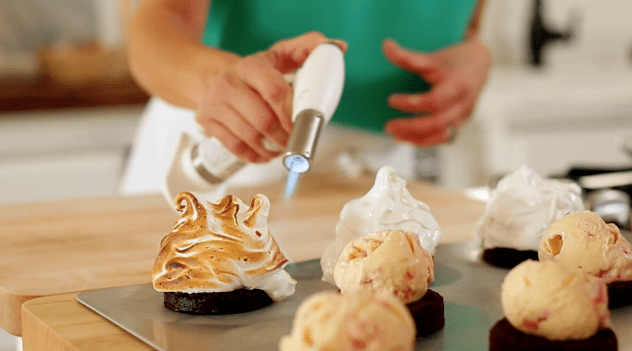
Tips on Kitchen Torches
- Kitchen torches are not all created equal, and while at first, they may be intimidating to use, if you buy one that is easy to use, it makes the whole process less scary!
- My favorite model is the Rosle model, it’s really easy to use once you get the hang of it, and has some nice safety features too. The exact model I use is linked in the recipe card below.
- Just be sure you buy the butane to go with it! The butane doesn’t ship with the torch since it’s flammable but easily found at hardware stores or better kitchen stores.
- Once you master the kitchen torch you can also use it on my Creme Brulee recipes or my Lemon Meringue tart too!
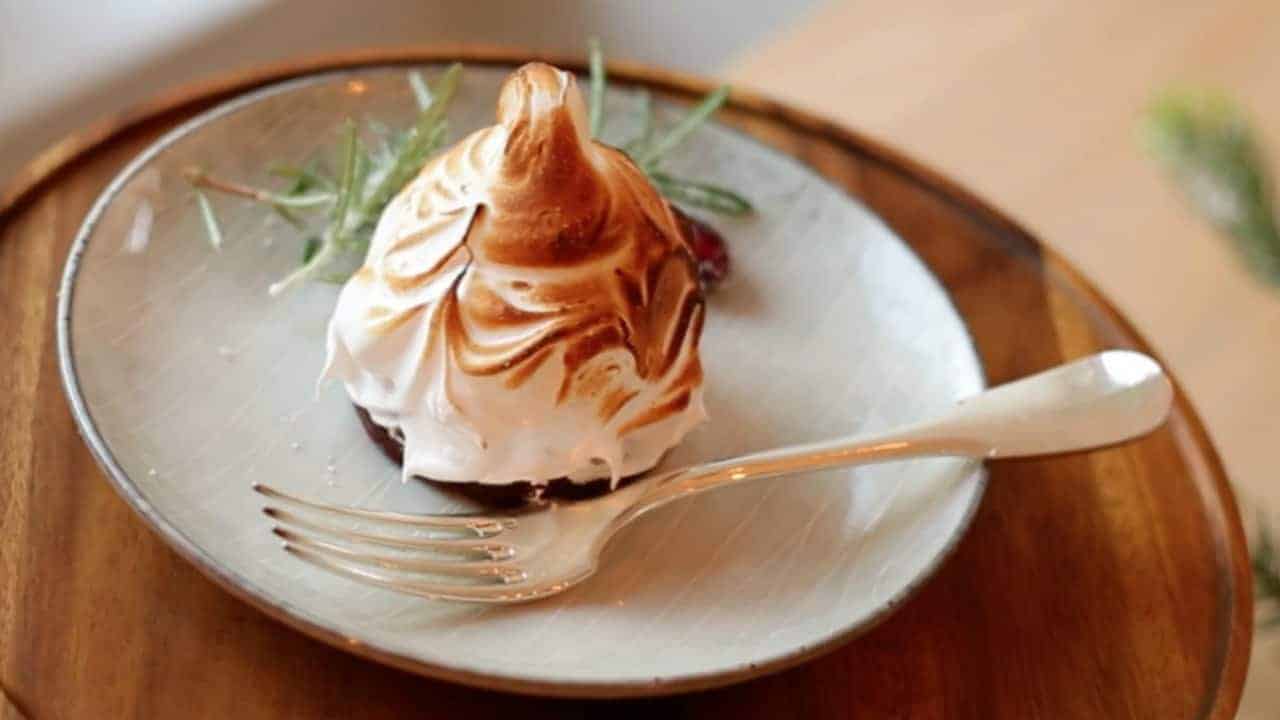
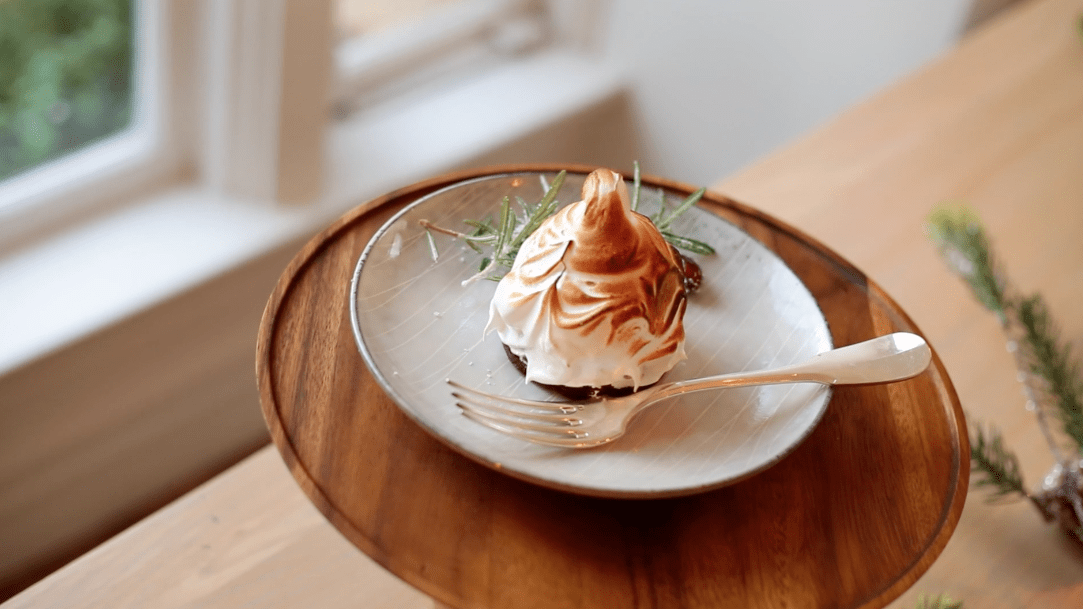
Serve your baked Alaskas immediately, and watch everyone ooh and ahh over these festive little Christmas desserts!
The combination of the fluffy meringue, with the candy cane ice cream and that rich brownie bottom, is just so fantastic! Happy Holidays everyone! xx
MORE GREAT CHRISTMAS DESSERT IDEAS!
- Buche de Noel (Yule Log Recipe)
- Panetone Bread Pudding
- Ile Flottante
- Flourless Chocolate Cake with Creme Anglaise

Holiday Baked Alaska
During the holidays it's always fun to have one real show stopper dessert you can impress all your guests with, and this one folks is it! Baked Alaska, at first glance, can seem pretty intimating, but actually it's not that bad if you break down all the prep.
Ingredients
FOR THE BROWNIES:
- 4 oz (112 g) semi-sweet chocolate
- 12 oz (336 g) bittersweet chocolate
- 1 tbsp (15 ml) vanilla extract
- ½ tsp (2.5 ml) instant coffee
- 1 cup (240 g) of unsalted butter
- 4 eggs
- 1 cup (200 g) of sugar
- ¾ cup (90 g) of flour
- ½ tsp (2.5 ml) salt
- ½ tsp (2.5 ml) baking soda
- 2 tbsp (30 ml) Powdered Sugar for garnish (optional)
FOR THE CANDY CANE ICE CREAM:
- 1.75 qt vanilla ice cream
- 2/3 cup (160 ml) crushed candy canes
FOR THE MERINGUE:
- 6 Egg Whites
- 1 ½ cups ( 300 g) sugar
- ½ tsp (2.5ml) cream of tartar
Instructions
- For the Candy Cane Ice Cream, mix 1.75Qt of soften vanilla ice cream with 2/3 cup of crushed candy canes. Once combined transfer back into the tub and allow to freeze back up over night.
- The day before, make the brownies and mix the ice cream. Both need time to set.
- FOR THE BROWNIES:
- Preheat oven to 375F. (190 C)
- Melt chocolate and butter in a sauce pan on low. Add vanilla and instant coffee, stir to combine. Allow to cool slightly.
- In a small bowl combine flour, baking soda and salt.
- Beat eggs and sugar together until smooth. Add chocolate mixture and beat until smooth. Then add flour mixture, beat until smooth.
- Transfer into a 11 x 16 x 1 pan, lined with parchment paper. Pour batter into pan, and smooth with a spatula.
- Bake 10-15 mins. Allow to cool for at least 30 mins to 1 hour. Place in fridge to firm up.
- To serve. 1 hour before serving remove brownies from the fridge to rise to room temperature.
- Cut out brownies with a 2 1/2" biscuit cutter place on a metal sheet pan.
- Whisk up the meringue until stiff. Set aside.
- Place 1 scoop of candy cane ice cream on each brownie. Top with swirls of meringue until covered. Make decorative peaks
- Brown each Baked Alaska with a kitchen torch transfer to plate and serve!
Recommended Products
As an Amazon Associate and member of other affiliate programs, I earn from qualifying purchases.
-
Wilton Icing Spatula, 13-Inch, Angled Cake Spatula
-
3 Natural Mint Candy Canes, NO Corn Syrup, Hammonds Handmade, 2 Oz, Red/Gold/White Stripe
-
HULISEN Biscuit Cutter Set (5 Pieces/Set), Round Cookies Cutter with Handle, Professional Baking Dough Tools (Round)
-
KitchenAid KP26M1XBZ 6 Qt. Professional 600 Series Bowl-Lift Stand Mixer - Black Storm
-
Rösle Crème Brulee Butane/Propane Adjustable Kitchen Torch
Nutrition Information:
Yield: 8 Serving Size: 1Amount Per Serving: Calories: 260Total Fat: 11gSaturated Fat: 6gTrans Fat: 0gUnsaturated Fat: 4gCholesterol: 113mgSodium: 113mgCarbohydrates: 30gFiber: 1gSugar: 18gProtein: 9g




4 Comments