Easy Pineapple Upside Down Cake Recipe
SHARE THIS RECIPE!

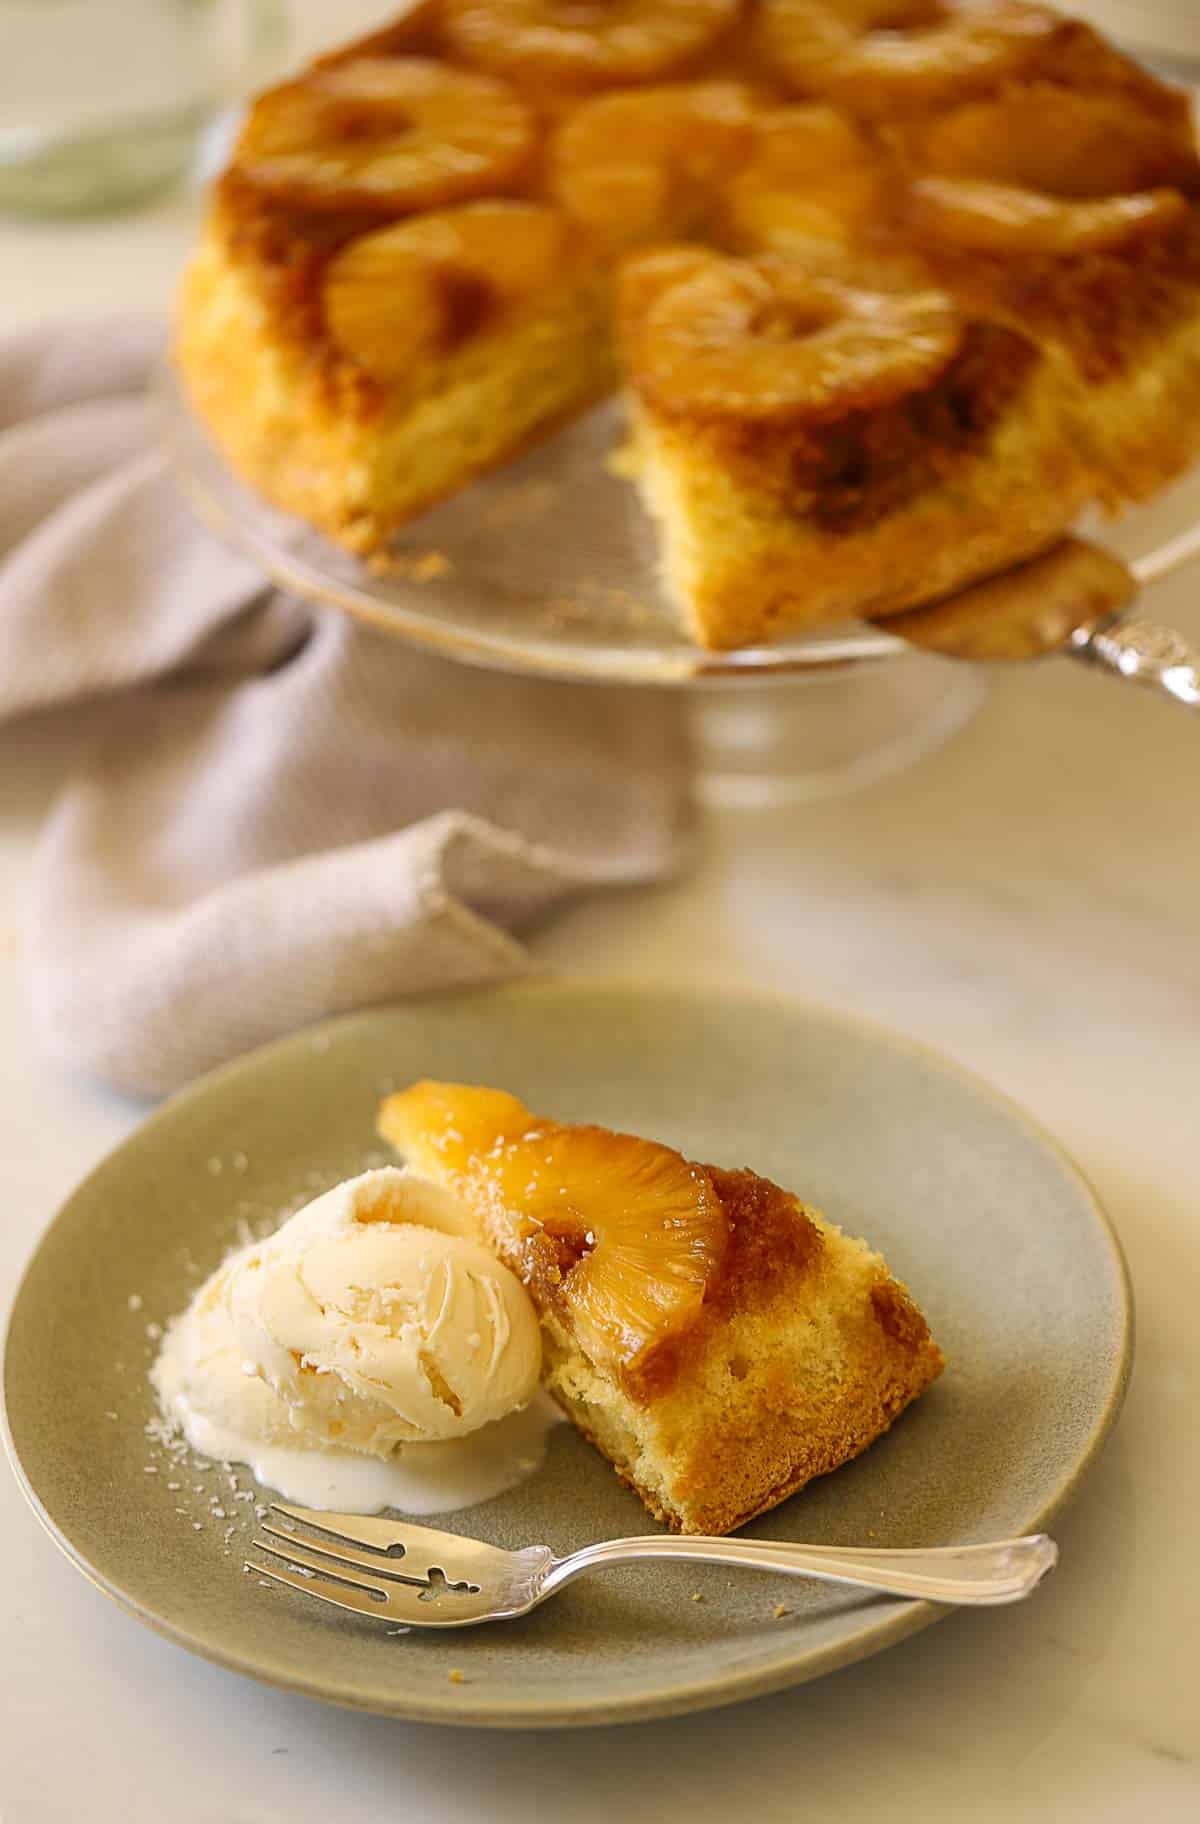
This easy Pineapple Upside Down Cake is one of those classic Dessert Recipes from the 1930s that deserves a comeback! It’s so delicious and easy to make, it’s no wonder it’s back on the rise.
It’s the perfect recipe for spring entertaining because it’s so simple to put together, but creates such a WOW factor! It would be great to serve at any springtime occasion, such as Easter or Mother’s Day.
For more cake recipes, try my Lemon Ricotta Cake, Cinnamon Apple Cake, or my Crumb Cake Recipe.
Would you like to save this?
Why You’ll Love This Recipe
- The cake’s interior is soft and fluffy with a lovely texture.
- It’s an easy cake to make ahead and leave at room temperature until ready to serve.
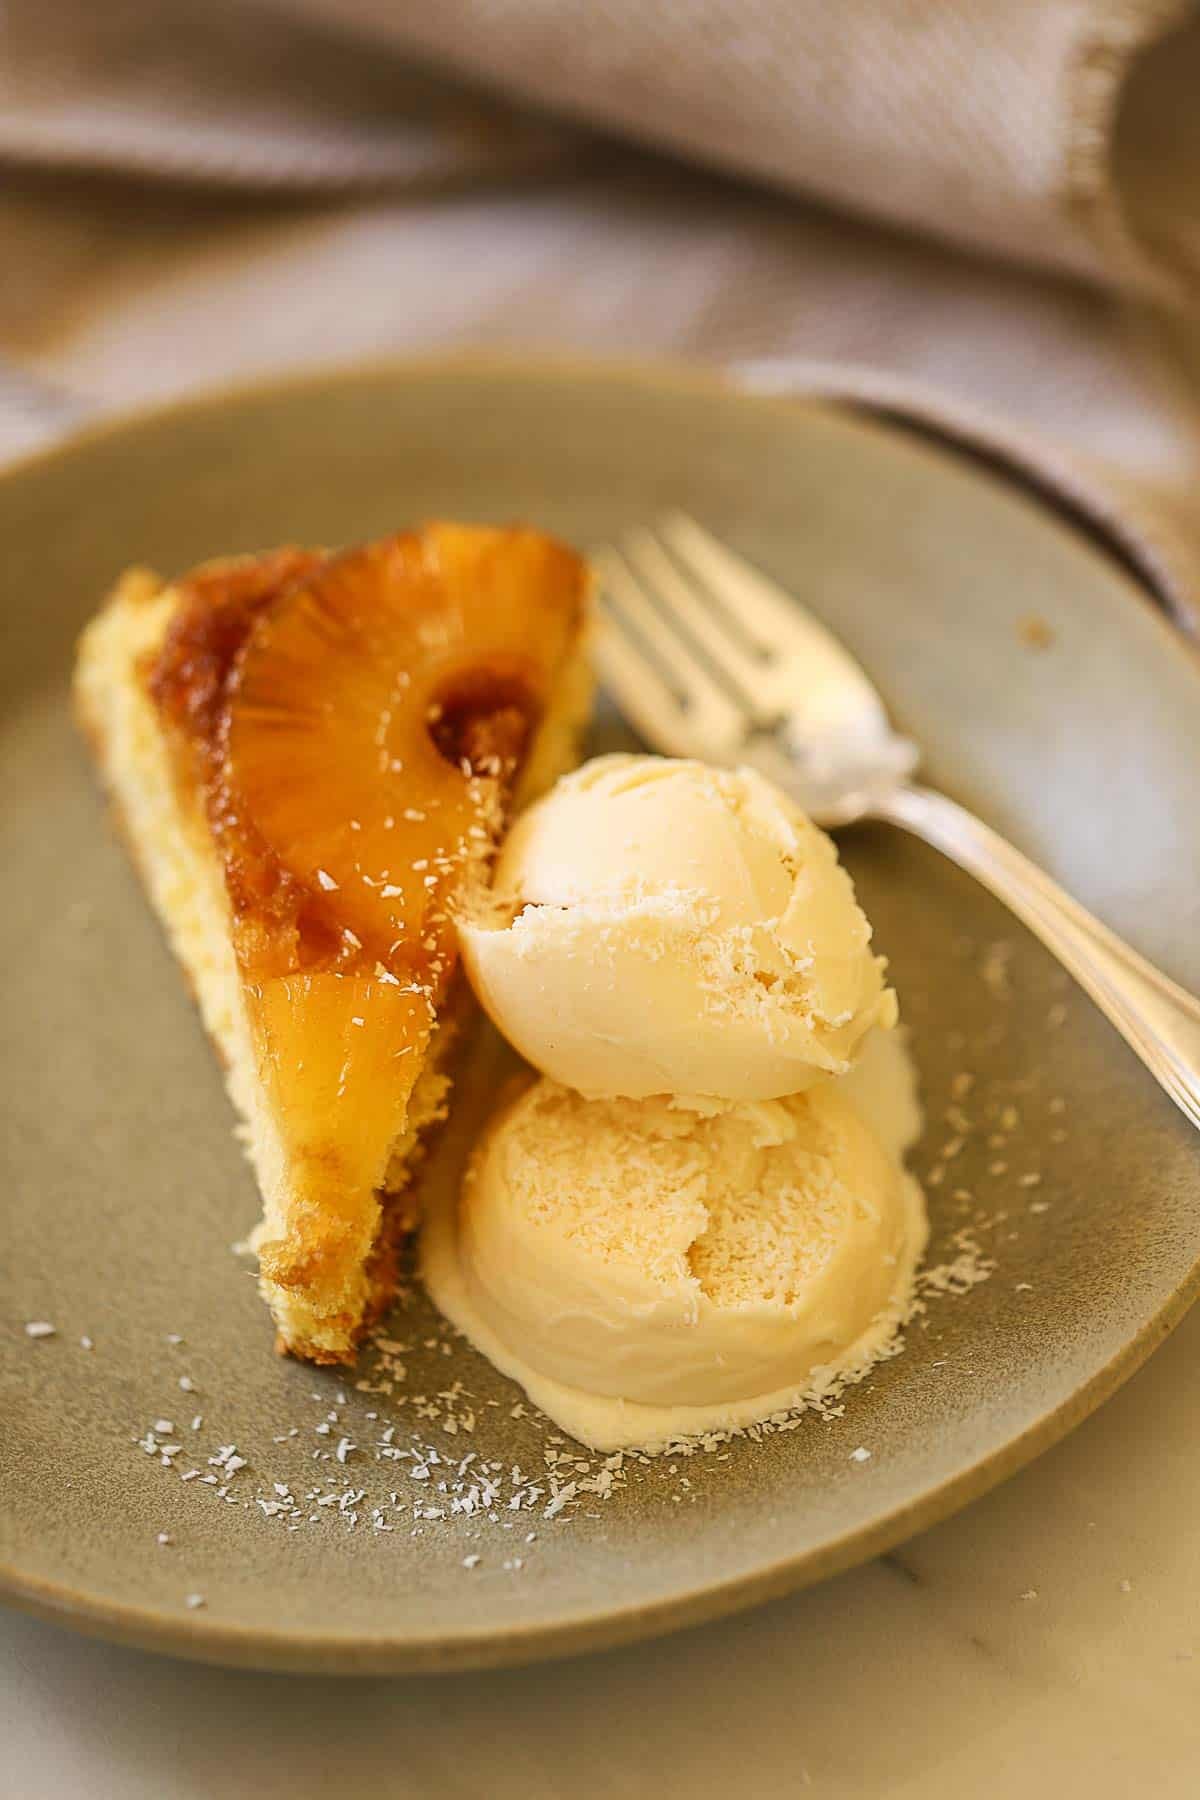
- It pairs beautifully with a scoop of coconut ice cream, topped with shredded coconut flakes or a drizzle of caramel sauce.
Ingredients:
- Pineapple Slices: Buy the pre-sliced pineapple in a cake. It’s so much easier that way and will fit into the cake pan perfectly. Pat the pineapple dry of any excess pineapple juice before using. The excess liquid will dilute the caramelization on top of the cake.
- Brown Sugar: Is the base for creating the caramelized topping.
- Melted Butter: Gets mixed with the brown sugar for the caramelized topping.
- Eggs: You’ll need 4 eggs for that light, fluffy texture.
- Sugar: White granulated sugar is best for the cake batter.
- Vanilla Extract: Use pure vanilla extract for the best flavor.
- Flour: All-purpose flour works just fine. No need for any fancy cake flours.
- Baking Powder: For a nice lift to the cake.
- Kosher Salt: I prefer the flavor of kosher salt; it enhances the cake’s flavors without making it “too salty.”
- Coconut Ice Cream: Is a delicious complement to the cake’s flavors, but you could also use vanilla extract if you prefer.
- Unsweetened Shredded Coconut Flakes: For a little extra coconut flavor on top.
- Maraschino Cherries (optional): Personally, I’m not a fan of the cherries. I find their sweetness a bit too much for this cake. They are better left for a hot fudge sundae, but you can absolutely add them to the interiors of the pineapple rings if not having them is a deal-breaker for you.

Step#1: Prepare the Pan
- Spraying a 10″ cake pan with baking spray.
- For extra precision when placing your pineapples, use a Pineapple Upside-Down Cake Pan!
- You can find them on Amazon or in kitchen stores. Just look for the ones that are offered as a non-stick pan, the cake will be easier to release that way.

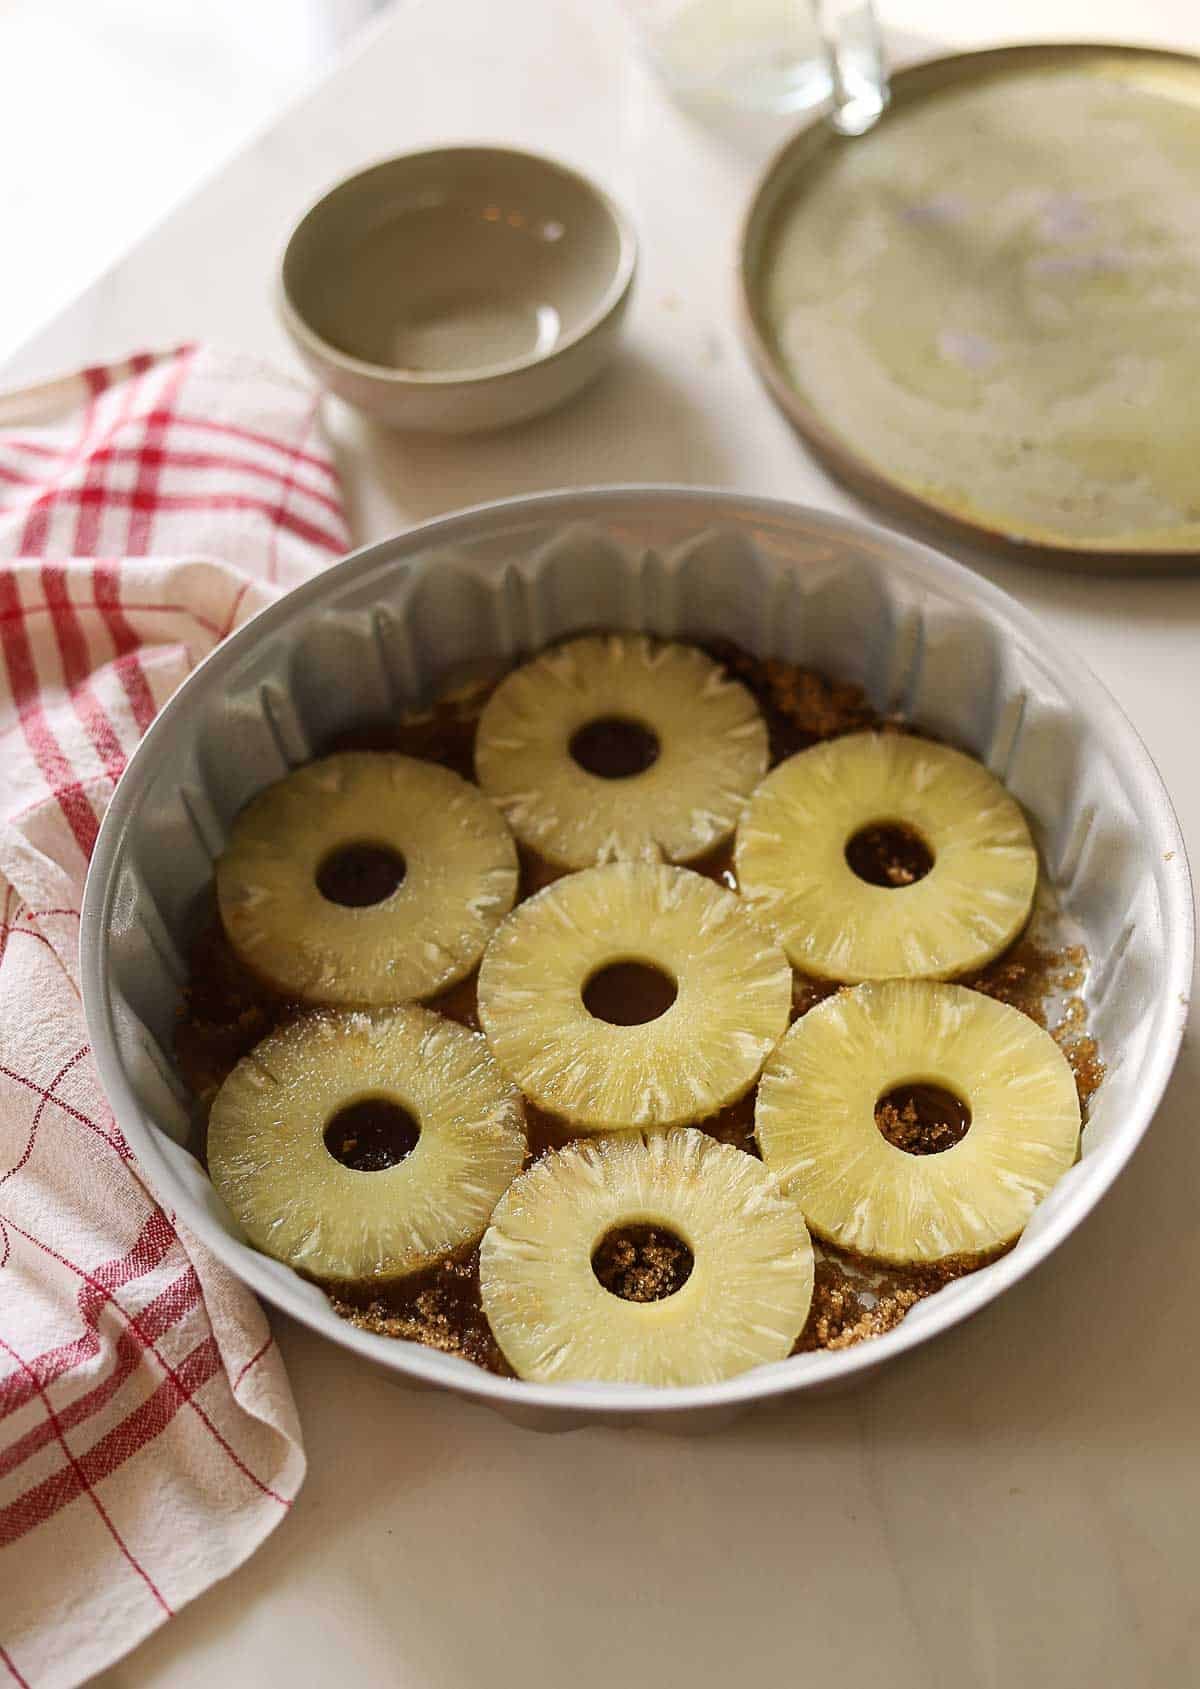
Step#2: Add Butter, Sugar, and Pineapple
- Add the melted butter, brown sugar, and pineapple rings to the cake pan.
- This will create the sticky top of the cake.
- It looks like a ton of sugar, but as it mixes with the butter and bakes into the cake, it becomes better distributed and creates the most fantastic flavor.
- Then place the pineapple on top.
The Benefits of Canned Pineapple
- Not only will the canned rings give you uniform sizes, but the texture is softer, making it easy to eat once baked into the cake.
- Arrange pineapple slices in a single layer in the pan.
- This is also why I like canned pineapple: it helps line up the pieces and ensures they are evenly distributed.
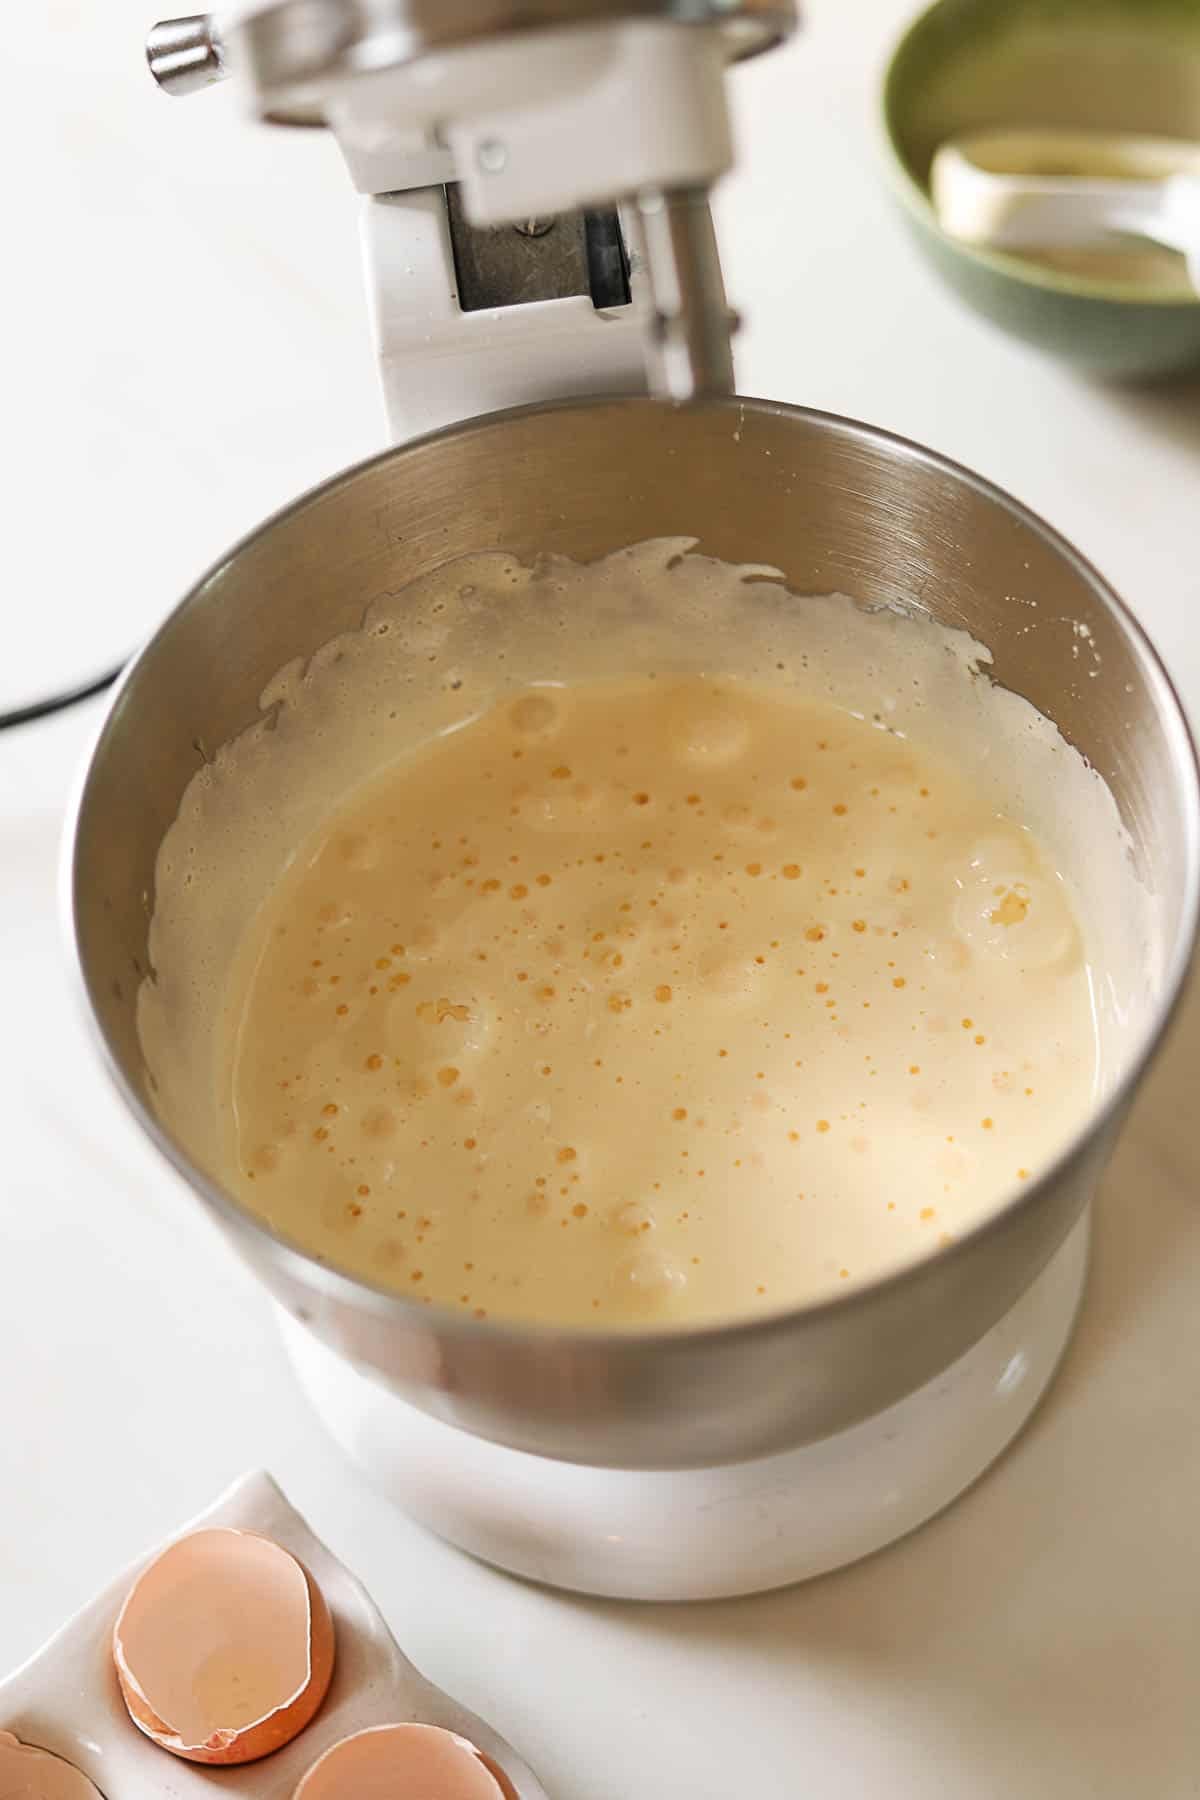
Step#3: Beat Eggs and Sugar
- In a standing mixer fitted with the whisk attachment, beat the eggs and granulated sugar on high speed until a soft, pale yellow mixture forms.
- Then add the vanilla extract. Don’t skimp on this step; this is what makes the cake so light and airy!
- You should beat for 5-7 minutes to get the best volume.
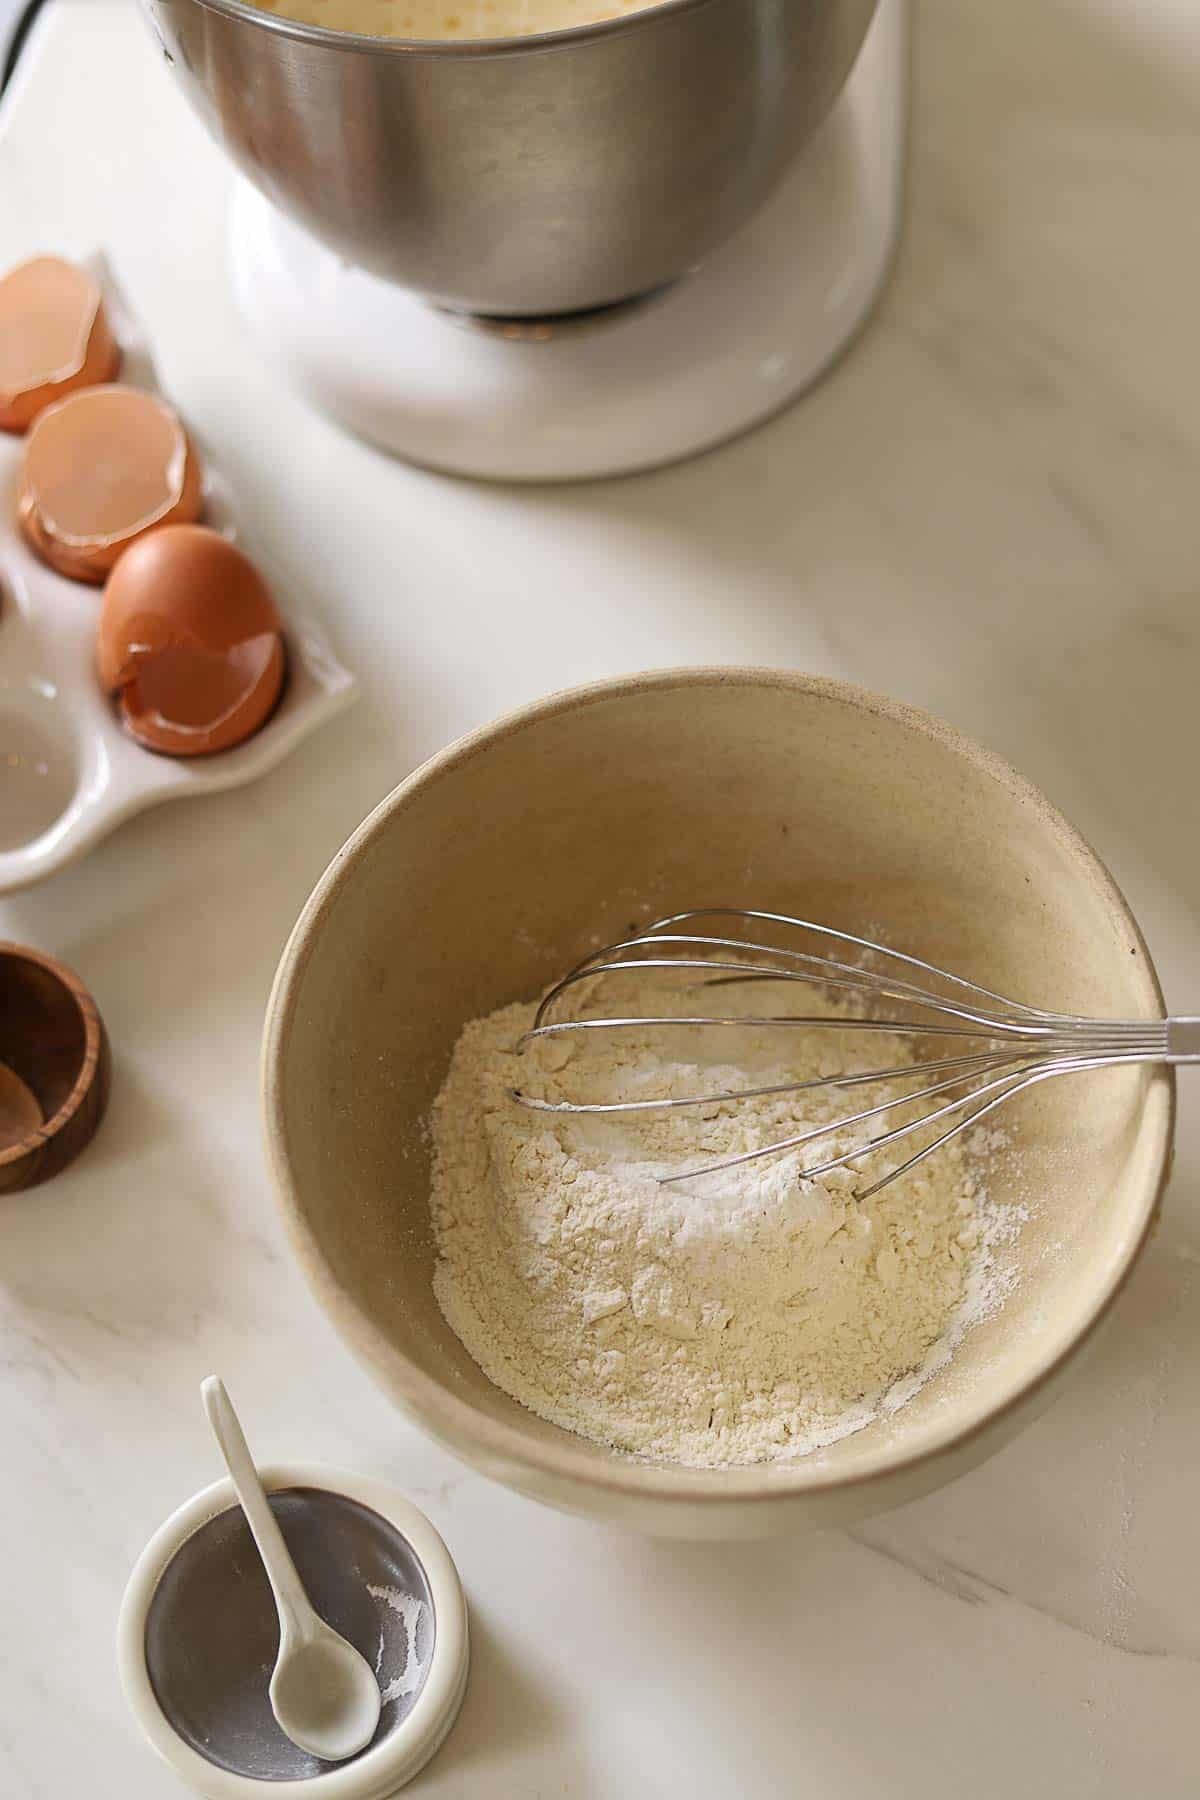
Step#4: Add Dry Ingredients
- Then you’ll mix together the flour, baking powder, and salt.
- I use regular all-purpose flour, and the texture is still light and delicate, so there’s no need to use cake flour, in my opinion.
- Add the flour mixture to your batter slowly until combined.
- Don’t overmix, or you’ll deflate your lovely voluminous mixture.
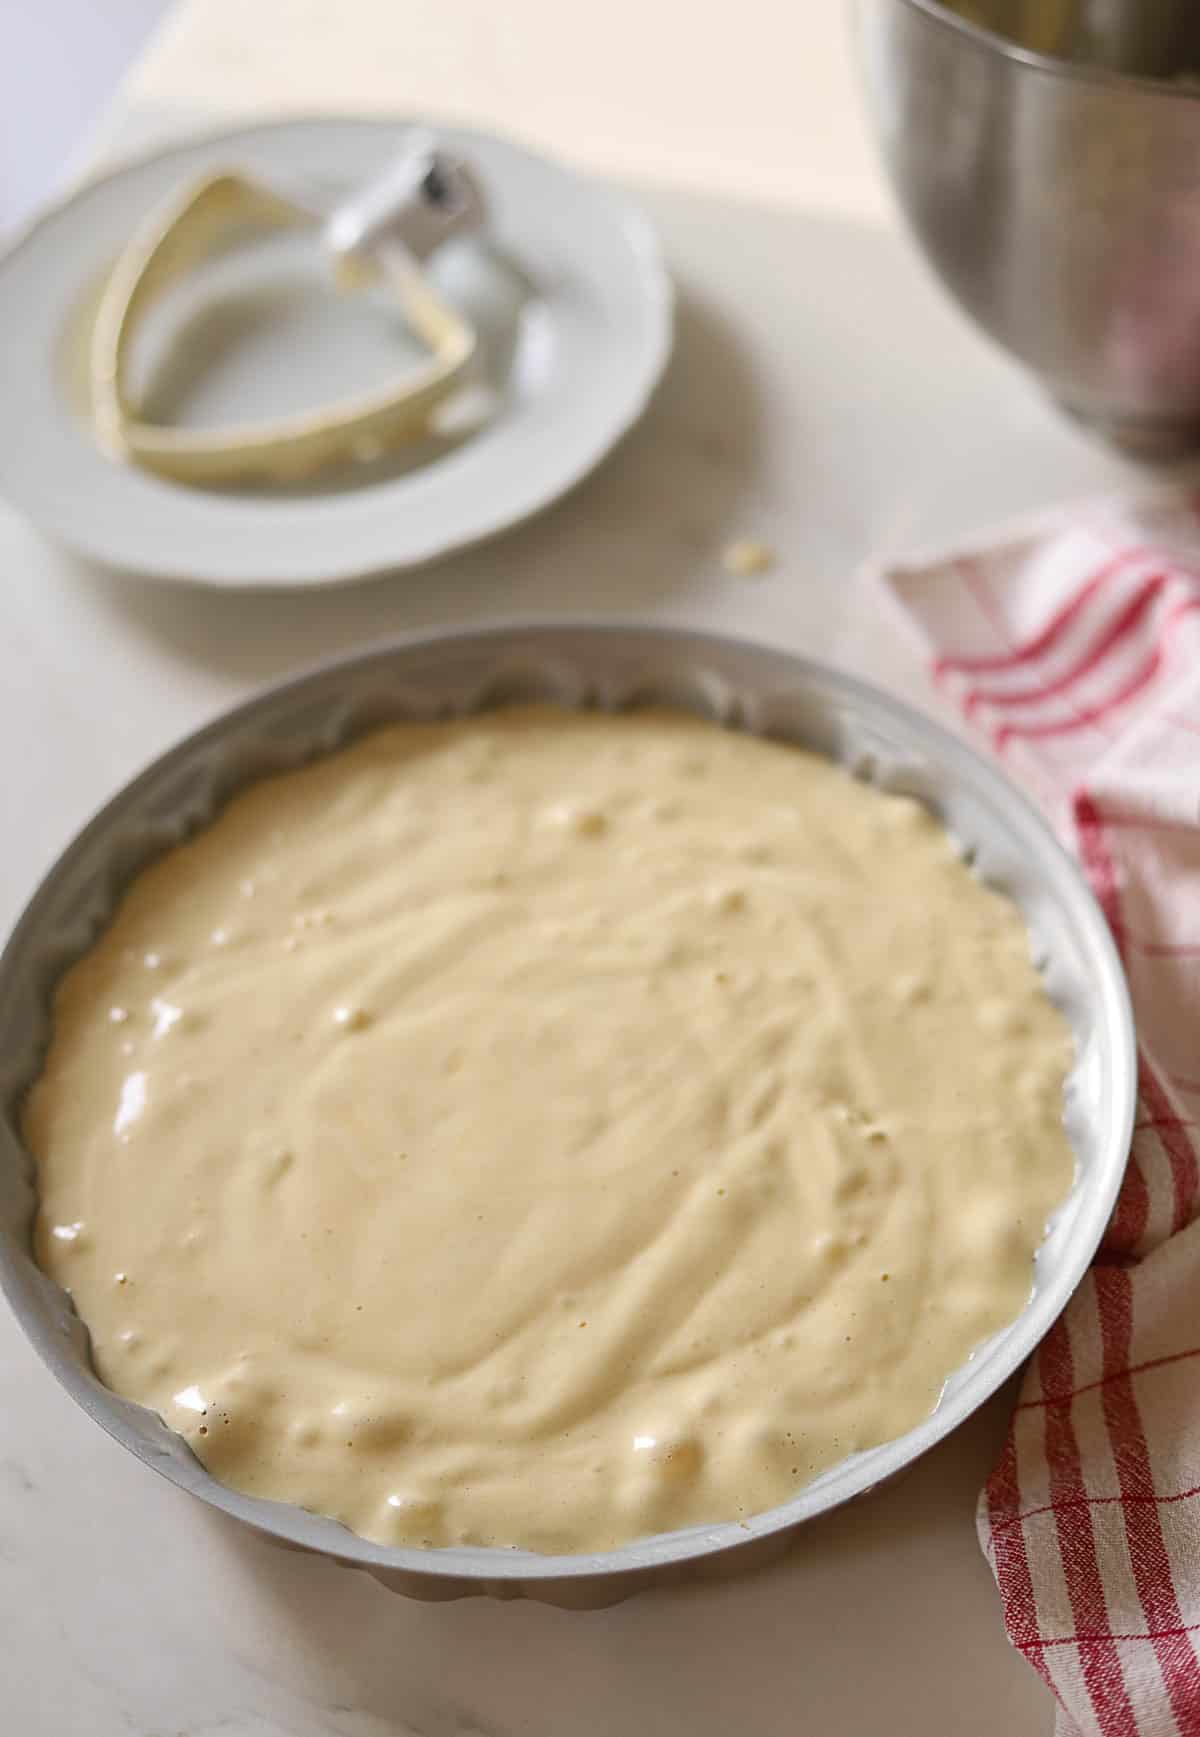
Step#5: Pour in Batter and Bake
- Pour the cake batter over the pineapple.
- Tamp down any air bubbles by gently tapping the cake pan on the counter.
- Bake at 350F for 30 minutes or until a toothpick comes out clean.
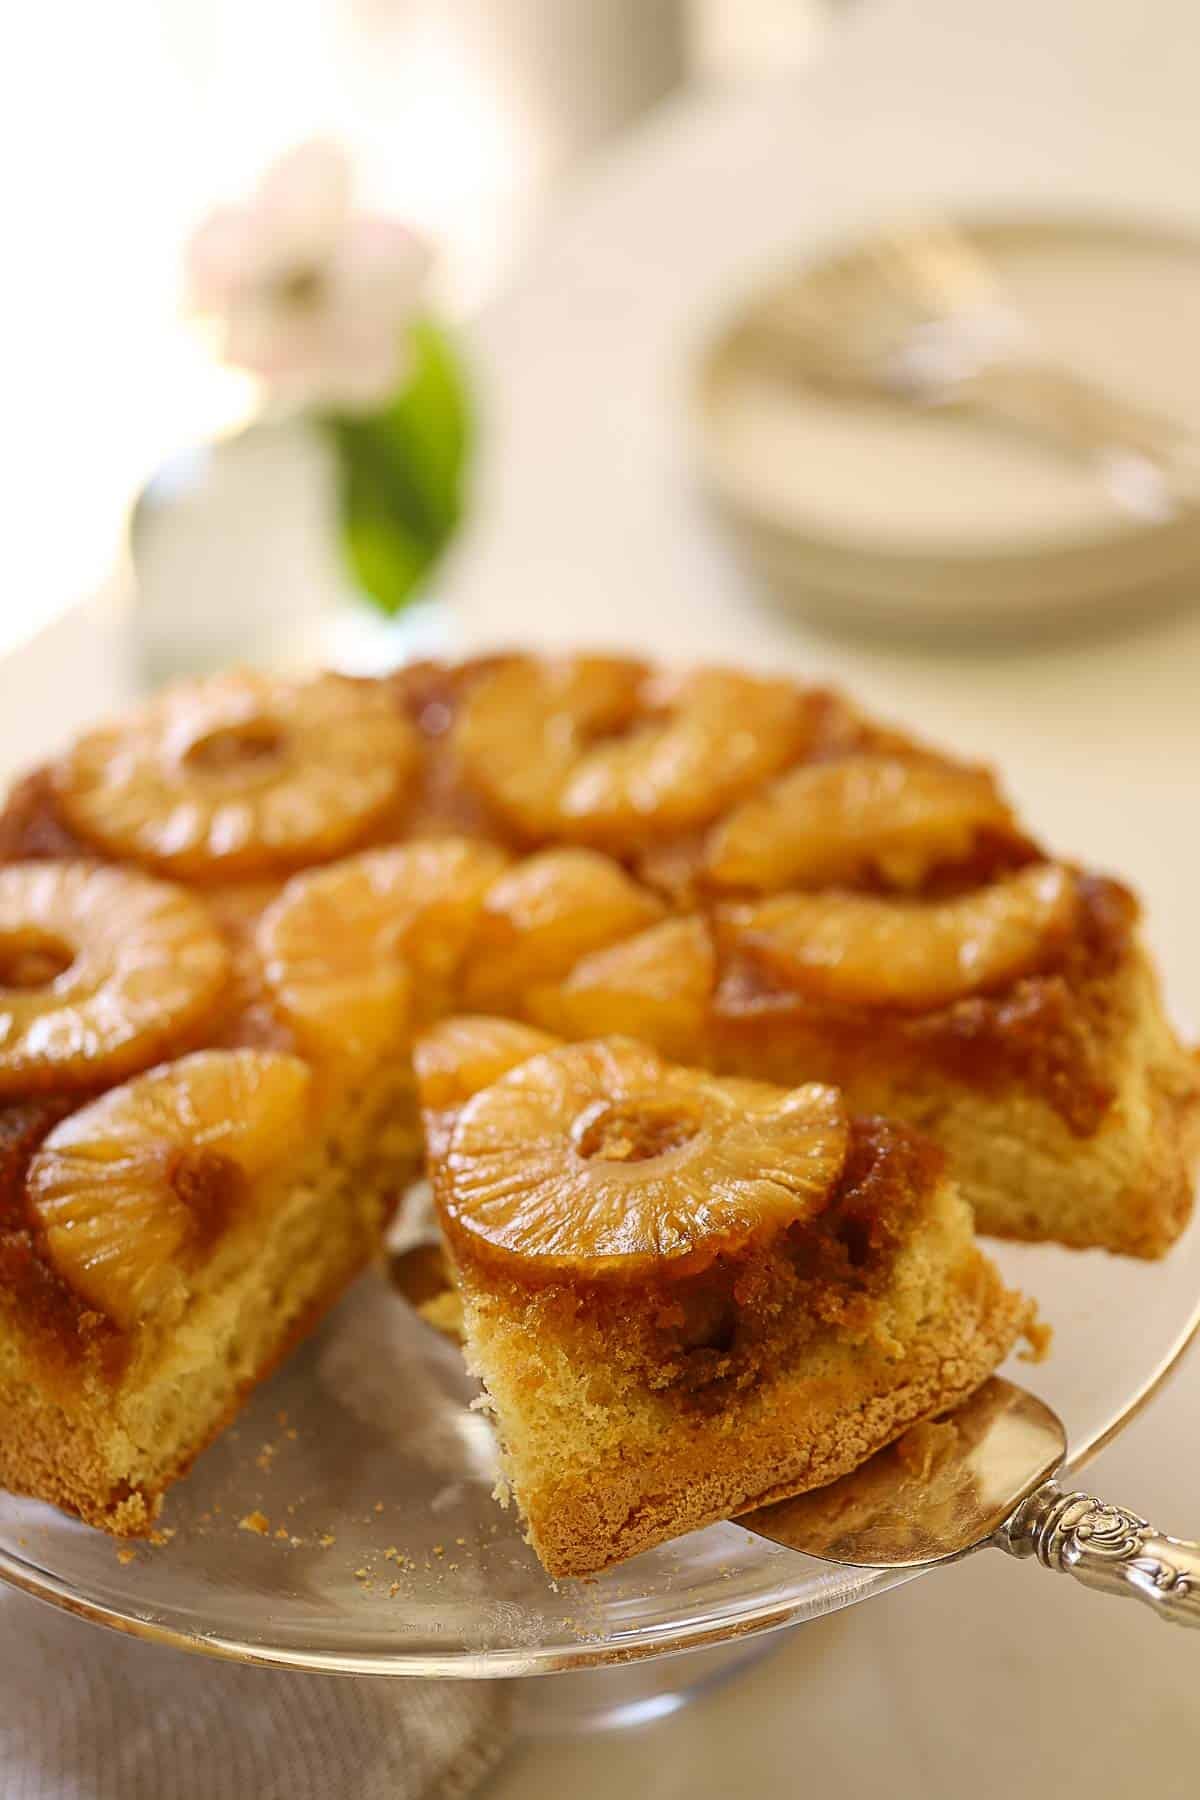
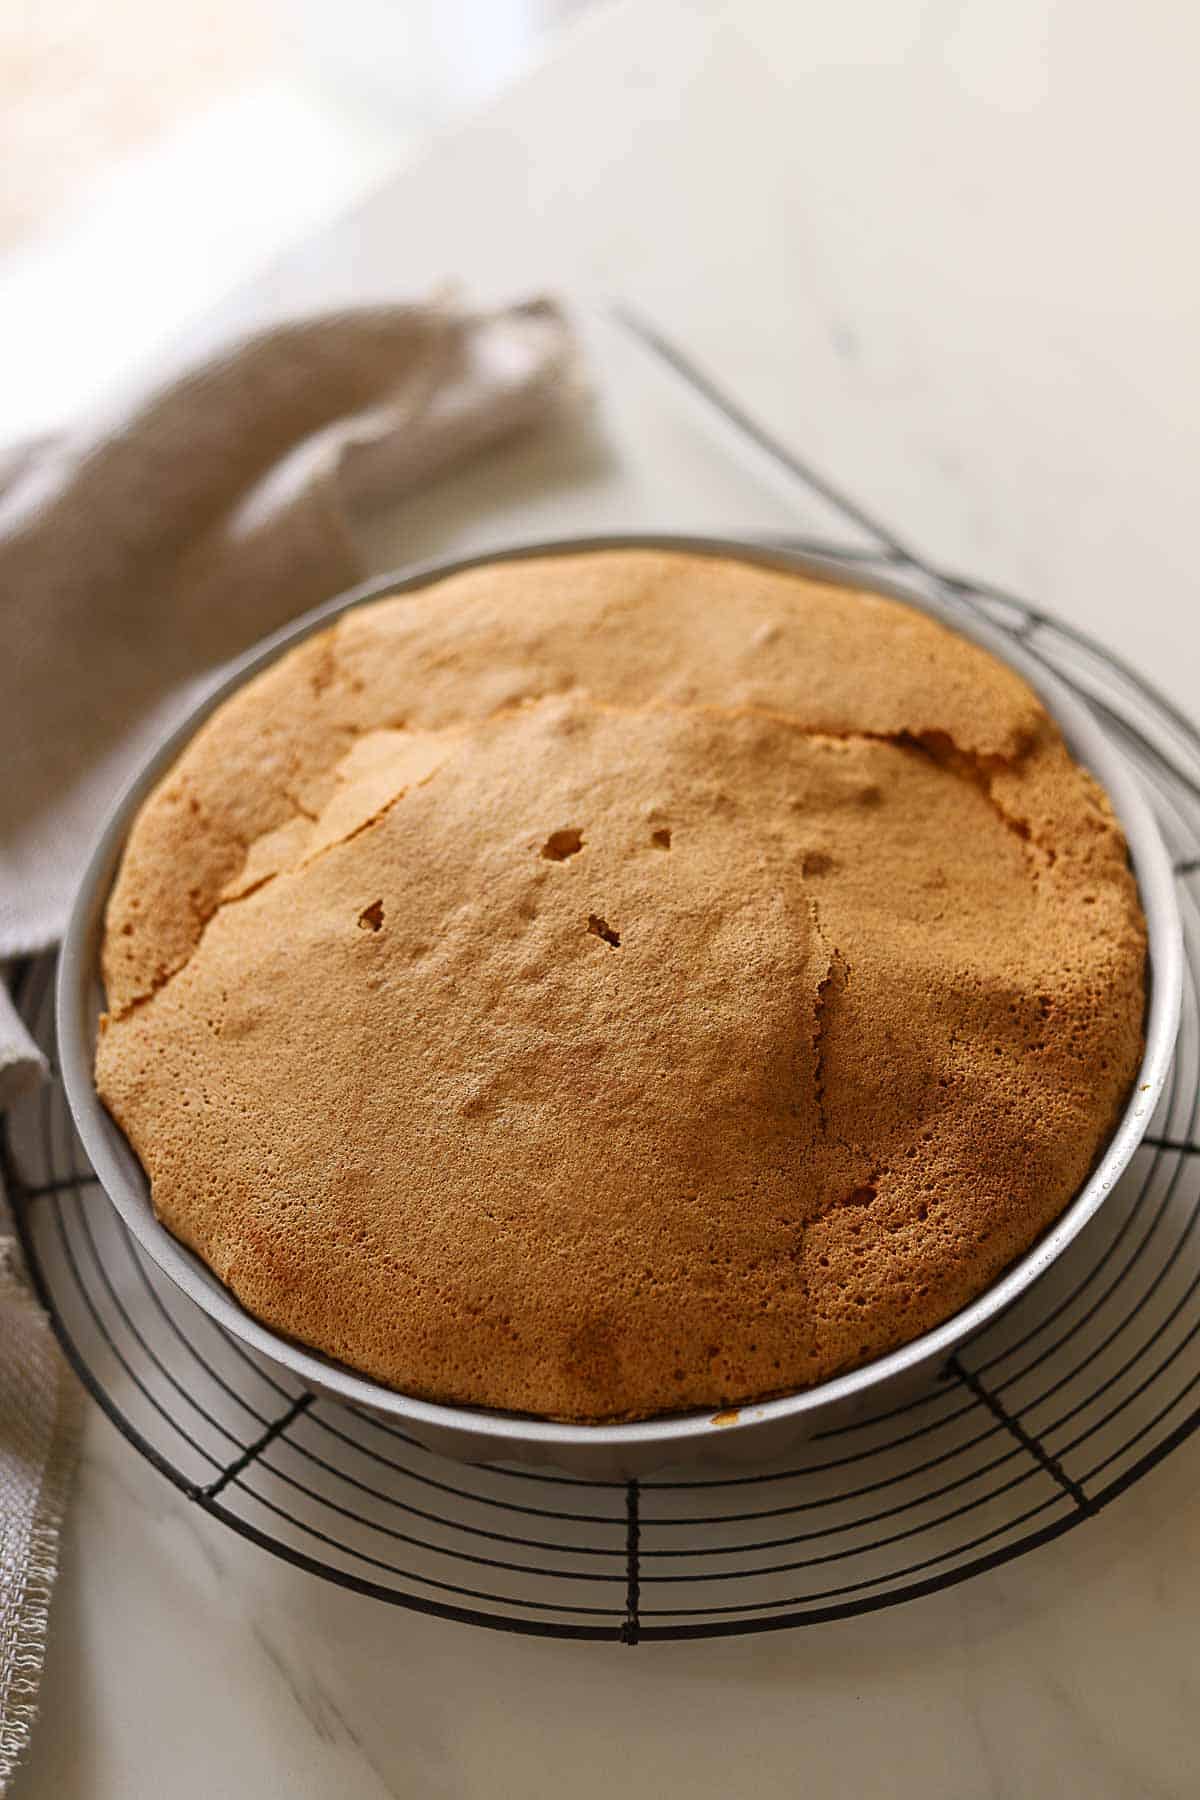
How Long Should You Wait Before Flipping The Cake?
- If you are serving this cake right away, wait at least 15 minutes before trying to flip the cake.
- It needs some time to set, in order to stick the pineapples to the cake; otherwise, the hot pineapples will slide off your cake! Not a good look.
- Once cooled, use a knife to gently loosen the cake around the edges.
How To Flip an Upside-Down Cake?
The secret to flipping upside-down cakes is to first place the cake stand on top of the cake, then, with one fluid motion, flip the cake stand and the cake pan at the same time so the cake lands right side up on your cake stand. Watch my YouTube video, in the recipe card below, to see how it’s done.
Does the Cake Need to be Refrigerated?
- If you are not serving the cake right away, allow it to cool completely, cover, and refrigerate in the tin.
- Then, moments before serving, place the cake in its tin in a 300F oven for 10 minutes or until warmed through.
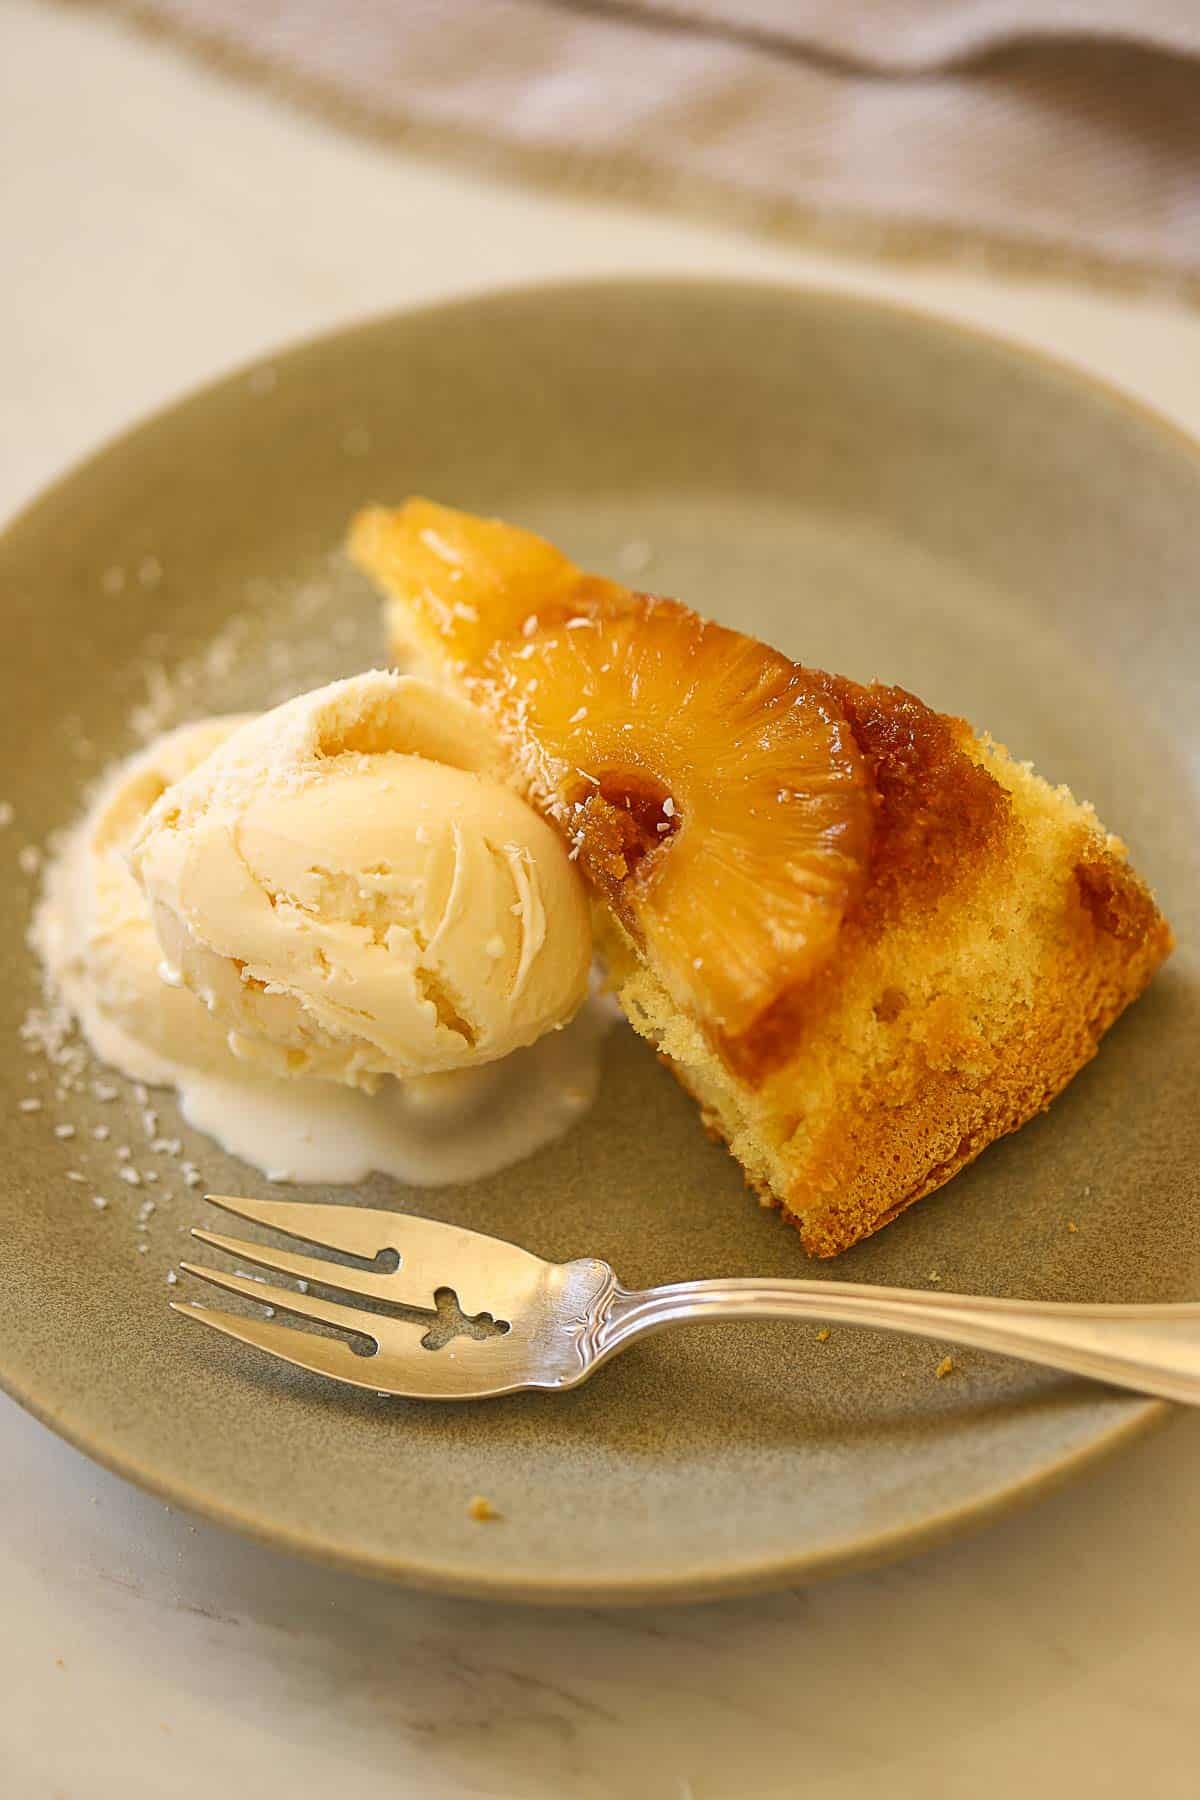
- Serve Warm or Cold
- Personally, I like to serve this cake warm, with a big scoop of coconut ice cream drizzled with some homemade caramel sauce (recipe below).
- I think the warm pineapple cake and the flavorful ice cream are just divine together!
- But you could also serve this cake chilled or at room temperature, too.
“I have tried several pineapple upside down cake recipes and this one is by far the best! I love the texture of the cake with the caramelized pineapple. The coconut ice cream is a perfect accompaniment!”
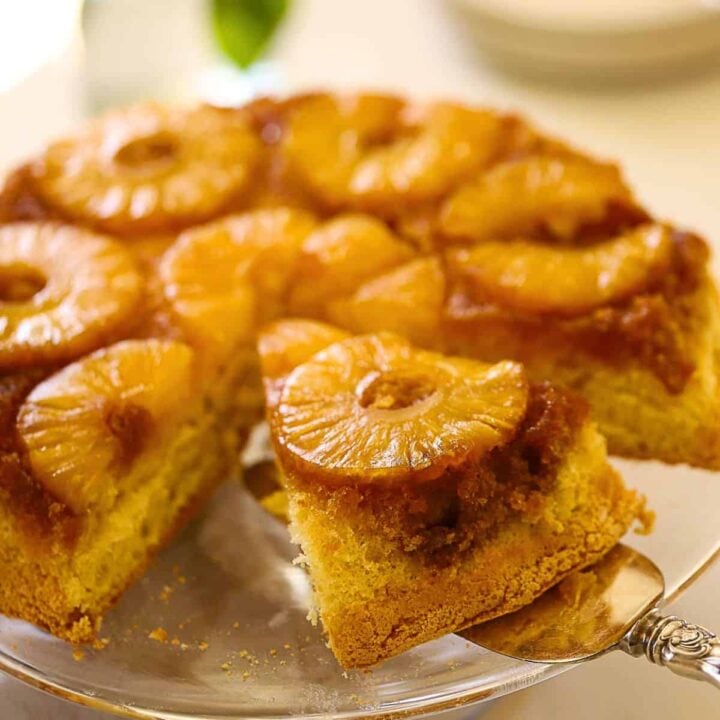
Homemade Pineapple Upside Down Cake Recipe
This homemade Pineapple Upside down Cake is a a delicious spring dessert recipe that uses minimum ingredients but delivers maximum results! So easy and delicious!
Ingredients
For topping:
- 1 cup (180 g) brown sugar
- 4 tbsp (60 ml) melted butter
- 7 pineapple rings, canned variety
For Cake:
- 4 eggs
- 1 cup (200 g) of sugar
- 1 tsp (5 ml) vanilla
- 1 cup (120 g) of flour
- 1 tsp (5 ml) baking powder
- ¼ tsp (1.25 ml) salt
For Serving:
- Coconut Ice Cream
- Beth’s Caramel Sauce (see below)
- 2 tbsp (30 ml) Unsweetened Coconut flakes
For the Caramel Topping:
- 1 cup (200 g) sugar
- ½ cup (120 ml) heavy cream (AKA double pouring cream)
- 1 tbsp (15 g) unsalted butter
- 1/8 tsp (.75 ml) sea salt
Instructions
- Spray a 10” (25 cm) cake pan with baking spray. Then pour the melted butter into pan, sprinkle with the brown sugar until evenly distributed. Place pineapple rings on top filling the bottom of the pan in an even layer. Set aside.
- In the bowl of an electric mixer beat the egg and the sugar on high for 5-7 minuets until doubled in volume and pale yellow. Add vanilla.
- In a separate bowl whisk together the flour, baking powder and salt. Add slowly to the egg mixture until just combined.
- Pour batter on top of pineapples and bake at 350F (175C) for 30 mins until golden brown and set.
- Allow to cool for 15 mins and then reverse the cake onto a cake stand.
- TO PREPARE THE CARAMEL TOPPING:
- Heat white sugar in a deep saucepan. As it heats the sugar will melt and begin to caramelize. Keep swirling it in the pan, lowering flame if needed so that it does not burn. Once it reaches a caramel color, add the heavy cream allow it to bubble and then it will settle down. Add butter and salt. Use immediately. Or transfer to a heat safe container and refrigerate until ready to re-heat and serve.
- Cut cake into slices and serve with coconut ice cream drizzled with caramel sauce and topped with unsweetened coconut flakes.
Notes
Be sure to spray the pan well with baking spray for easy release and flip once the cake is baked!
This cake can be made the day before serving. Cover and refrigerate in the tin. Re-heat in a 300F oven for 10 minutes, allow to cool for 15 minutes and then flip and serve.
Nutrition Information:
Yield: 10 Serving Size: 1Amount Per Serving: Calories: 305Total Fat: 15gSaturated Fat: 10gTrans Fat: 0gUnsaturated Fat: 3gCholesterol: 91mgSodium: 146mgCarbohydrates: 40gFiber: 4gSugar: 24gProtein: 5g

Hi Beth, This recipe looks great and I’d love to try it! I have a fresh pineapple, not a can. Any recommendations for improving the texture of the pineapple prior to baking it so it’ll be nice and soft once baked?
Oh sure I would definitely remove the core, which can be tough, and simmer them in shallow water first to soften them up. Then pat dry and proceed as directed. Should be great! I hope you enjoy it!
Thanks for getting back to me with the suggestion!
I live in Australia I love to si you cooking I cook some of you recipes turn fantastic. Thanks for yous delicious recipe.
My father-in-law’s favorite dessert was pineapple upside down cake. I plan to make your recipe in his memory for Easter family brunch. Thanks.
Awe that is such a lovely idea! I hope you all enjoy it! 🙂
What beautiful women!
This recipe, on the cards looks like the one I inherited from my grandmother (an awesome cook and baker). Similar recipe, but we cooked it in our cast iron pan (10″). That cast iron pan was used for everything from Irish soda bread to meatloaf. I’m pretty sure half the flavor in our dishes comes from the pan’s history.
Thank you Beth. As always, your videos are pleasures.
Thanks so much for sharing your family’s recipe. I haven’t had this since the 1960s, so I’d say it’s due. I’m amazed at how much your grandmother’s handwriting looks so much like my grandmothers handwriting. I know everybody wrote in beautiful cursive in those days (I still use a fountain pen and care about penmanship), and it’s nice you have this hand-written keepsake. Thanks again.