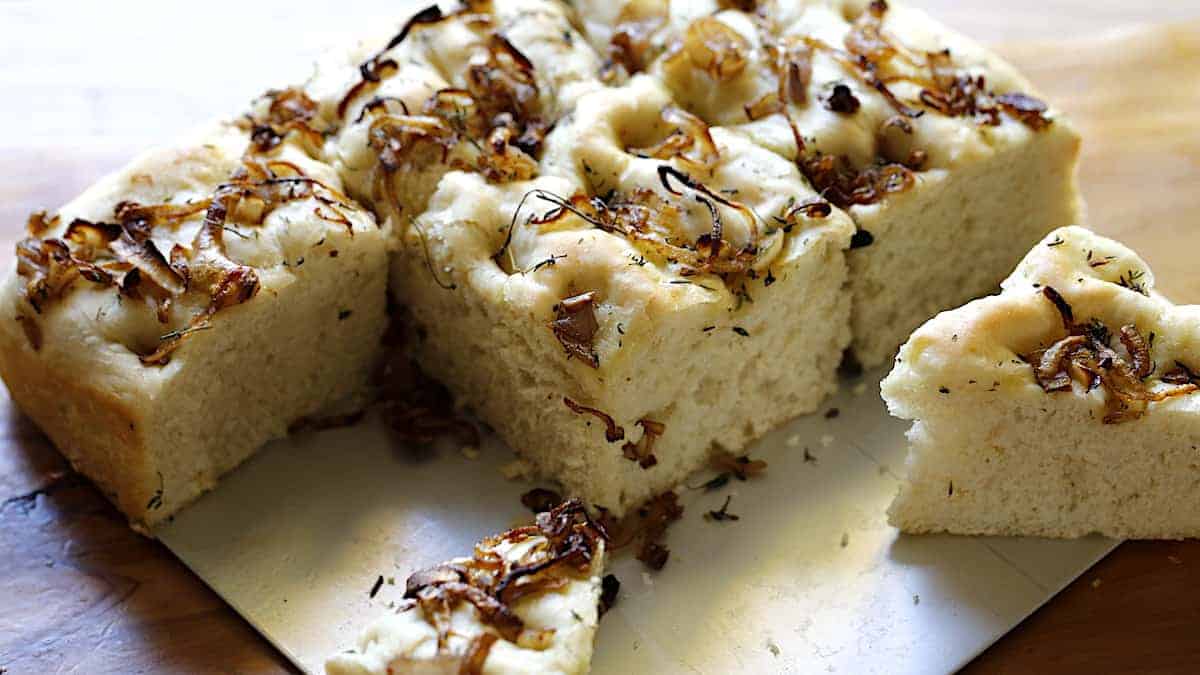
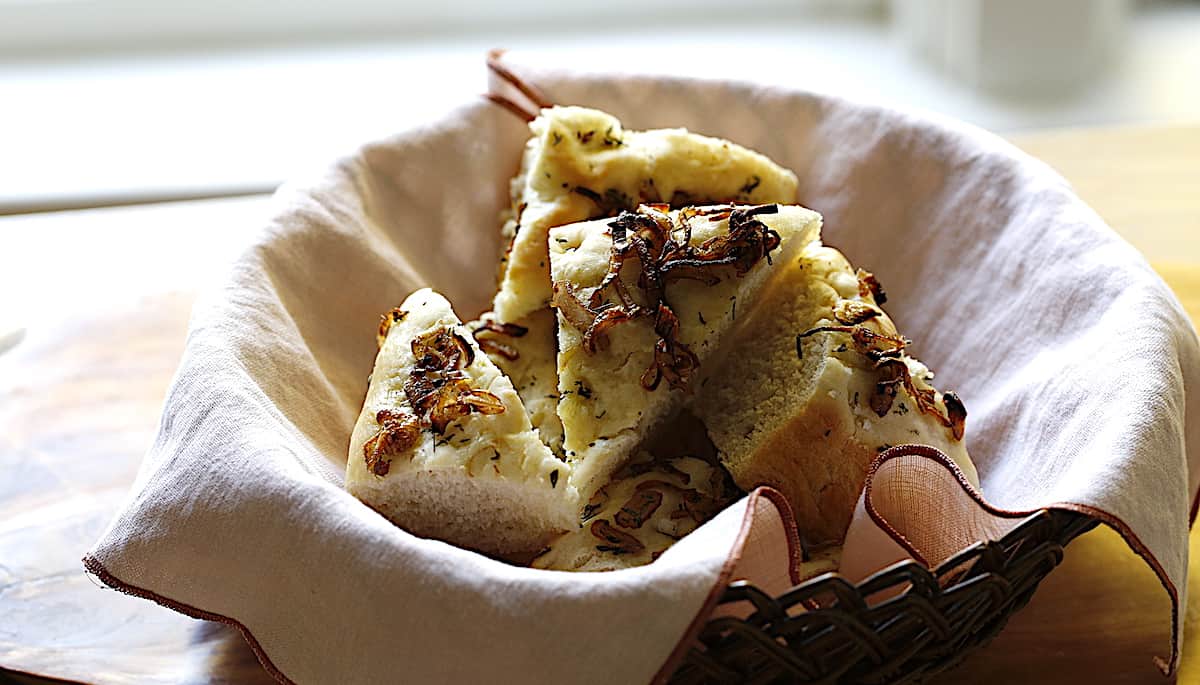
Focaccia Bread with Caramelized Shallots and Thyme
SHARE THIS RECIPE!


One of the easiest homemade bread recipes is Focaccia bread. This Focaccia bread with caramelized onions and thyme is a fantastic small batch bread recipe that is perfect for weekend baking or for holiday bread.
It makes 9 generous squares or can be sliced on the diagonal for a larger serving size of 18 triangles. You can make it in the morning, and just quickly reheat it before serving.
Would you like to save this?
Why You’ll Love It:
- The texture of this focaccia bread is light and springy and when combined with the sweet caramelized shallots and thyme the result is so delicious.
- It also makes fantastic sandwich bread, toasted the next day, for your leftover turkey sandwiches!
- You can make it ahead of time and just reheat it before serving
STEP#1: Create the Yeast Mixture
- For this recipe I use Active Dry Yeast, which needs to be dissolved in warm water first.
- It’s important that the water is between 110F and 115F.
- If it’s not warm enough, the yeast will not activate, and if it’s too hot, it will kill the yeast.

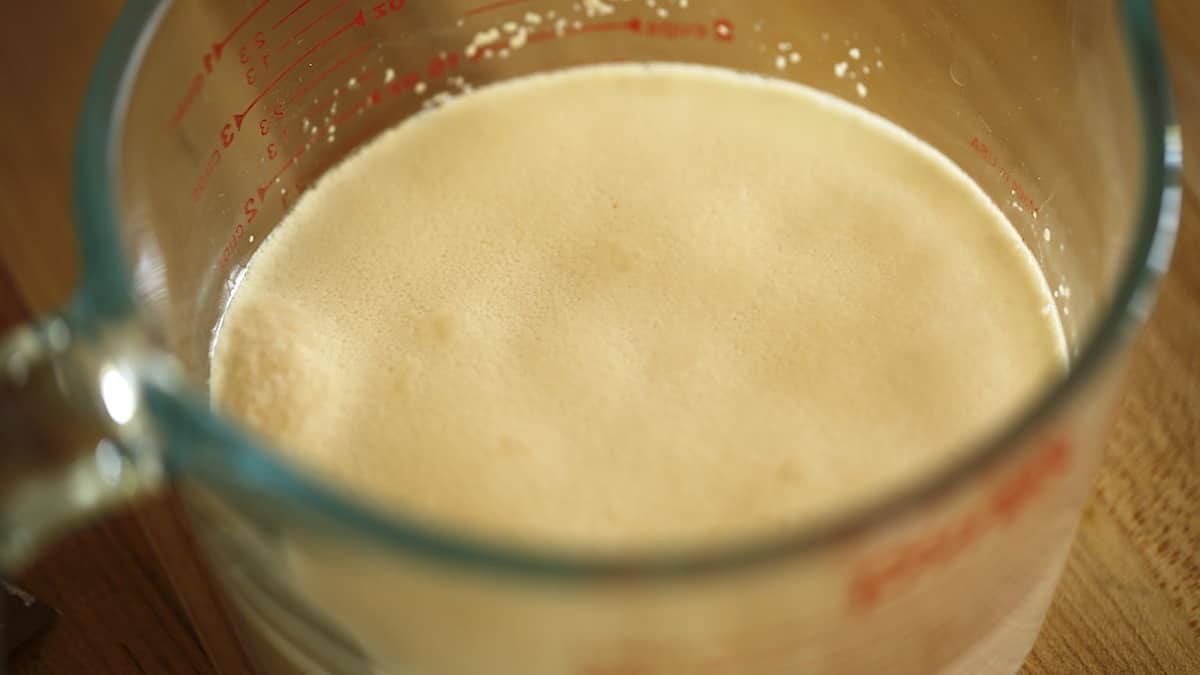
How To Tell If Your Yeast Is Alive?
- You will know your yeast is active if it turns foamy and cloudy. It should look like this. If the yeast is active, you can proceed to the next step of adding the rest of the ingredients.
- If the yeast doesn’t foam, it means it is dead and is no longer active. At this point, it’s best to start again with a fresh yeast packet before continuing with the recipe.
STEP#2: Add Yeast Mixture to the Dry Ingredients
- Once the flour and salt have been combined, add the foamy yeast mixture and combine with a dough whisk or wooden spoon.
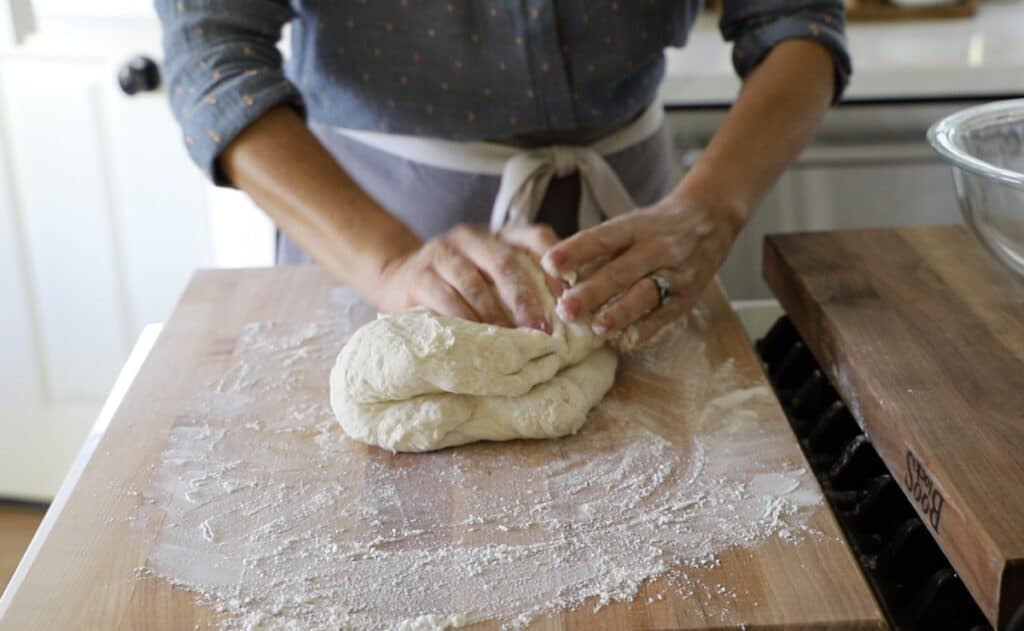
- Then you’ll knead the dough on a floured board for 3-4 minutes until the dough is elastic and no longer sticky to the touch.
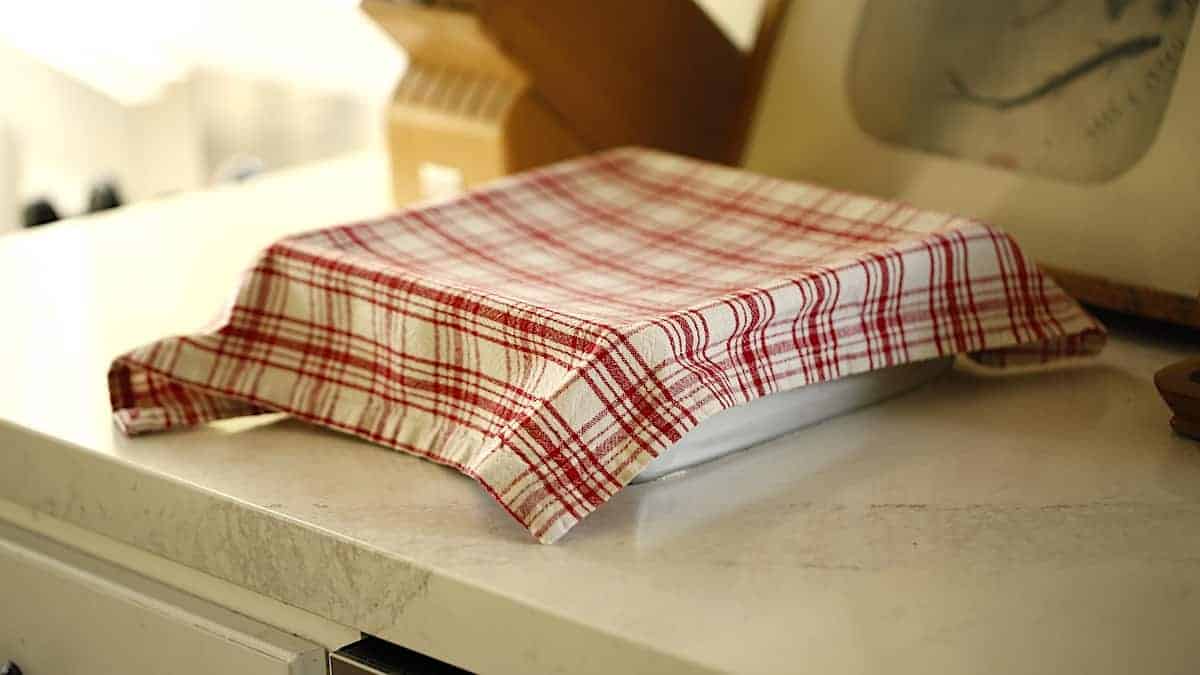
- Place the dough in the oiled bowl and cover it with a clean dish towel to rise for 1 hour in a warm place.
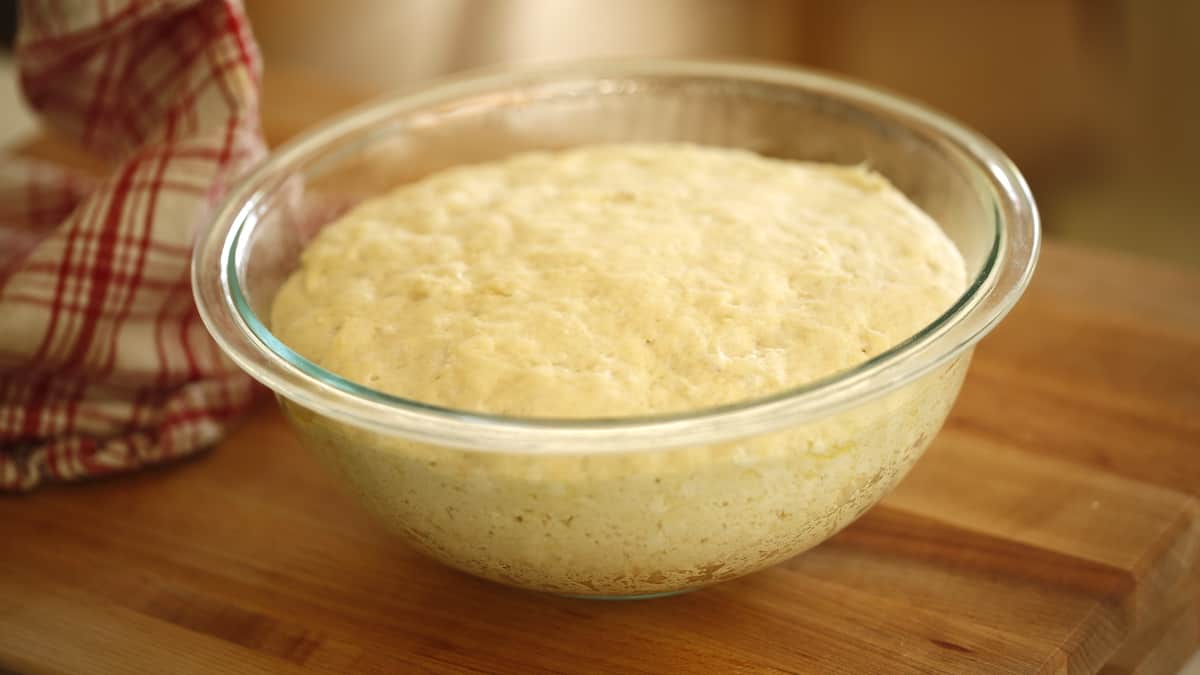
STEP#3: 1st Rising
- Once risen the dough will triple in size and fill the bowl.
- Remove the dough and transfer it to a floured surface.
- Knead again for a few minutes, adding flour if needed to avoid sticking.
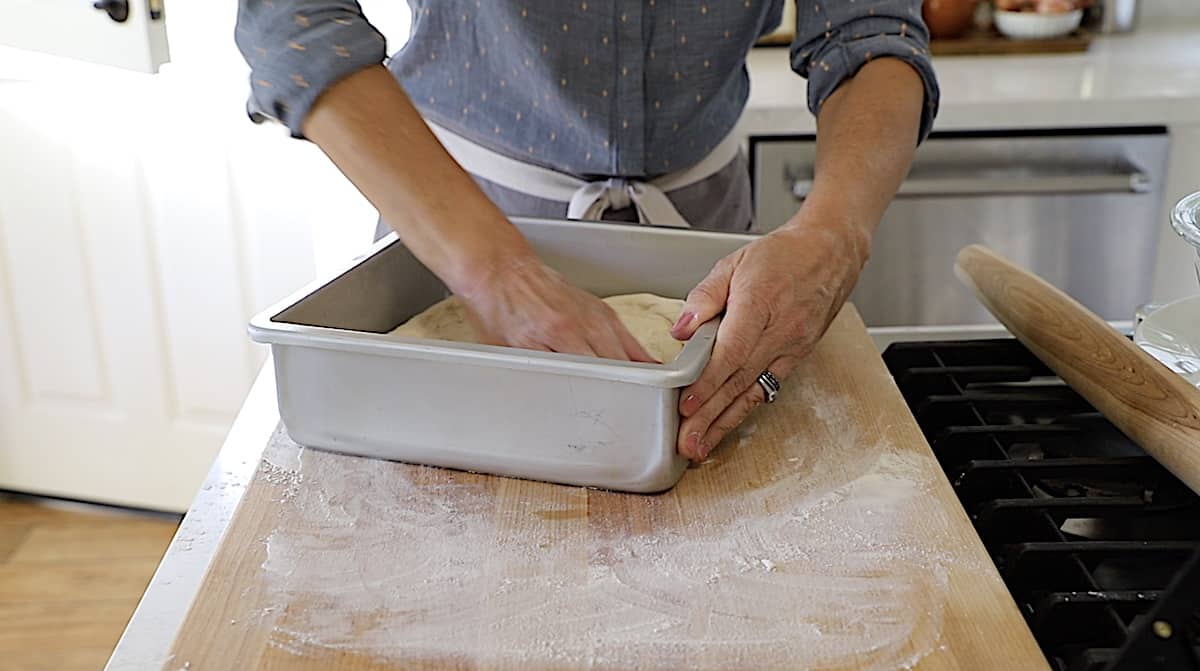
STEP#4: Place Focaccia Dough in Pan
- Roll the dough out to a rough square and then fit it into a 9 x 9 square pan greased with olive oil.
- If the dough is hard to stretch, just allow it to rest for a minute and then try again.
- It gets easier to maneuver as it rests.
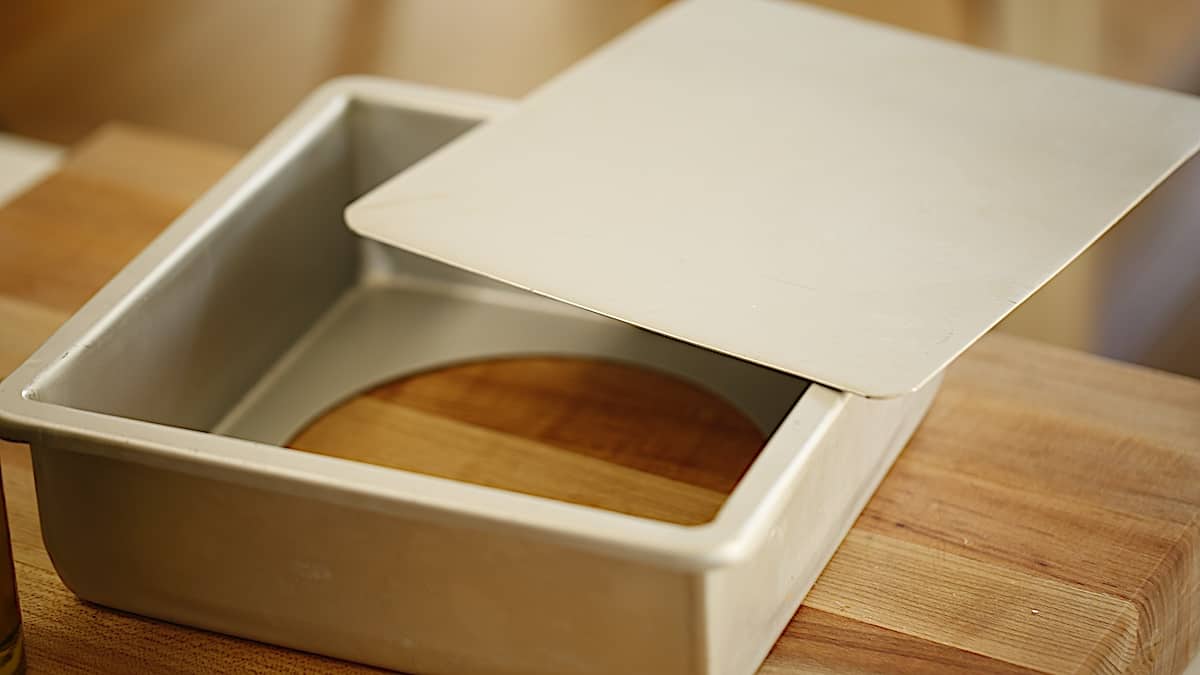
Why I Love Using a Removable Bottom Pan
- Making this bread in a removable-bottom pan will make it easier to remove once the Focaccia bread has been baked.
- The removable bottom pan will also help keep the carmelized shallots from rubbing off the top of the bread as well.
And you can also use it for other recipes such as my Blueberry Crumb Cake Recipe, my Pecan Bar Recipe and my Banana Cake with Cream Cheese Frosting.
STEP#5: 2nd Rising
Cover the pan with a clean dish towel and allow to rise in a warm place for 20 minutes. Meanwhile, you can prepare the shallots.
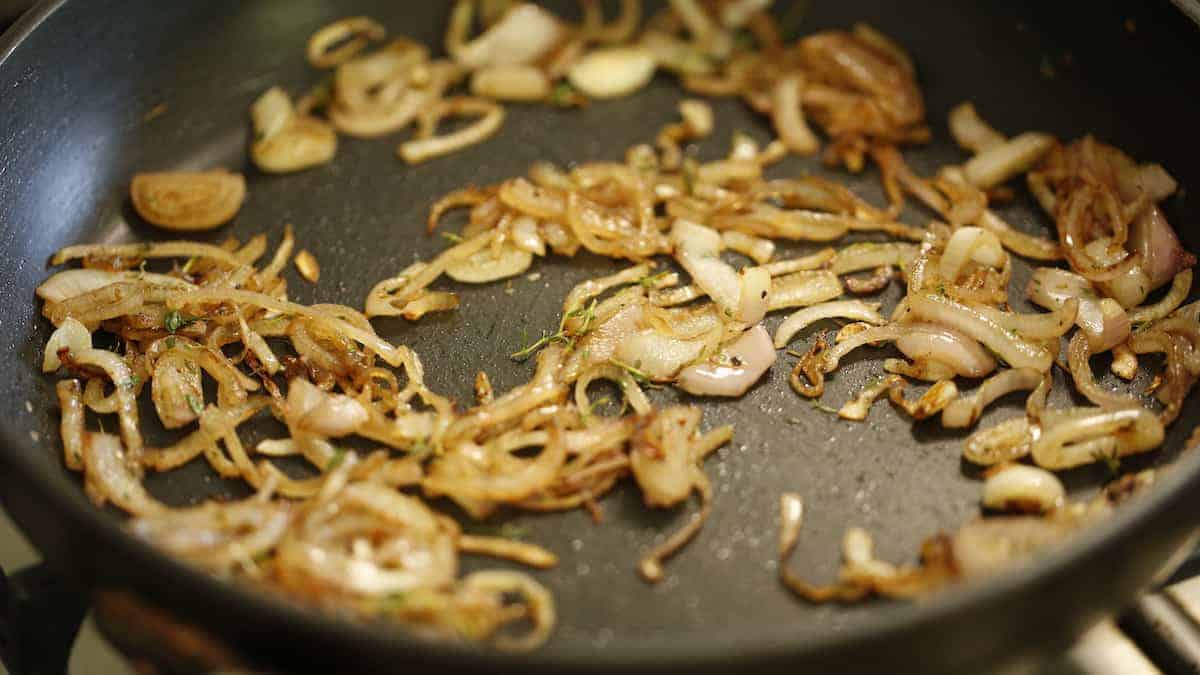
STEP#6: Caramelize the Shallots
- In a large non-stick skillet, cook the shallots in olive oil. Don’t touch them too frequently to allow them to turn golden brown and caramelize. Then add the balsamic vinegar and thyme.
- When caramelized shallots are cooked this way, they practically taste like candy! For a similar flavor profile, try my Goat Cheese Tartlettes with Caramelized Onions, another great recipe for holiday entertaining.
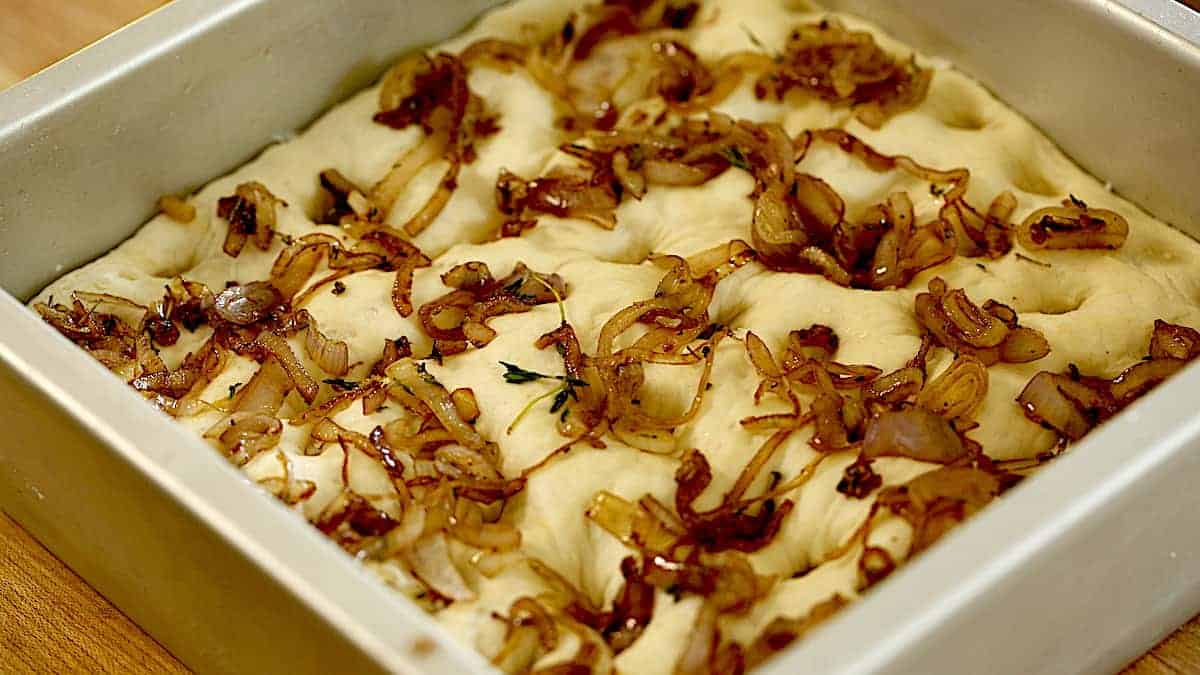
STEP#7: Create Indentations
- One of the hallmarks of focaccia bread is the indentations on the top.
- To create those divets, place your fingertips in the dough, pressing your fingertips deep enough to lightly touch the bottom of the pan.
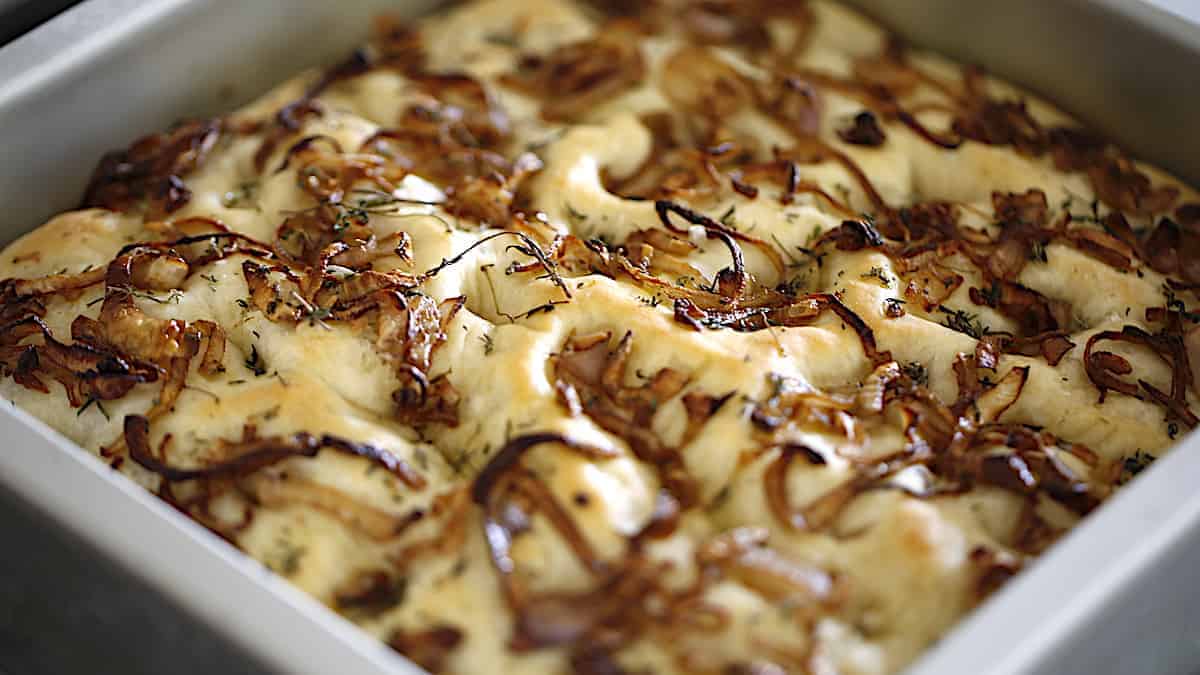
- Then sprinkle with a bit of flaky sea salt and add the shallots and the remaining thyme on top.
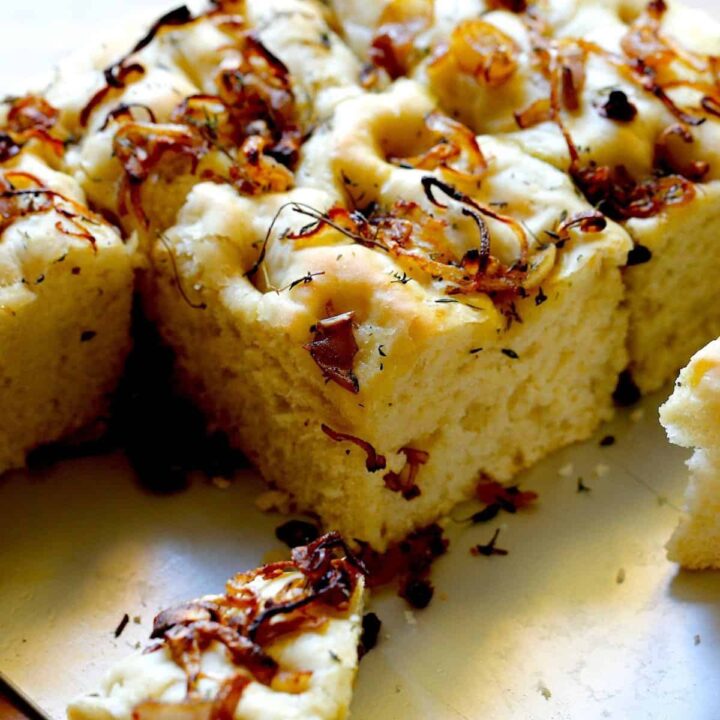
As the focaccia bakes, it will bake the shallots into the top of the bread, setting them into the focaccia but also crisping them up even further. Allow the focaccia to cool before trying to remove it. You can also leave it in the pan, to make reheating it before serving even easier.
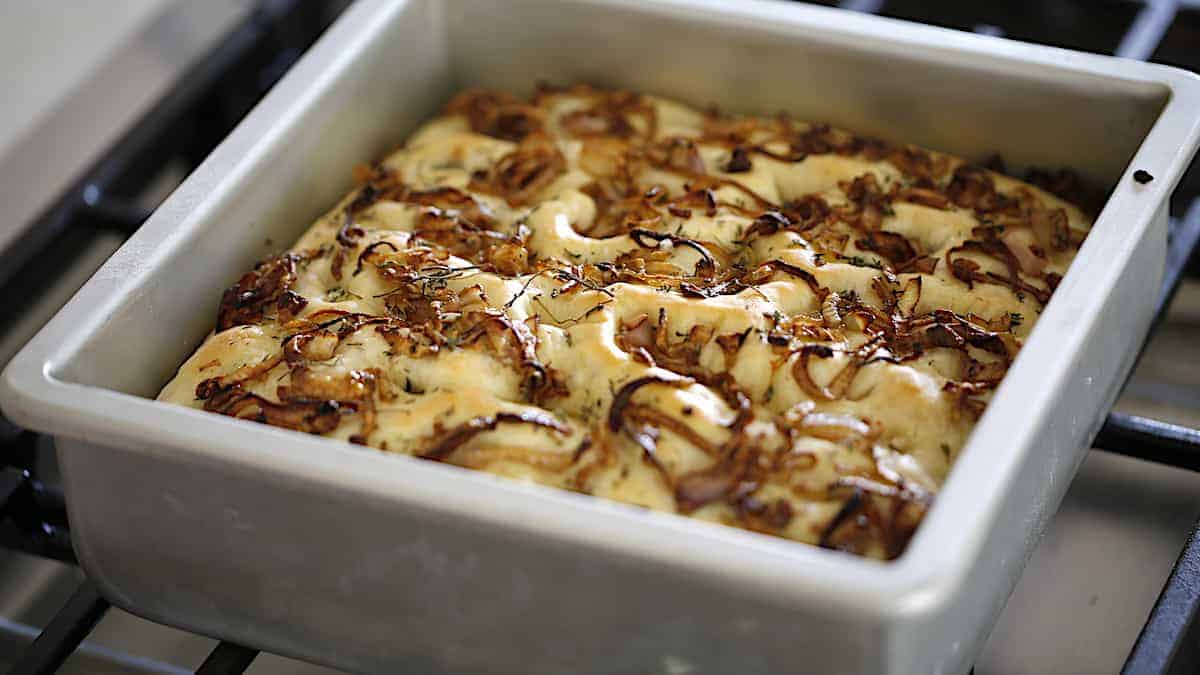
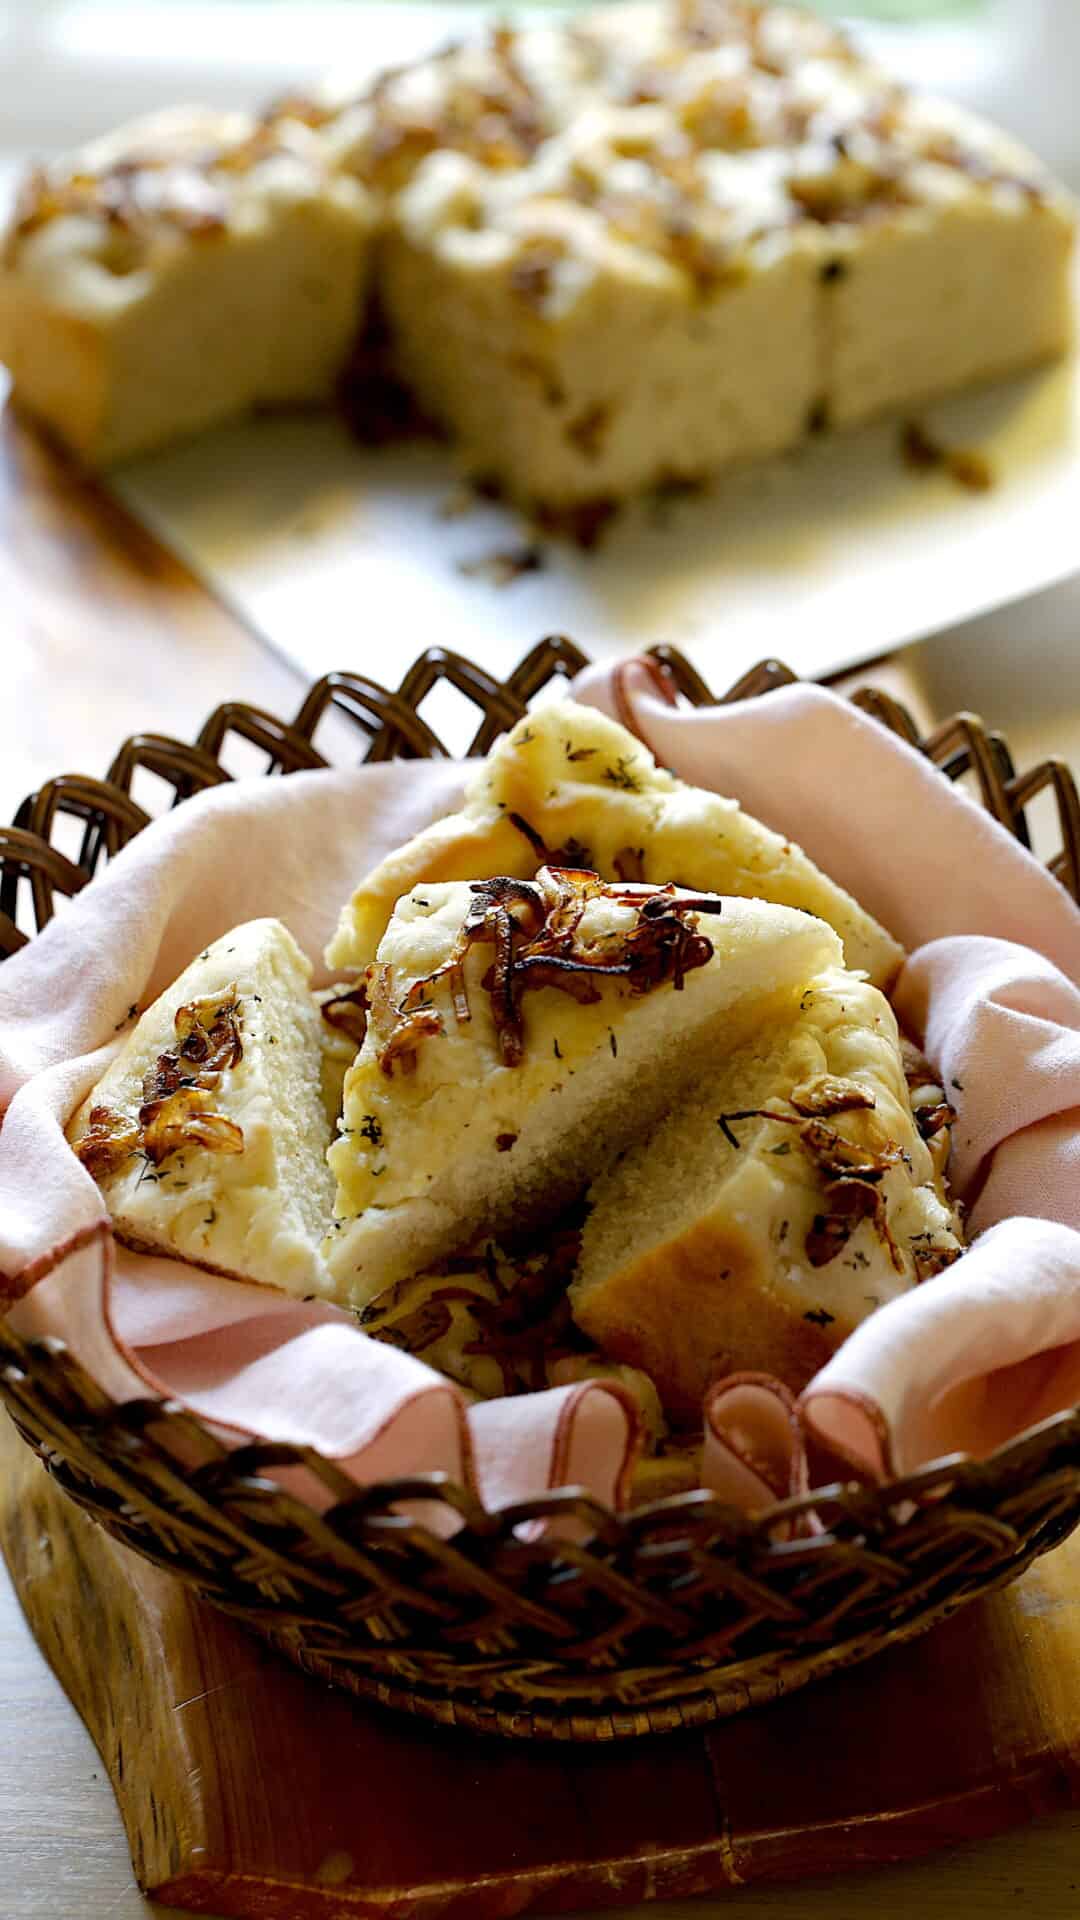
Serve it as squares or slice it on the diagonal and serve it as wedges. To store, wrap it tightly in foil and refrigerate. The next day it’s best enjoyed heated in the microwave for :45 to soften or slice and toast it.
If You Enjoyed this Focaccia Recipe,
Please Leave a Rating and a Review Below
Focaccia Bread with Caramelized Shallots and Thyme
One of the easiest homemade bread recipes is Focaccia bread. This Focaccia bread with caramelized onions and thyme is a fantastic small batch bread recipe that is perfect for an easy Thanksgiving.
Ingredients
- 1 ¾ (420ml) cup warm water (110F)
- 2 tsp (10 ml) sugar
- 1 package (7g) of Active Dry yeast
- 3 ¾ cup (450g) all-purpose flour
- 2 tsp (10ml) salt
- 3 tbsp (45ml) olive oil
SHALLOT TOPPING:
- 1 tbsp (15ml) olive oil
- 1 cup (150g) shallots, sliced thinly into half-moons
- Salt and pepper to taste
- ½ tsp (2.5ml) balsamic vinegar
- Pinch of flakey Sea salt
- 1 tbsp (15ml) Fresh thyme, chopped
Instructions
- Combine water, sugar, and yeast and whisk with a fork. Let stand for 5-minutes until cloudy and foamy.
- Meanwhile, in a large bowl whisk together flour and salt. Add the yeast mixture and mix with a dough whisk or spoon until a ball forms.
- Transfer to a floured surface and knead for 5 minutes. Place 1 tbsp (15ml) of olive oil in a bowl, grease bowl with it, and place dough ball inside. Cover and place in a warm space. Let rise for 1 hour.
- Grease a 9”x 9” (23cm x 23cm) pan with 1 tbsp (15 ml) of
olive oil and set aside. - Then punch dough down, place on a floured surface, and knead
for 5 minutes adding more flour in 1 tbsp increments if it’s too sticky. - Then roll out the dough into a loose square and fit the dough into the pan. Pressing it down and stretching it into the corners. Cover with a clean dish towel and allow to rise for 20 minutes.
- Meanwhile, cook the shallots. In a large non-stick pan, add 1 tbsp (15ml) of olive oil. Add the shallots and cook until fragrant and golden brown. Season with salt and pepper to taste. Then add the balsamic vinegar and reduce until liquid is evaporated. Then add half the thyme. Allow to cool.
- Remove the dishcloth and create indentations in the dough
with your fingertips. Pressing deeply down into the dough so that the
indentations stay. Sprinkle with the sea salt, the cooked shallot mixture, and the remaining thyme on top. - Bake at 400F for 20 minutes. At which point brush the remaining olive oil on top of the bread with a pastry brush, being careful not to disturb the shallots too much. Continue baking for another 5 minutes to set the olive oil.
- Allow the focaccia to cool completely before removing. Then run a knife around the perimeter to release if using a removable cheesecake pan. Otherwise cut into 9 squares and serve.
Notes
To increase the serving size you can slice each square on the diagonal to create 18 triangles
Nutrition Information:
Yield: 9 Serving Size: 1Amount Per Serving: Calories: 246Total Fat: 7gSaturated Fat: 0gTrans Fat: 0gUnsaturated Fat: 6gCholesterol: 0mgSodium: 50mgCarbohydrates: 40gFiber: 2gSugar: 0gProtein: 6g

Super good. I love the caramelised onion and coarse salt ontop of the focacia.
Isn’t it yummy?! So glad it was a hit!
Beth
Can this be made ahead? If so does it need to be “warmed up” a bit in the oven. (Is it served warm, room temperature, or cold.
Looking forward to trying this…..perhaps for Easter dinner.
Just made this and it came out wonderfully. I omitted the sugar and baked it in a round cast-iron pan, but otherwise followed the recipe and instructions exactly. Delicious with soup and even better warmed the next day with some garlic and rosemary olive oil.
Hi Beth, when you specify “yeast”, is that instant yeast or active dry yeast?
Thanks!
Oh sure I use Active Dry Yeast :). Just updated that on the recipe! Thanks!
Could you use instant yeast?
Yes of course no problem!
I’m so excited to finally find a focaccia that is fun to make and delicious. I used a springform pan, but oil leaked out during cooking. Als, I didn’t a
Wait for it to cool-who has that kind of will -power? It was soft and chewy while crispy on the edges.Mine may have been a tad bit undercooked because it was slightly gummy, but not bad. I’m interested in what Beth would say. Served with Bacon Cheese Potato Soup -win win. Made this COVID quarantined gal happy.
Ahh OK the springform pan may have been too small/too deep which is why it may have been too gummy inside. Next time try a 9″ pan, that’s what I use and it works great! 🙂
Thanks, I have since perfected it. It’s the best!
YAY! So glad to hear it! 🙂
Hello Beth❤️
Thank you for this awesome recipe. Today, I made this as a reward for myself for passing all my medical school exams before the break. Me and my partner absolutely love it!
I’m hoping that maybe one day you will post a garlic bread recipe, I think it’s pretty difficult to find a good recipe for that 😁
YAY! Congrats for passing all your exams! What a milestone! We need more medical professionals! 🙂 I’m so glad you both enjoyed the bread! It’s one of my favorites too! Happiest of holidays!
Absolutely amazing recipe. Whole family approved. We devoured or with soup and sandwiches.
I’m so glad to hear it was a success! Sounds like a delicious thing to pair with soup! YUMMY!!
Absolutely delicious and easy to follow. Thank you so much Beth!
I added a clove of garlic to the shallots and used dried thyme. An absolute winner! Sending love from the U.K. x