Savory Monkey Bread From Scratch
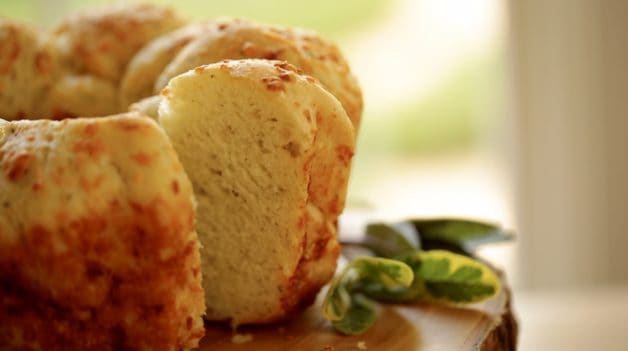
If you would like a sensational bread recipe for your holiday table I highly recommend this savory monkey bread recipe. It’s cheesy and herby with a light and fluffy texture on the inside and a crispy, cheesy texture on the outside.
This is the one recipe that you will need to make the day-of serving, but because it’s so good I always make time for it! Just make sure you plan ahead to allow for rising!
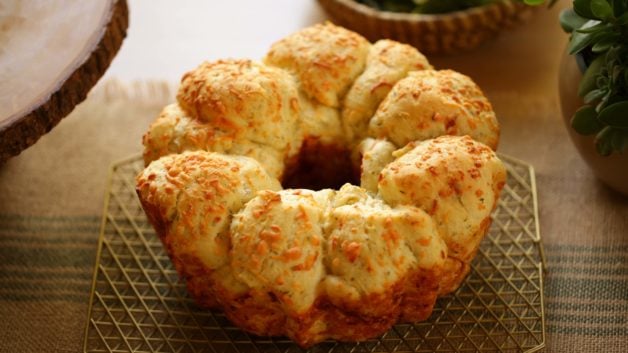
Skip The Biscuits in a Can
Making the dough from scratch makes all the difference! I know it can be tempting to buy those biscuits in a can, and cheat a bit for an easy shortcut, but you just won’t get the same light and fluffy texture and flavor dough made from scratch will provide. It’s SO worth the extra effort!
Making your dough from scratch also allows you the ability to infuse it with a selection of wonderful herbs, giving this rich bread a fresh finish.
Short on Time?
For a slightly less time-consuming bread recipe, try my Focaccia Bread with Carmelized Shallots and Thyme. The focaccia also makes for great sandwich bread the next day for your leftover turkey sandwiches.
Watch How to Make This Recipe Below!
Subscribe to My YouTube Channel and Never Miss a Video!
Step 1: Make the Dough
- You’ll first begin by adding all-purpose flour, a packet of active dry yeast, and salt to a large bowl.
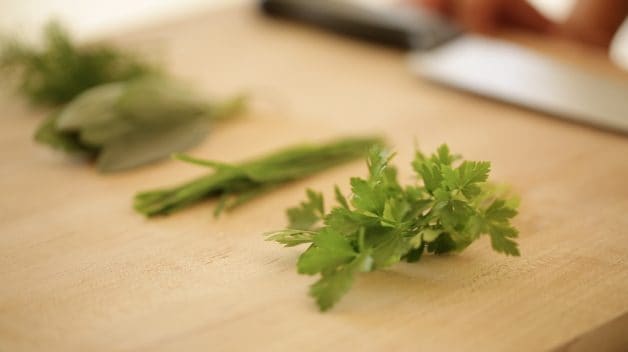
- Then, I like to add a combination of my favorite fresh Thanksgiving herbs such as dill, Italian parsley, chives, and sage.
For a bread that doesn’t need yeast, try my Sweet Potato Biscuits with Sage. Another fantastic bread recipe for Thanksgiving!
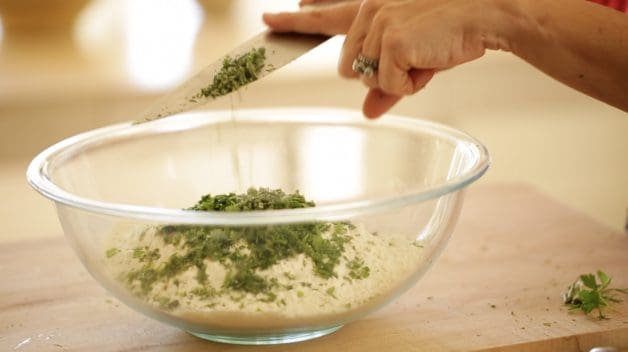
You’ll want to mince the herbs up and add them to the bowl.
Whisk the herbs in until they are combined with the flour and then you’ll add warm water and stir until a sticky dough forms.
Kneading the Dough
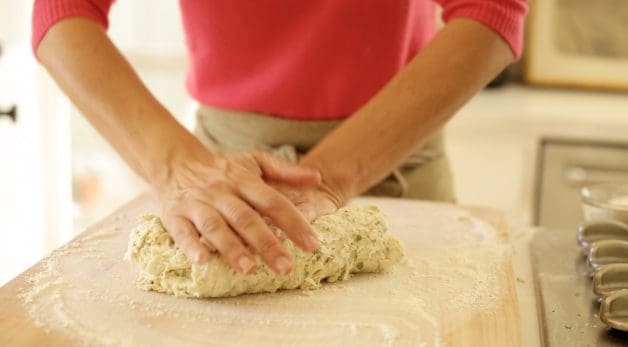
- Take the dough out and knead for about 20 turns, adding more flour as you handle the dough, this will make it easier to work with, as it becomes less sticky.
- About halfway through the kneading, add in the melted butter, and continue kneading for another 10 turns or so.
How do you know when your dough is kneaded enough?
- The dough is kneaded enough when the dough is smooth and will hold its shape.
- It should be a little tacky to the touch but not overly sticky.
- If the dough isn’t kneaded enough, it won’t rise properly and you will be left with a dense, thick brick of monkey bread. So do take your time with it!
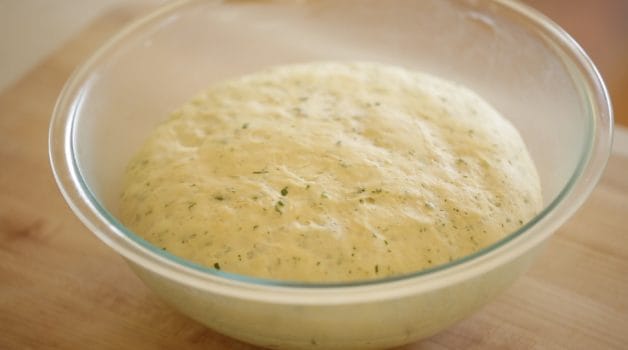
- Then, you’ll grease the sides of a large bowl with additional butter. Place the dough in the bowl and cover. Allow the dough to sit and rise for about two hours.
- After the dough has risen, you will see it has doubled in volume. Then, it’s time to create your “monkey bread” assembly station.
Step 2: Assemble the Monkey Dough
- The idea behind “monkey bread” came from the way we pull and pick apart the bread with our fingers, just as a monkey would. Funny but true!
- In a small bowl, add the melted butter and garlic. In another bowl, add the Italian blend cheese.
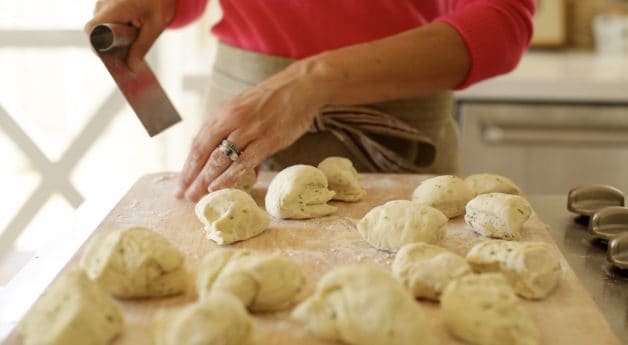
- Place your dough on a nicely floured surface. Cut in half, then quarters, and then quarter once more. You will have 16 dough balls in total. Now your monkey bread assembly station is ready to go!
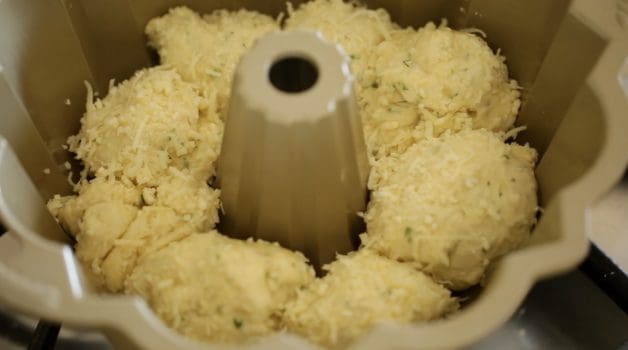
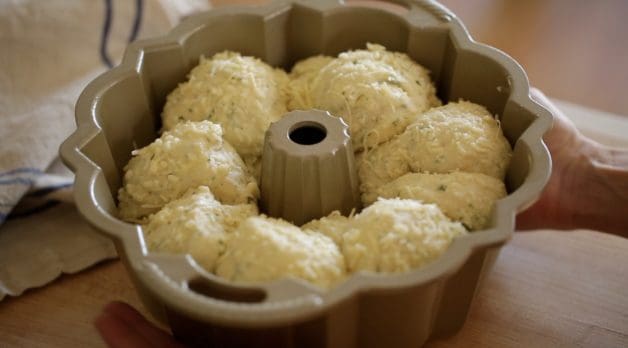
Take each dough ball dip it in the garlic butter and cheese and then place it in a bundt pan.
Fitting the Dough in The Pan
- It really helps to spray your bundt pan well with baking spray, don’t just grease with butter.
- We’re talking baked-on cheese people! You’ll need the extra assurance your bread will come out of the pan (even if it’s a non-stick pan) and I find you only get this with the baking spray!
- Once your dough balls have been formed dipped in garlic butter and rolled in cheese, cover and let it rise for another 30 minutes.
Then, place uncovered in a 375F (190C) degree oven for about 30 minutes.
Releasing the Monkey Bread From The Pan
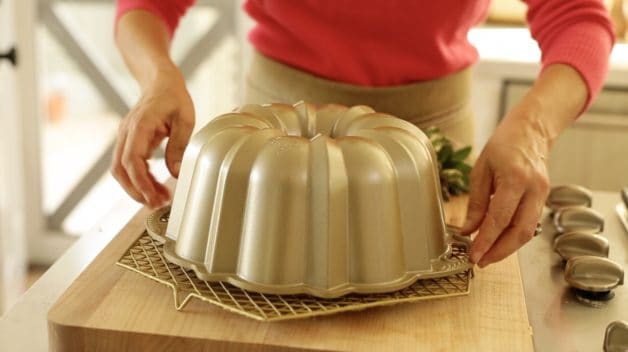
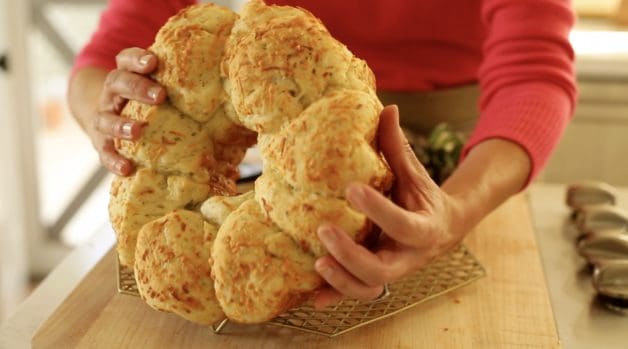
- Once your savory monkey bread is baked, loosen the sides with a sharp knife, and flip upside down, it will resemble a mass of cheesy garlic bread.
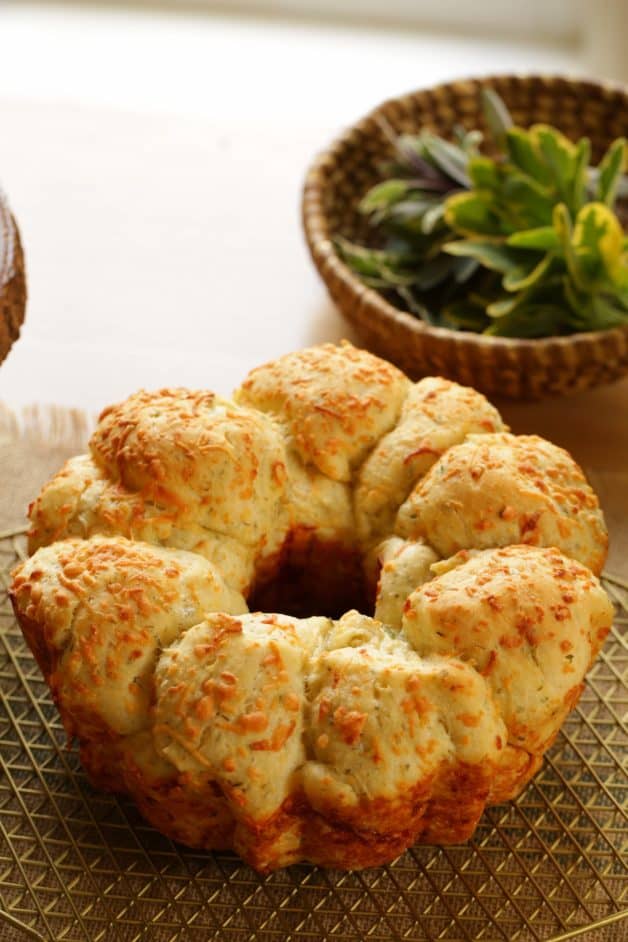
- But I find for a Savory Monkey Bread Recipe, the bread is prettier when flipped right side up.
You can then garnish your bread with some fresh herbs and let your guests dig in!
More Bread Recipes!
- Spiced Zucchini Bread
- No-Knead Cinnamon Raisin Bread
- Pumpkin Cinnamon Roll Loaf
- Ultimate Banana Bread
If You Enjoyed This Recipe
Please Leave a Rating and a Review Below!
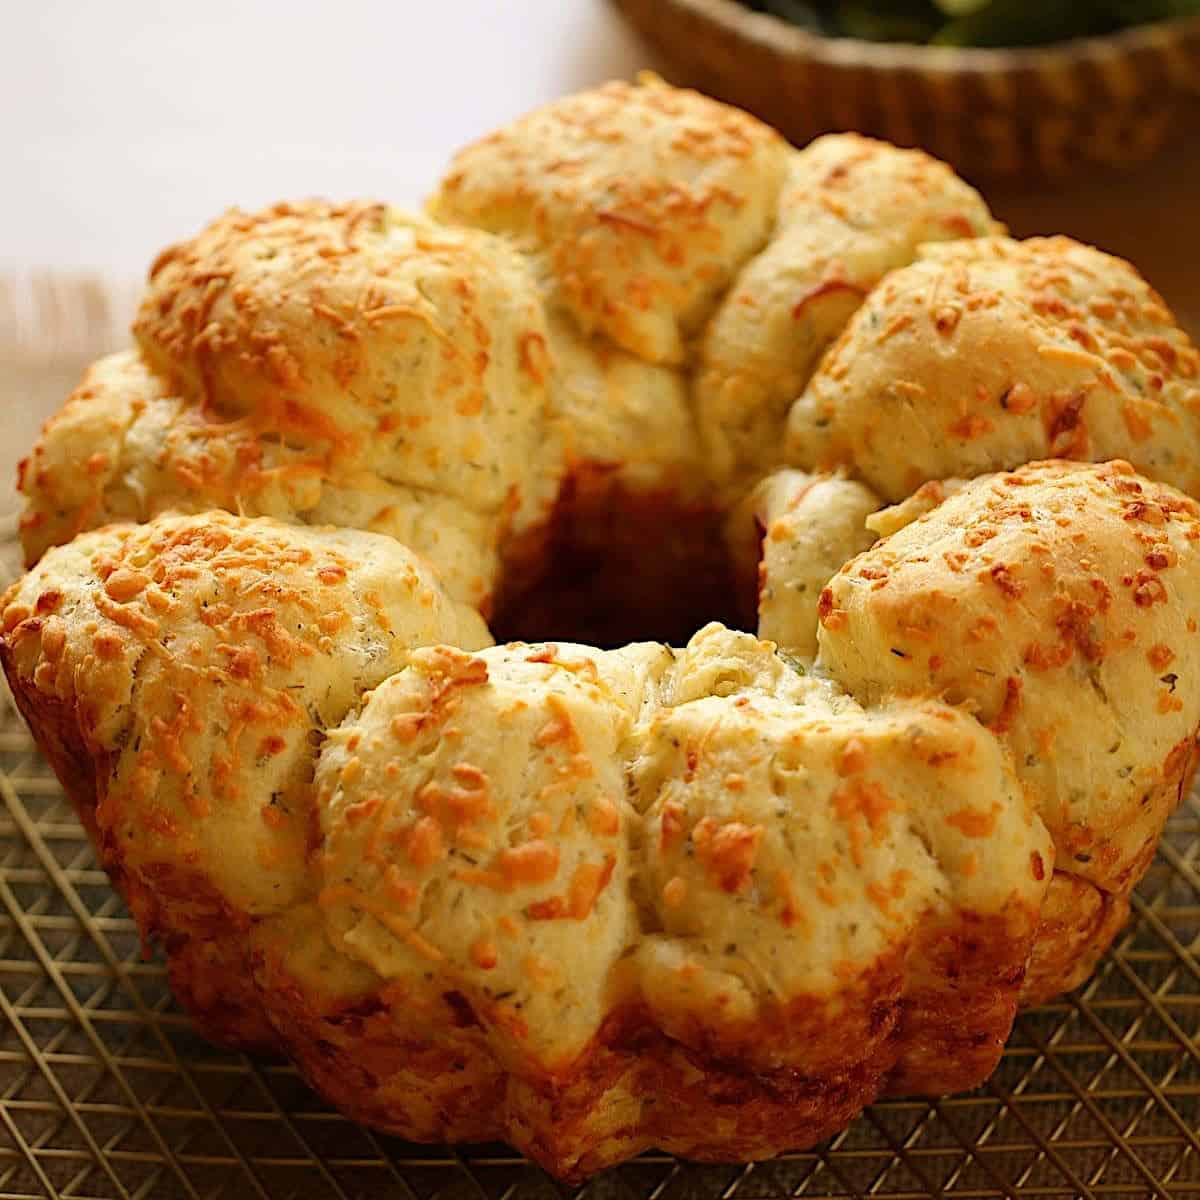
Savory Monkey Bread From Scratch
Savory Monkey Bread from Scratch infused with fresh herbs and dipped in garlic butter and cheese. A wonderful holiday bread recipe!
Ingredients
For Bread:
- 3 ½ cups (420g) all-purpose flour
- 2 ¼ tsp (1 package) (11.25ml) dry active yeast
- 1 tsp (5ml) salt
- 2 tbsp (30ml) dill, finely chopped
- 2 tbsp (30ml) parsley, finely chopped
- 1 tbsp (15ml) chives, finely chopped
- 1 tbsp sage (15ml), finely chopped
- 1 ½ cups (350ml) warm water (between 110-115F (37C-46C)
- 2 tbsp (30 ml) butter, melted
For Dipping and Rolling:
- 2 cups (120g) Italian Blend Cheese
- 4 tbsp (60g) butter, melted
- 1 clove garlic, minced
Instructions
- Whisk together the flour, yeast, salt, and herbs. Then add water and slowly mix into a dough, and then into a ball. Dough will be very sticky. Grab dough with floured hands and knead on a floured surface for 20 turns. Adding more flour if needed as kneading. Then pour 1 tbsp (15ml) of melted butter on top of dough and knead for another 10 turns.
- Place other 1 tbsp (15 ml) of butter in a clean bowl, and grease the sides of the bowl with it. Place dough inside and cover with a dry towel or plastic wrap. Set in a warm place for 2 hours to rise. It should double in volume.
- Once risen, remove the dough from the bowl and place on well-floured surface. Cut dough into quarters. Then cut each quarter, into quarters. You will have 16 pieces.
- Roll each piece into a ball, coating with flour if needed. Set aside.
- Prepare a 10-cup Bundt pan by spraying it well with baking spray, use a pastry brush to distribute it well. Set aside.
- Combine melted butter and garlic in a small bowl and set aside. Place cheese in a small bowl and set aside.
- Then dip each dough ball into the melted butter and then roll in the cheese, place in the Bundt pan. Continue process until Bundt pan is covered with one layer, and then begin a second layer on top.
- Cover and allow to rise in a warm place for 30 minutes.
- Meanwhile preheat oven to 375F (190C).
- Once dough has risen for the second-time place in oven and bake for 25-30 mins. Bread will be golden brown and puffed up.
- Allow to cool and then loosen edges with a sharp knife to release any baked-on cheese. Then release bread by placing a cooling rack on top of Bundt pan, flipping over, and then gently flip it again to place it right side up on cooling rack to cool slightly.
- To serve place on a cake stand, garnished with fresh sage or rosemary leaves. Cut into slices.
Notes
It really helps to spray your bundt pan well with baking spray, don't just grease with butter. We're talking baked-on cheese! You'll need the extra assurance your bread will come out of the pan (even if it's a non-stick pan)
Nutrition Information:
Yield: 12 Serving Size: 1Amount Per Serving: Calories: 155Total Fat: 2gSaturated Fat: 1gTrans Fat: 0gUnsaturated Fat: 1gCholesterol: 5mgSodium: 33mgCarbohydrates: 28gFiber: 1gSugar: 0gProtein: 5g

I just wanted to say thank you for making this recipe. I’ve baked it over a dozen times, and it’s a huge hit every time. I love the fragrant herbs and gooey cheese combination. I usually triple the herb amount and garlic. The whole bread roll ring is typically eaten in three days when I make it. Thanks for a wonderful savory treat. 🙂
You’re so welcome! I’m so glad it has been such a hit! 🙂
This looks great! I was wondering if you could do a cool rise overnight for the 2 rises? So that means that on Day 1 you would do steps 1 & 2 and then let it rise in the refrigerator overnight (cool-rise). On Day 2 do steps 3-8 then let it rise in the refrigerator overnight (cool-rise). Then on Day 3 bake in the oven! What do you think? Would that work okay?
Well I wouldn’t do a cool rise since it will affect the texture of the bread and you’ll lose the light fluffy nature of it. I would do the first rise as an overnight rise at room temperature and save the second rise for the day of. You’ll just be happier with the results this way 🙂 Hope you enjoy!
My grandson who loves bread said it was the best he has ever eaten. It tastes as great as it looks.
Ha! Aww bless his heart! I’m so glad you both enjoyed it! Definitely a favorite at our house too!
Making this on this rainy today in Nova Scotia to enjoy with cream broccoli cheddar soup
Oooh yummy! Great idea! 🙂