Chocolate Skillet Cake
SHARE THIS RECIPE!

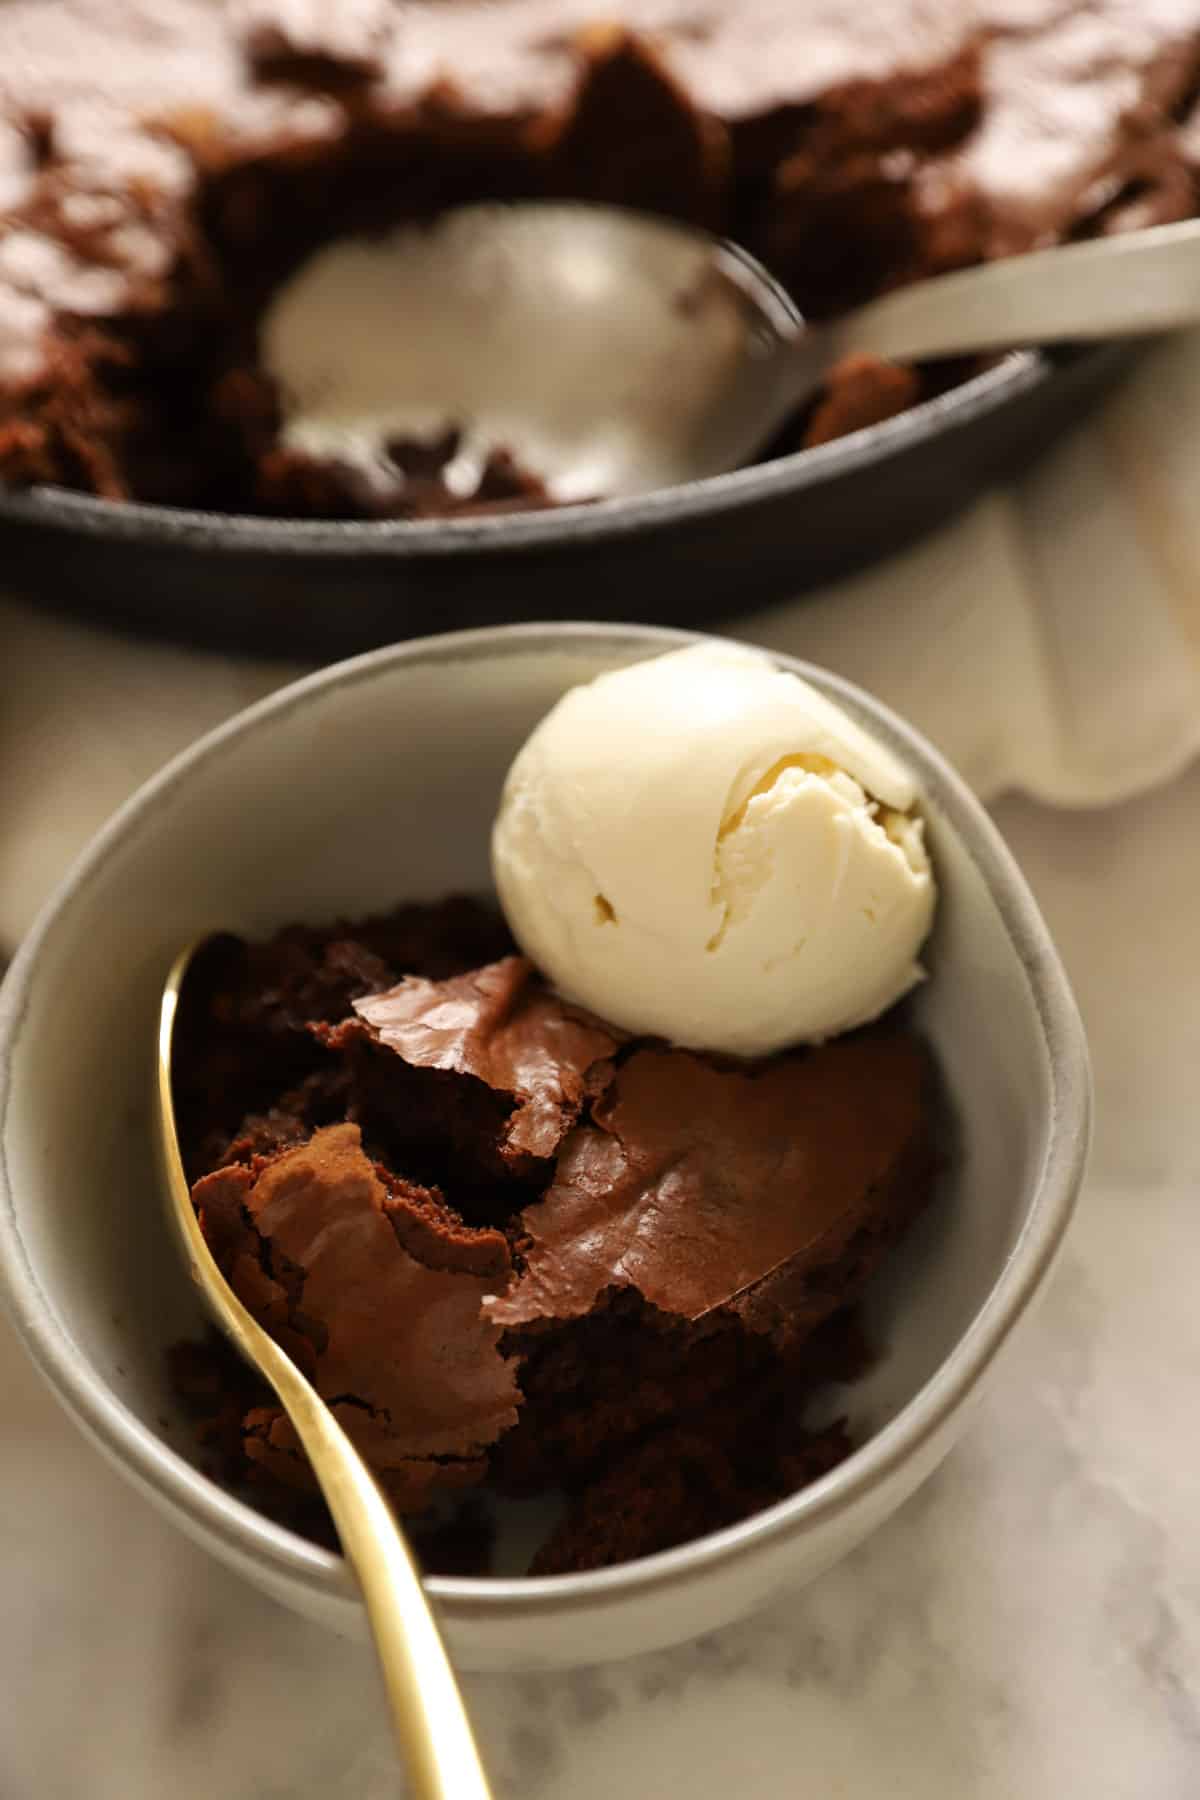
This warm Chocolate Skillet Cake is rich and fudgy and so delicious too! It feels like you’ve just wrapped yourself up in a warm, cozy blanket! It’s a cross between a cake and a brownie, and when topped with a big scoop of vanilla ice cream, it makes for a fantastic chocolatey dessert, sure to cure any chocolate craving!
For more delicious chocolate desserts try my Ultimate Chocolate Cupcakes or my Chocolate Banana Bread recipe.
A Chocolate Cake For Movie Night
- This skillet cake is great for curling up on the sofa and watching a movie!
- It’s a great family dessert, where everyone can serve themselves and dig in!
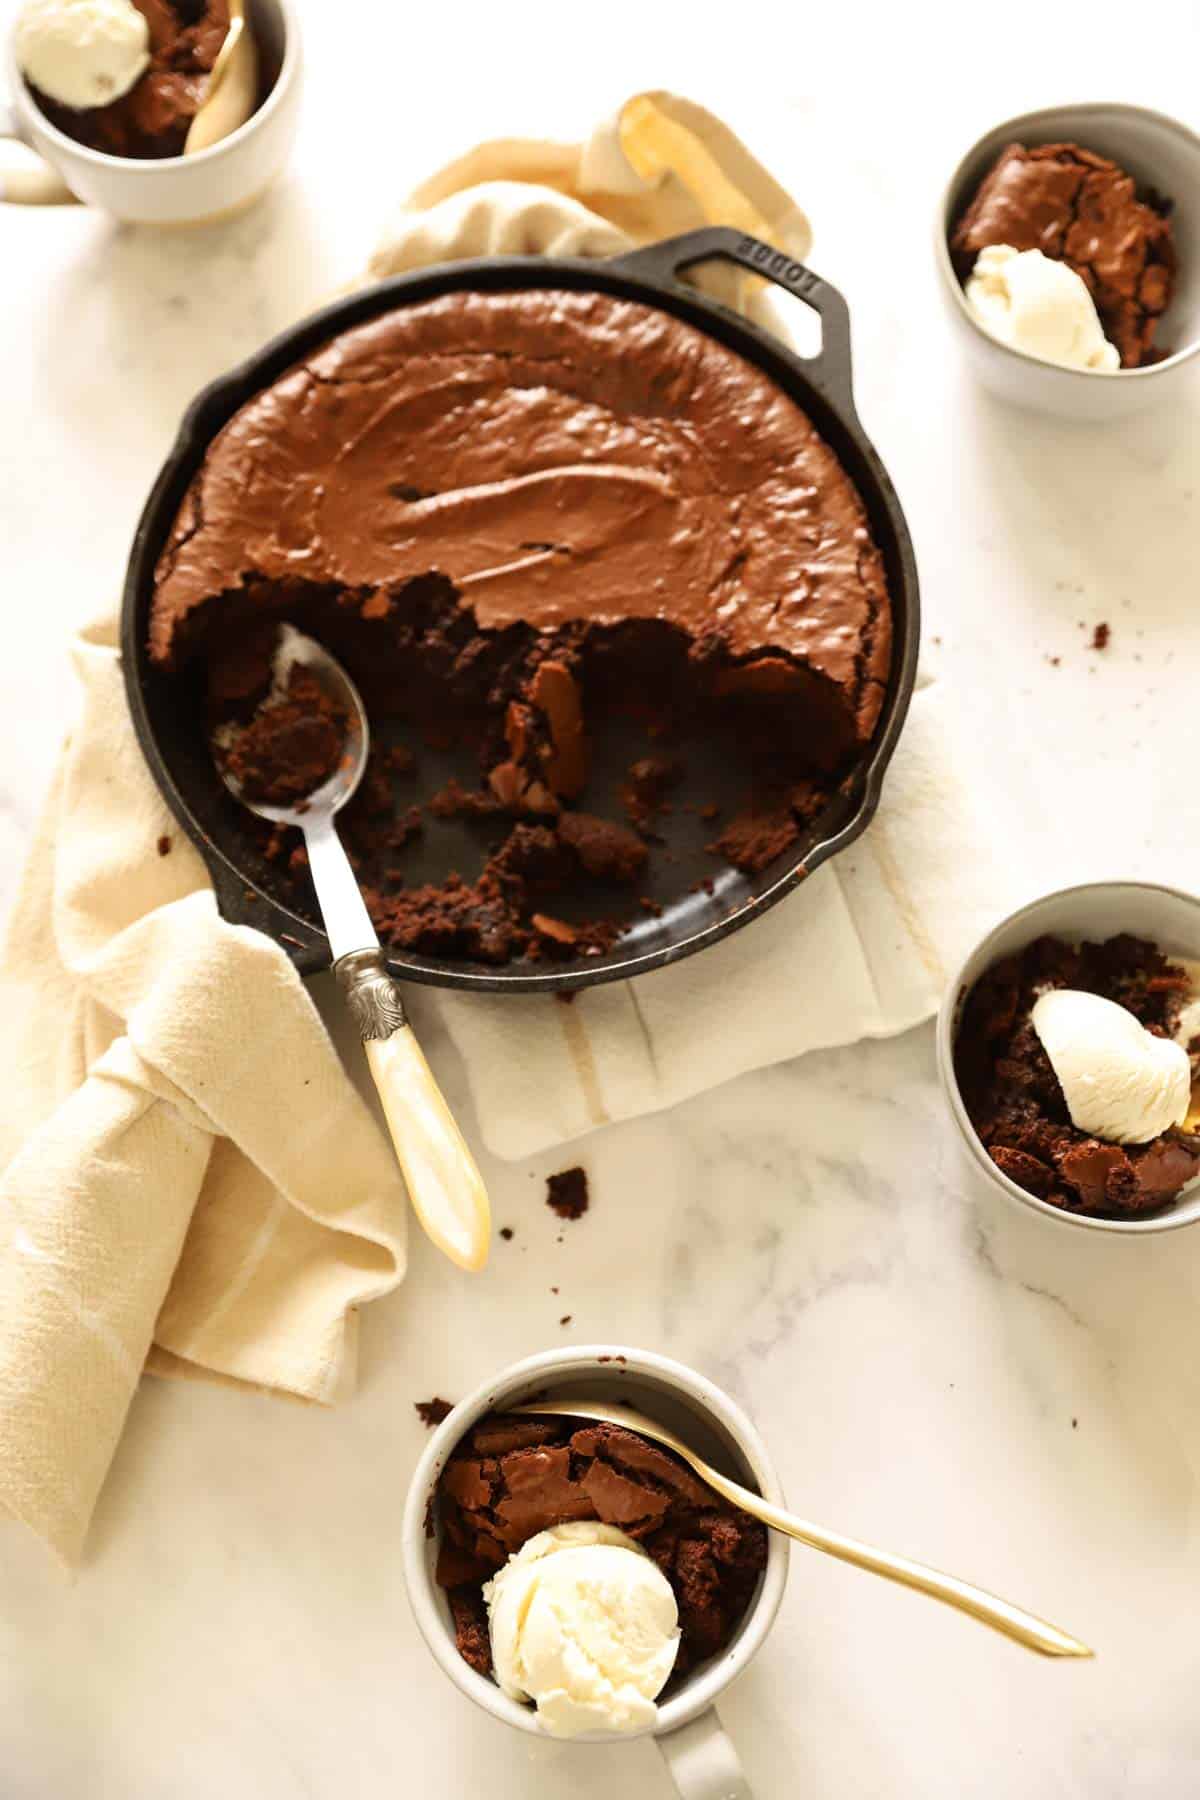
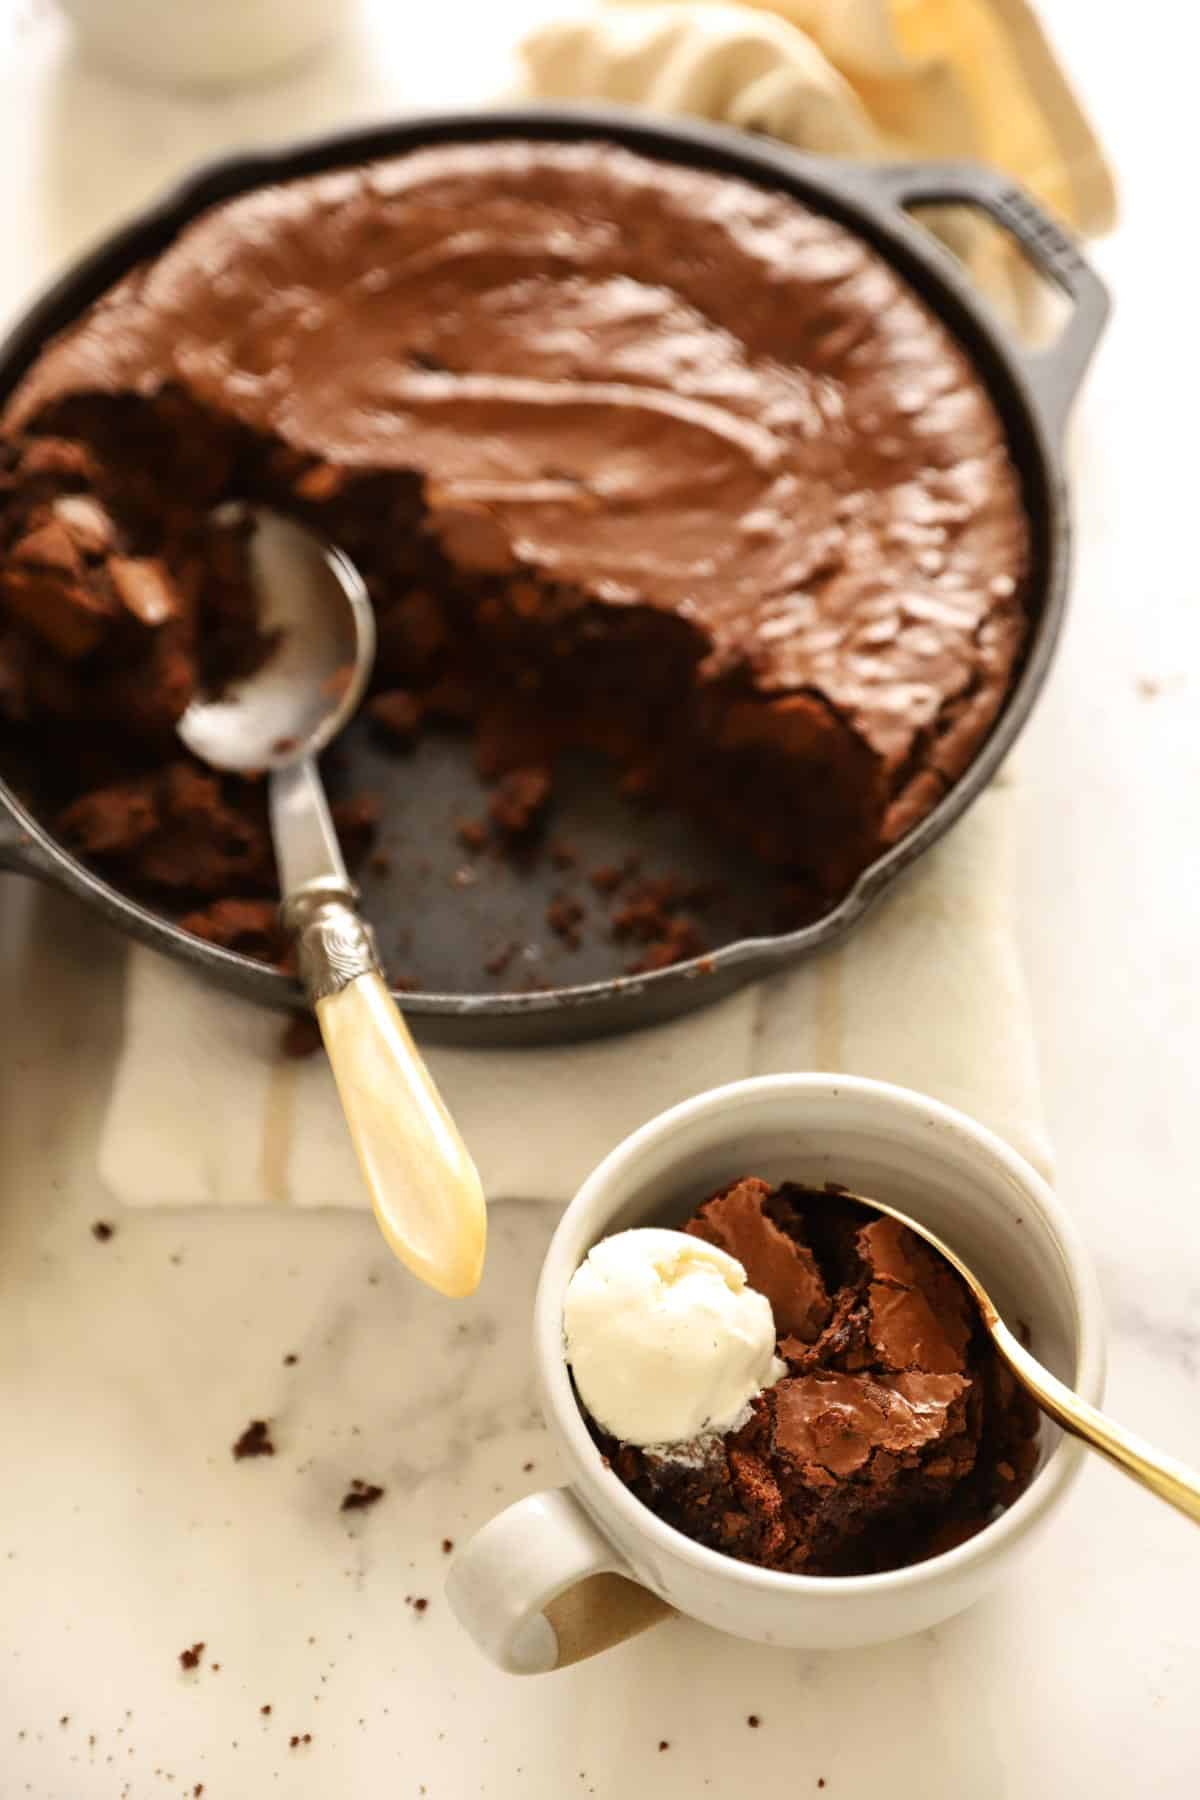
- I like to serve it in small mugs or bowls with a scoop or ice cream. This way it retains the heat better and keeps your cake warm!
- This is the same idea with the cast-iron skillet. It will keep the cake warm while you serve it. Bring it oven to table and allow guests to scoop out their own servings.

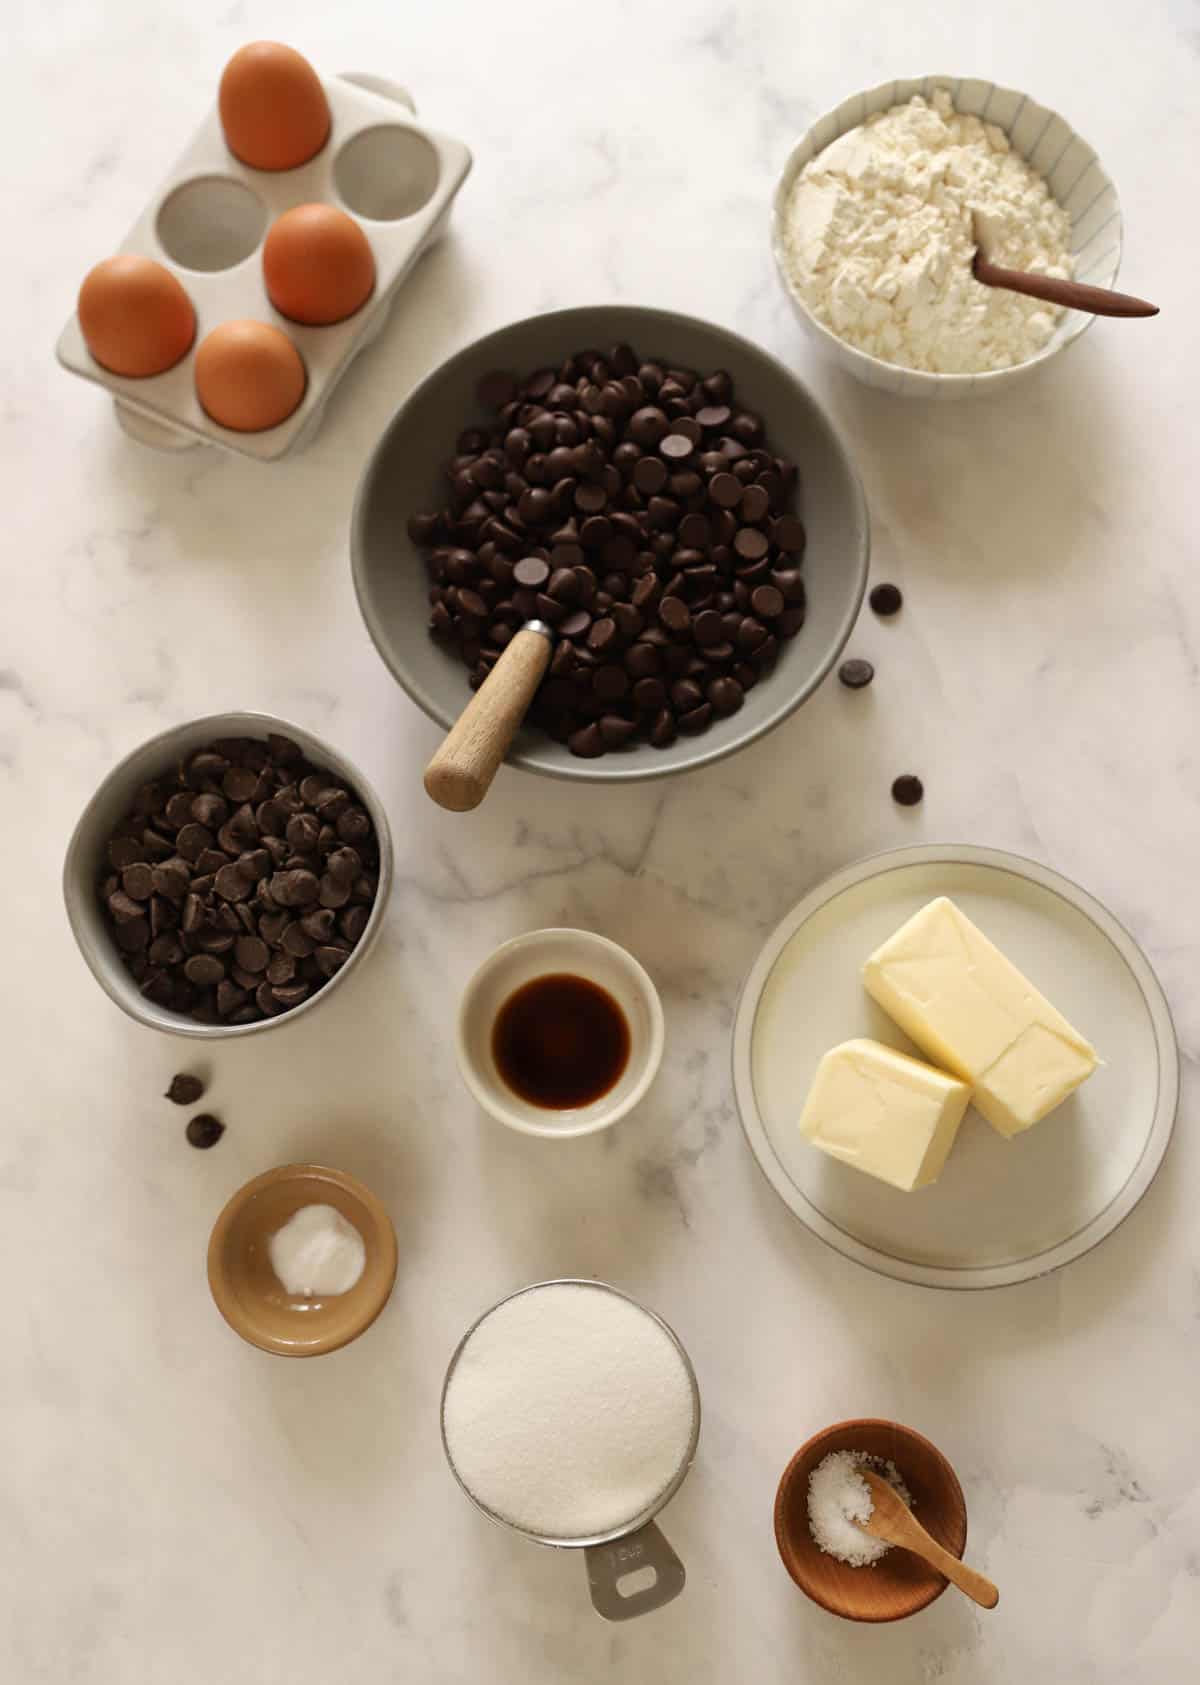
Ingredients:
- Bittersweet Chocolate Chips I like to use a combination of chocolate in this recipe. The bittersweet imparts deep chocolate flavor.
- Semi-Sweet Chocolate Chips Will add a chocolate flavor, but also balance out the sweetness.
- Butter I use salted butter for this recipe since I find it more flavorful. But if you are outside the U.S.A use unsalted butter.
- Sugar I use a full cup of sugar to sweeten up the bittersweet chocolate chips.
- Eggs Use room temperature eggs for easier mixing.
- Vanilla Extract Will deepen the flavor and add more depth of flavor to the brownie-cake.
- All Purpose Flour No need to use cake flour, all purpose flour is all you need.
- Baking Soda Will provide a little lift to the cake, while also giving it that chewy, brownie texture.
- Salt To heighten the flavors and balance out the sweetness.
- Vanilla Ice Cream For this cake, I spring for the best vanilla ice cream I can find. And for me personally, that usually means Haagen-Dazs.
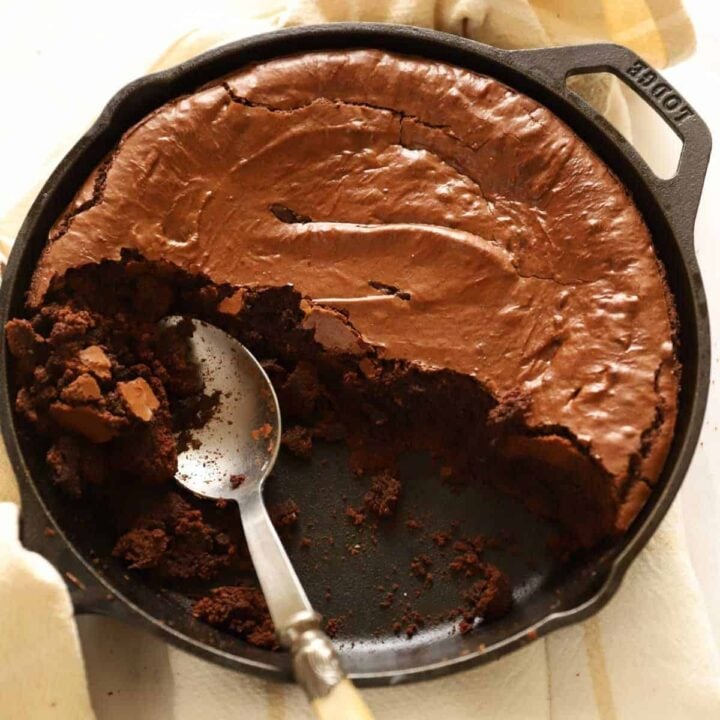
The Crackly, Shinny Brownie Top
- This is the prettiest, most tastiest part of this cake!
- It reminds me of those brownie recipes from box-mixes we used to make as kids.
- The shinny crust provides a crispy, crunchy meringue like top, which is a delicious contrast to the dark, fudgy cake below.
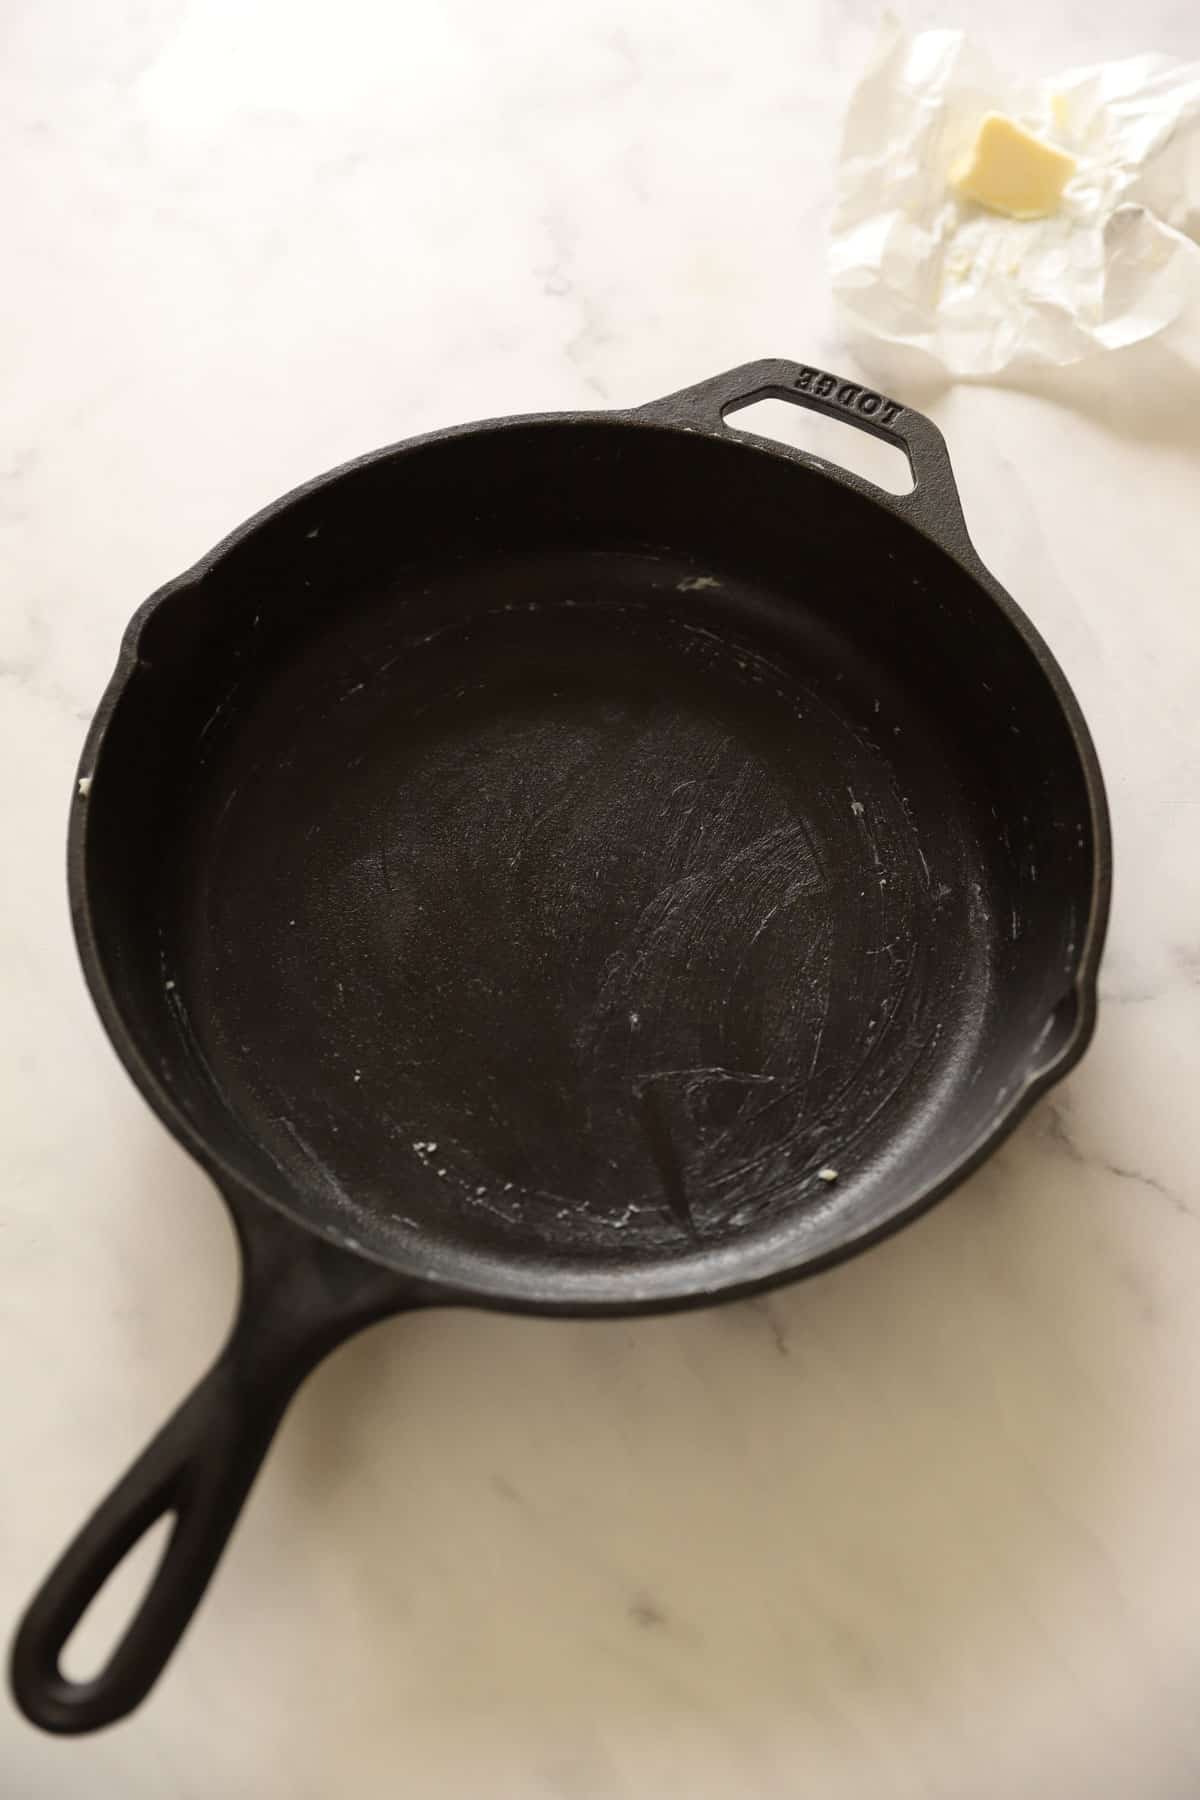
Cast-Iron Pan vs. Cake Pan
- I like to use a 10″ Pre-Seasoned Lodge Skillet for this recipe, because the high heat retention keeps the cake warm when you serve it oven to table.
- I make so many things in my cast-iron pan, I find it’s a great investment!
- From Roast Chicken in a Skillet, to Apple Crisp and Blackberry Corn Cake, all these recipes add to the patina of the pan!
- But if you don’t have a cast-iron skillet you can also use a 10-inch cheesecake pan too. This is what I use to make my lighter Flourless Chocolate Cake Recipe.
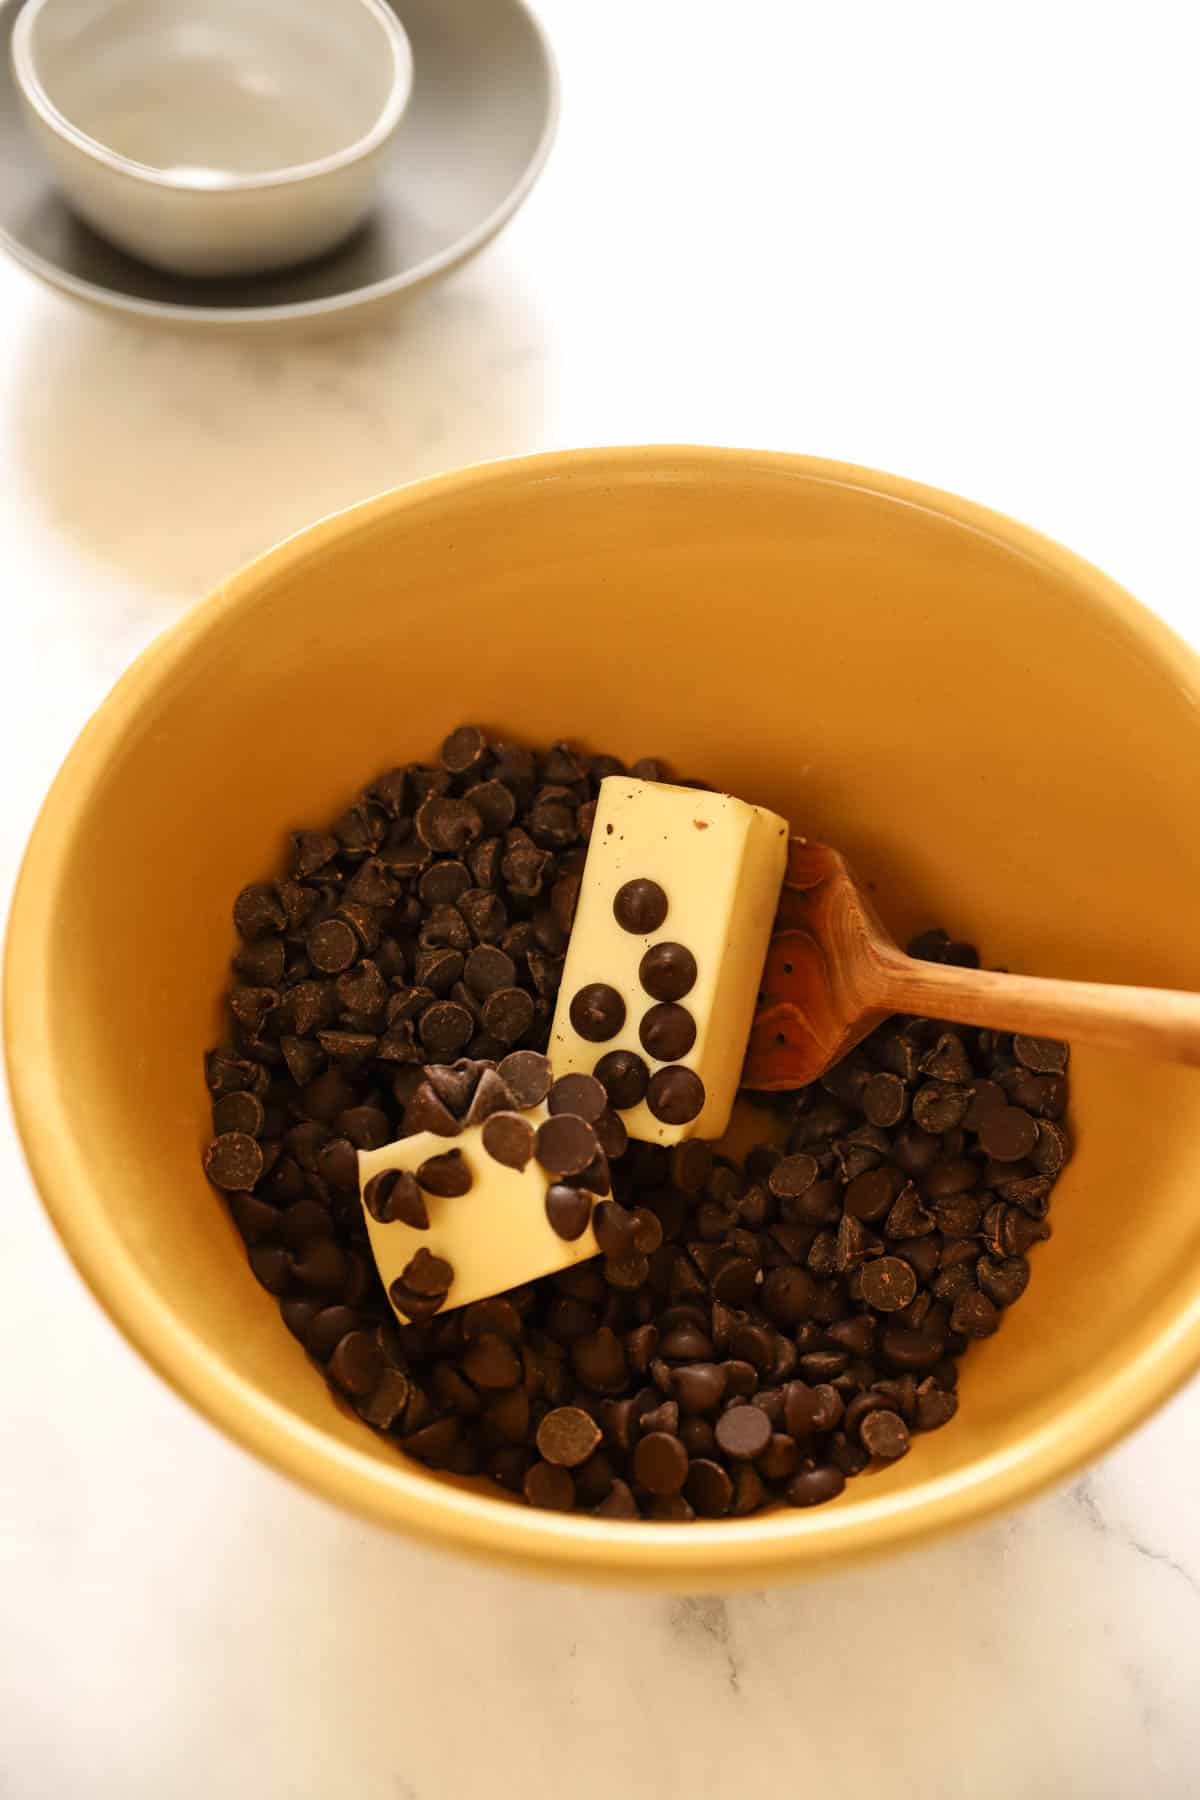
Step#1: Microwave the Chocolate Chips and Butter
- Place the chocolate chips and butter in a microwave safe bowl and microwave on high in :30 intervals until melted.
- Stir the mixture with a fork to redistribute the chocolate chips and ensure they are melting without burning.
- Do not over heat the chocolate chips or they will scotch and burn. Burn chocolate is not a good look and you’ll have throw it out and begin again!
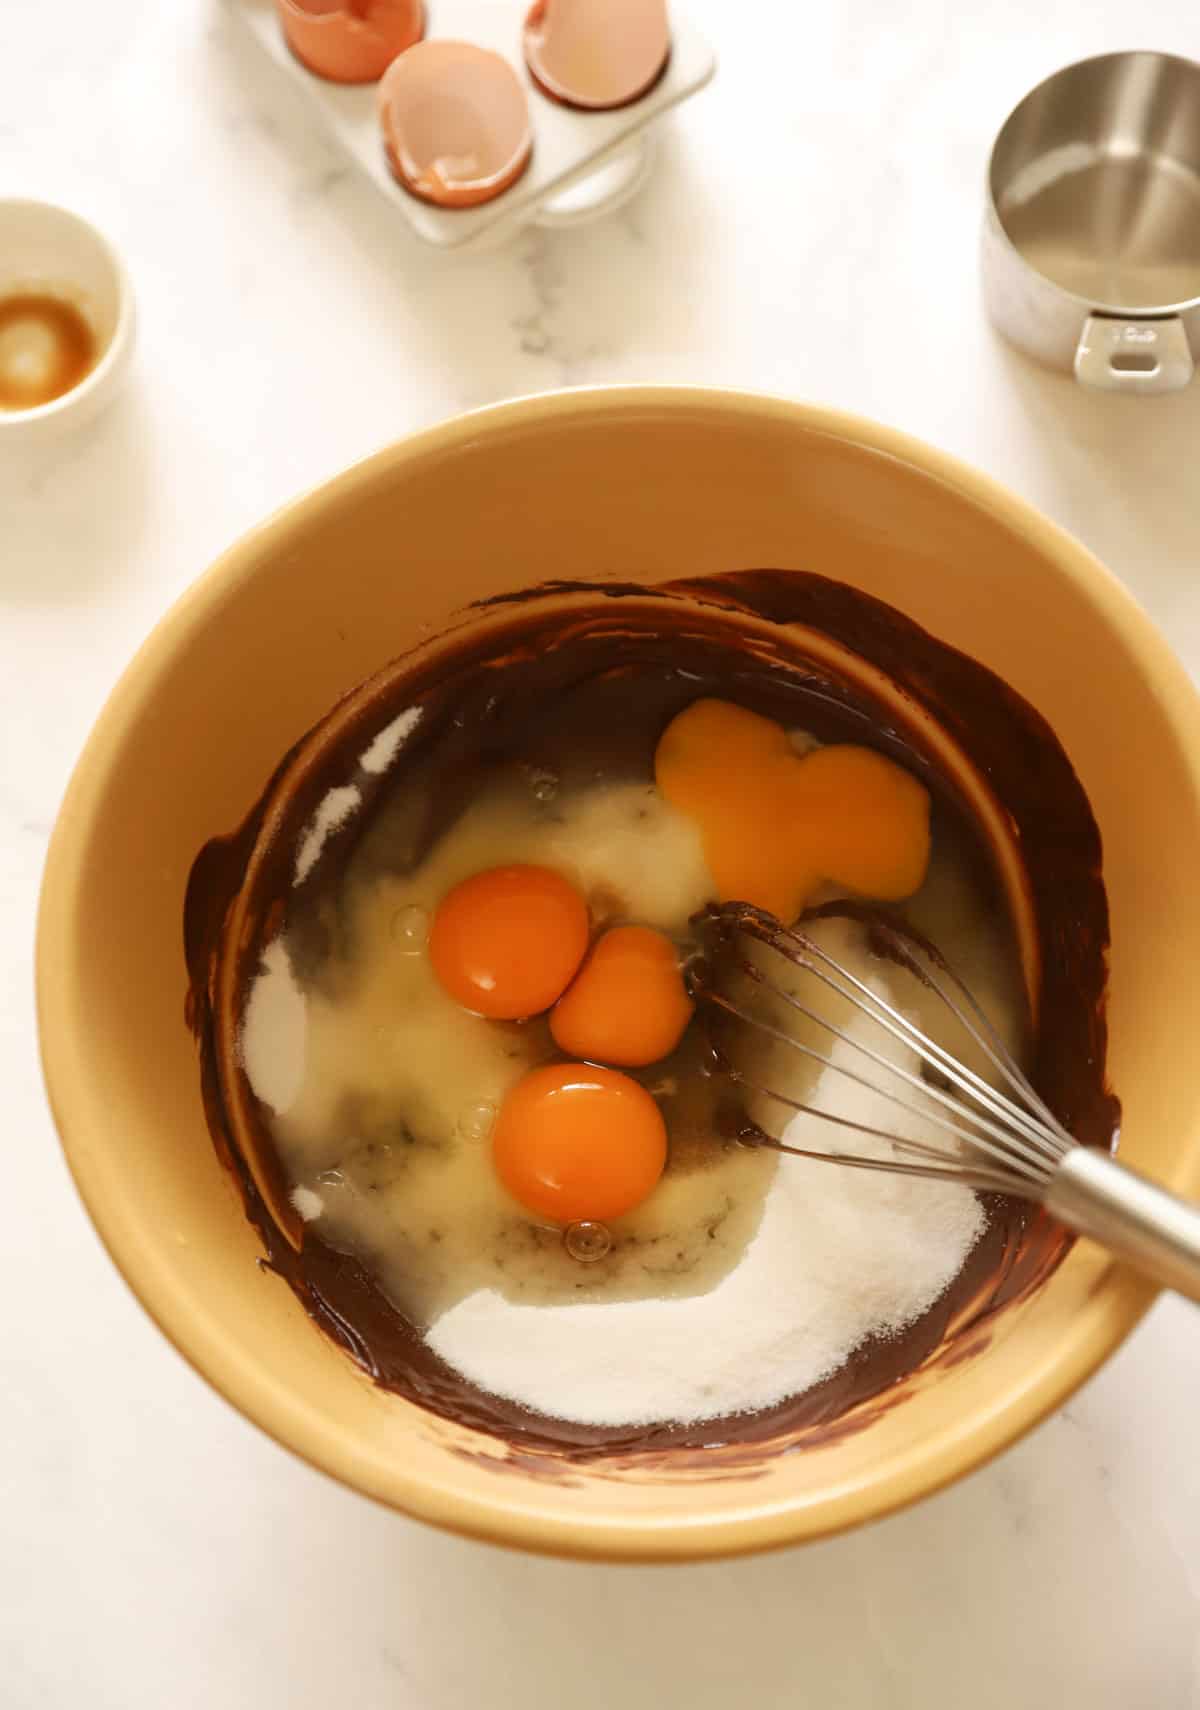
Step#2: Add the Wet Ingredients
- You can add the eggs, sugar and vanilla right on top of the melted chocolate mixture and mix!
- It will be a thick, sticky batter, best mixed with a whisk.
- Don’t let the mixture rest too long or the butter and chocolate will start to solidify again, and it will be harder to mix in the dry ingredients.
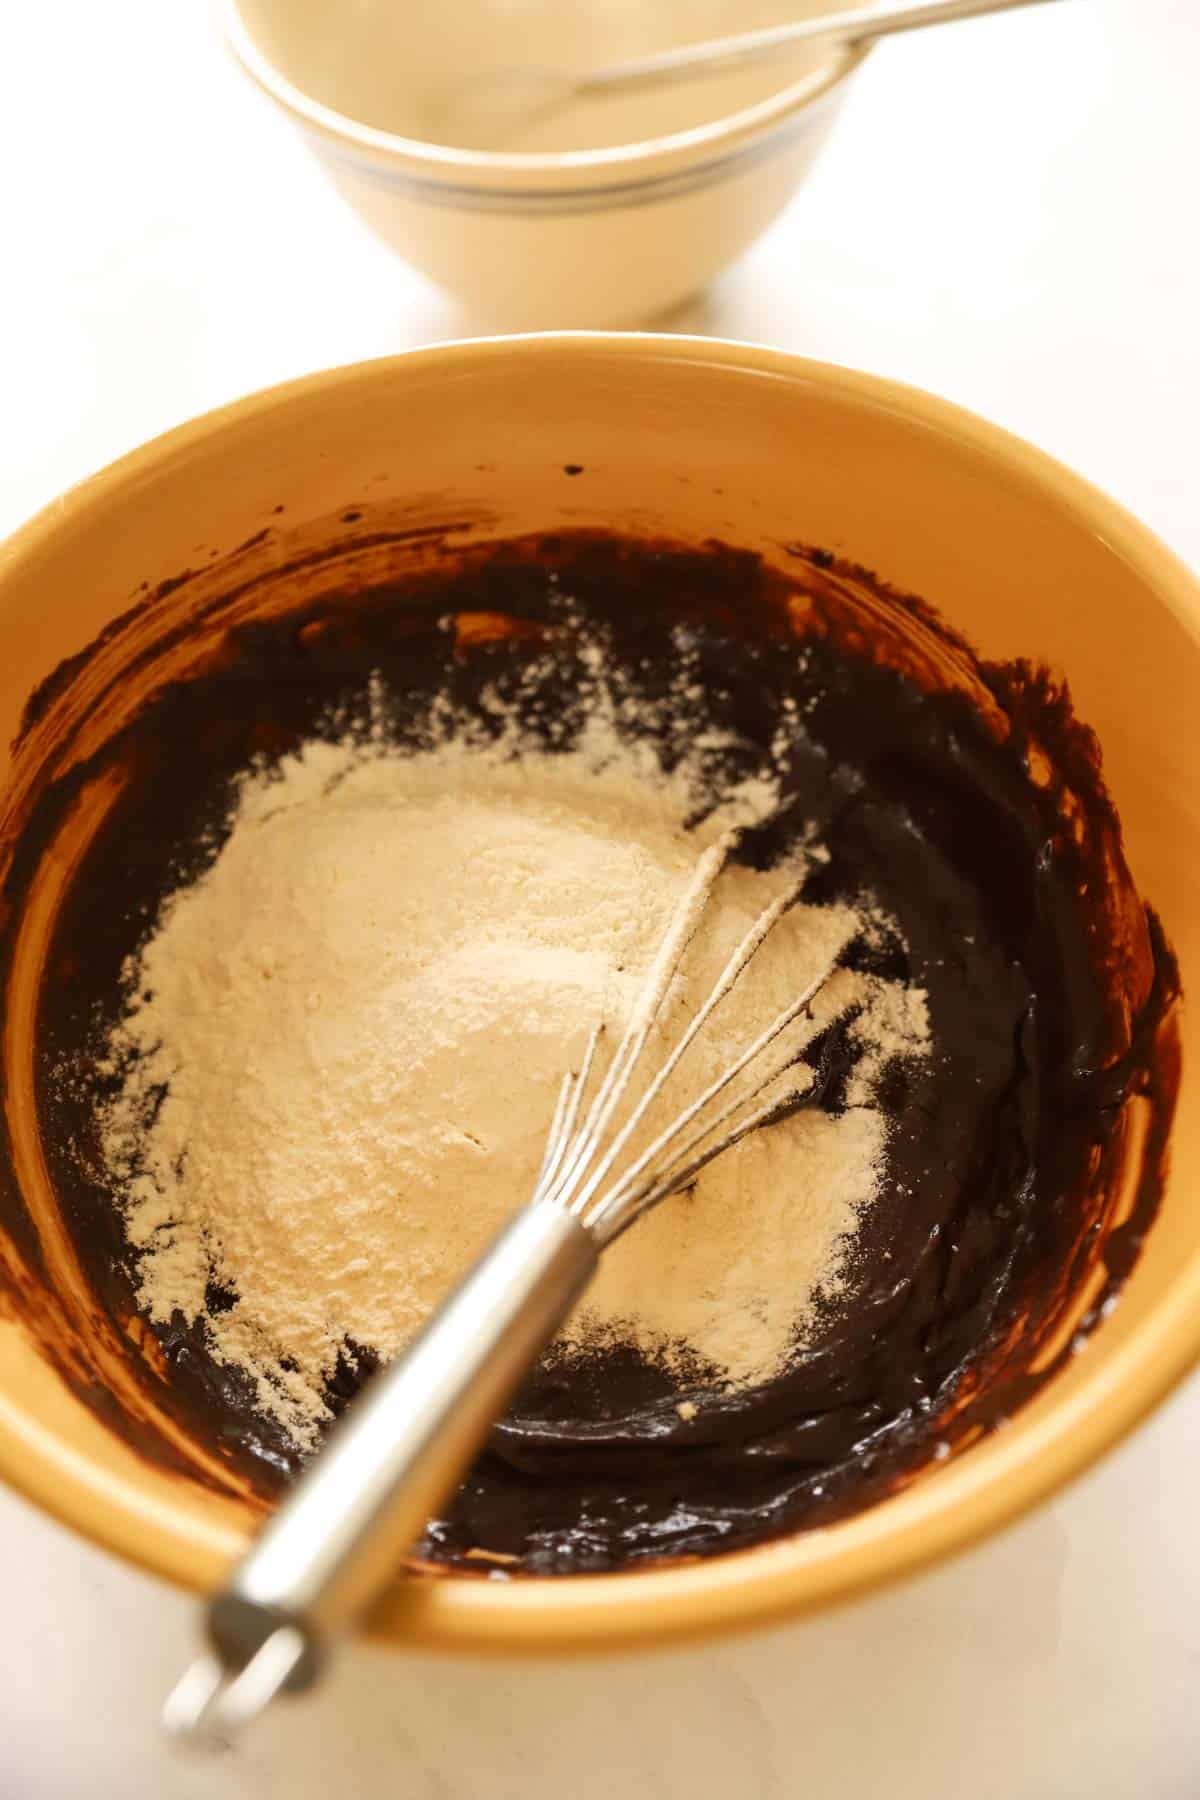
Step#3: Add the Dry Ingredients
- It’s best to combine the dry ingredients in a separate bowl and whisk together before adding them into the wet ingredients.
- This will allow the salt and baking soda to become better distributed.
- To save time or prep ahead, you can pre-whisk the dry ingredients and keep them covered on your counter top.
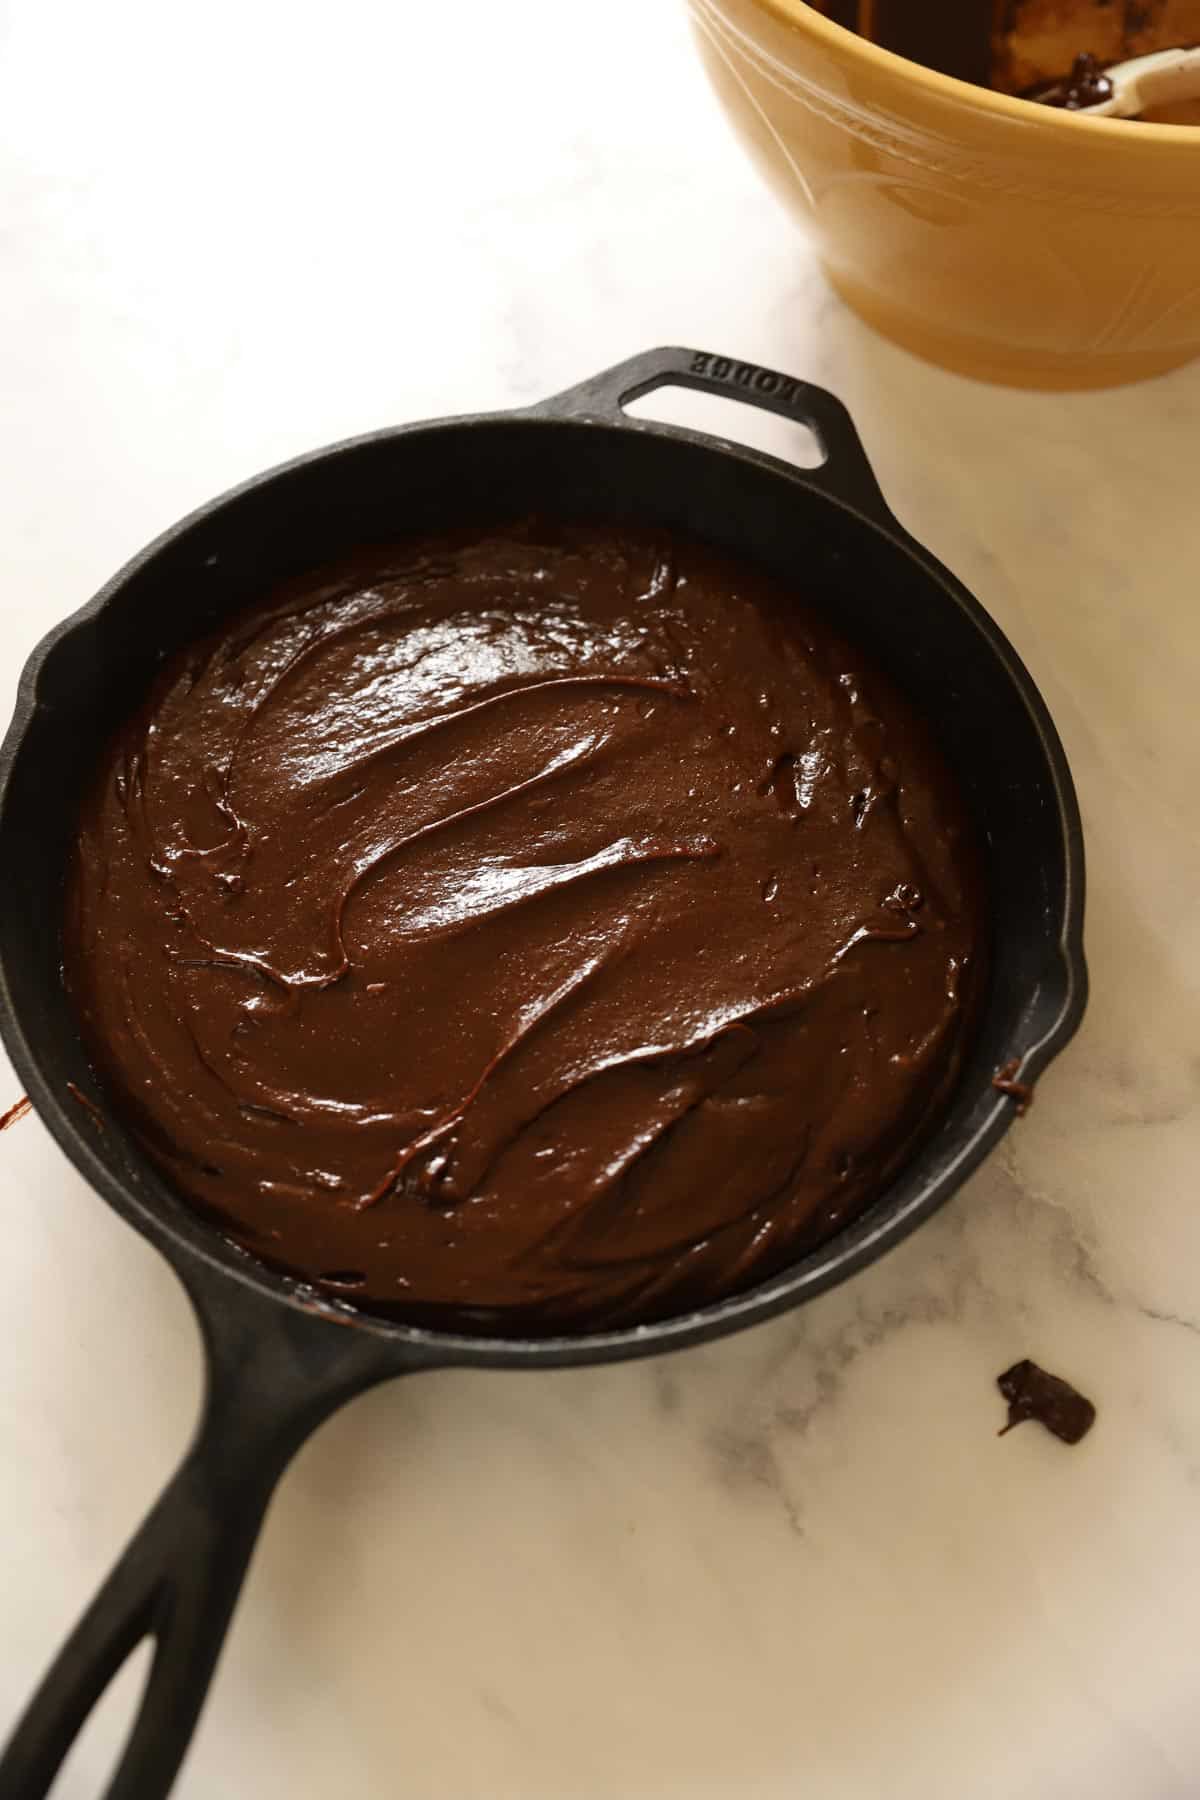
Step #4: Pour Batter into Skillet
- Pour the brownie batter into a greased skillet and smooth it out with a spatula.
- It pays to smooth out the batter nicely in the pan before it bakes since the cake will set that way. So the smoother the top the smoother the cake will set and bake.
- It will make for a prettier presentation and create a smooth, shinny, crackly top.
Serving Suggestions:
- It’s so rich and chocolatey that really 1 cake is all you need. It’s also so easy it’s great any time of year if you just want to make a mini cake and have it all to yourself! That’s a great idea too!
- You can make it in a mini 6″ Lodge Cast-Iron Skillet to serve as a shared dessert for two.
- It’s such a fun, casual way to serve a fantastic dessert. Set it out with a large serving spoon and let everyone help themselves.
- All they have to do is spoon out some cake, plop on the ice cream, and sail off to chocolate heaven!
Chocolate Skillet Cake
A fantastic chocolatey dessert sure to quench any chocolate craving! Makes for a fun family dessert for movie night!
Ingredients
- 2 cups (340g) of bittersweet chocolate chips
- 1 cup ((170g) semi-sweet chocolate chips
- 12 tbsp (180) butter of unsalted butter
- 1 cup (200 g) sugar
- 4 eggs
- 1 tsp (5 ml) of vanilla extract
- 1 cup (120g) all-purpose flour
- 1/2 tsp (2.5 ml) salt
- 1/2 tsp (2.5 ml) of baking soda
Instructions
- Preheat oven to 350F (175 C) degrees. Grease skillet with butter and set aside.
- In a microwave-safe bowl, combine chocolate chips and butter and microwave on high for 30 seconds at a time until melted. Add sugar, egg and vanilla and whisk to combine. Set aside.
- In a small bowl add flour, salt and baking powder. Whisk to combine. Add dry ingredients to wet ingredients and whisk to combine.
- Transfer batter to a greased 10" oven-safe skillet and bake for 35 minutes or until a toothpick comes out “mostly clean”. Cake is best a little underdone. Serve with a big scoop of vanilla ice cream. Enjoy!
Notes
To make a small 6" skillet for 2 follow these measurements with the same method as instructed above. And Bake at 350F for just 15-17 minutes.
1/2 cup bittersweet chocolate chips
1/4 cup of semi-sweet chocolate chips
4 tbsp (60 g) of unsalted butter
¼ cup (50 g) sugar
1 egg
¼ tsp (1.25 ml) of vanilla extract
¼ cup (30 g) all-purpose flour
⅛ tsp (0.5ml) salt
⅛ tsp (0.5ml) of baking soda
Nutrition Information:
Yield: 6 Serving Size: 1Amount Per Serving: Calories: 776Total Fat: 60gSaturated Fat: 35gTrans Fat: 0gUnsaturated Fat: 22gCholesterol: 186mgSodium: 194mgCarbohydrates: 50gFiber: 10gSugar: 17gProtein: 14g

Hi!
Would 60percent cacao be considered bittersweet? Is that what you used?
Can’t wait to make this decadence!
I usually use 70% but 60 is good too! It will be great too! 🙂 Hope you enjoy it!
Do you cook the 6″ cake as long as the 10″ ?
So sorry I just updated the notes section in the recipe card. You only bake it for 15-17 minutes. I hope you enjoy it!
Can I use dark chocolate instead of bittersweet?
Sure sark chocolate is great too. Just be sure you use the same quantity. Hope you enjoy!
Hi Beth!
How long do I bake the 10” cake for and how do I know exactly when it’s done?
I would bake it for 25-30 minutes and you’ll know when it’s done when a toothpick comes out clean 🙂
Can you make day before, then reheat the next day?
Sure you could do that, but I may take it out of the skillet since you wouldn’t want to store it overnight in the fridge in cast-iron. Another great chocolate cake you could also make the day before and reheat is this one!
What size is the small skillet-the recipe that feeds two?
Oh sure it’s a 6″ Skillet. Hope you enjoy!
Nevermind … Ha! I see the 2nd recipe is in the NOTES! I skimmed over it and was looking for two separate recipes.
Thanks! 🙂
Ha! No worries! Hope you enjoy!
In the ingredient list it calls for baking soda yet in the instructions it calls for baking powder.
Which is the best one to use? You
So sorry that should be baking soda! Just fixed that! Also make sure you follow the right recipe since there are 2 on the page, 1 for a mini skillet and one for a large skillet. Just wanted to make sure you noticed that 🙂 Happy Holidays!
Enjoyed recipes
So glad they have been a hit! 🙂