Popovers- 7 Tips for Mile-High Success!
SHARE THIS RECIPE!

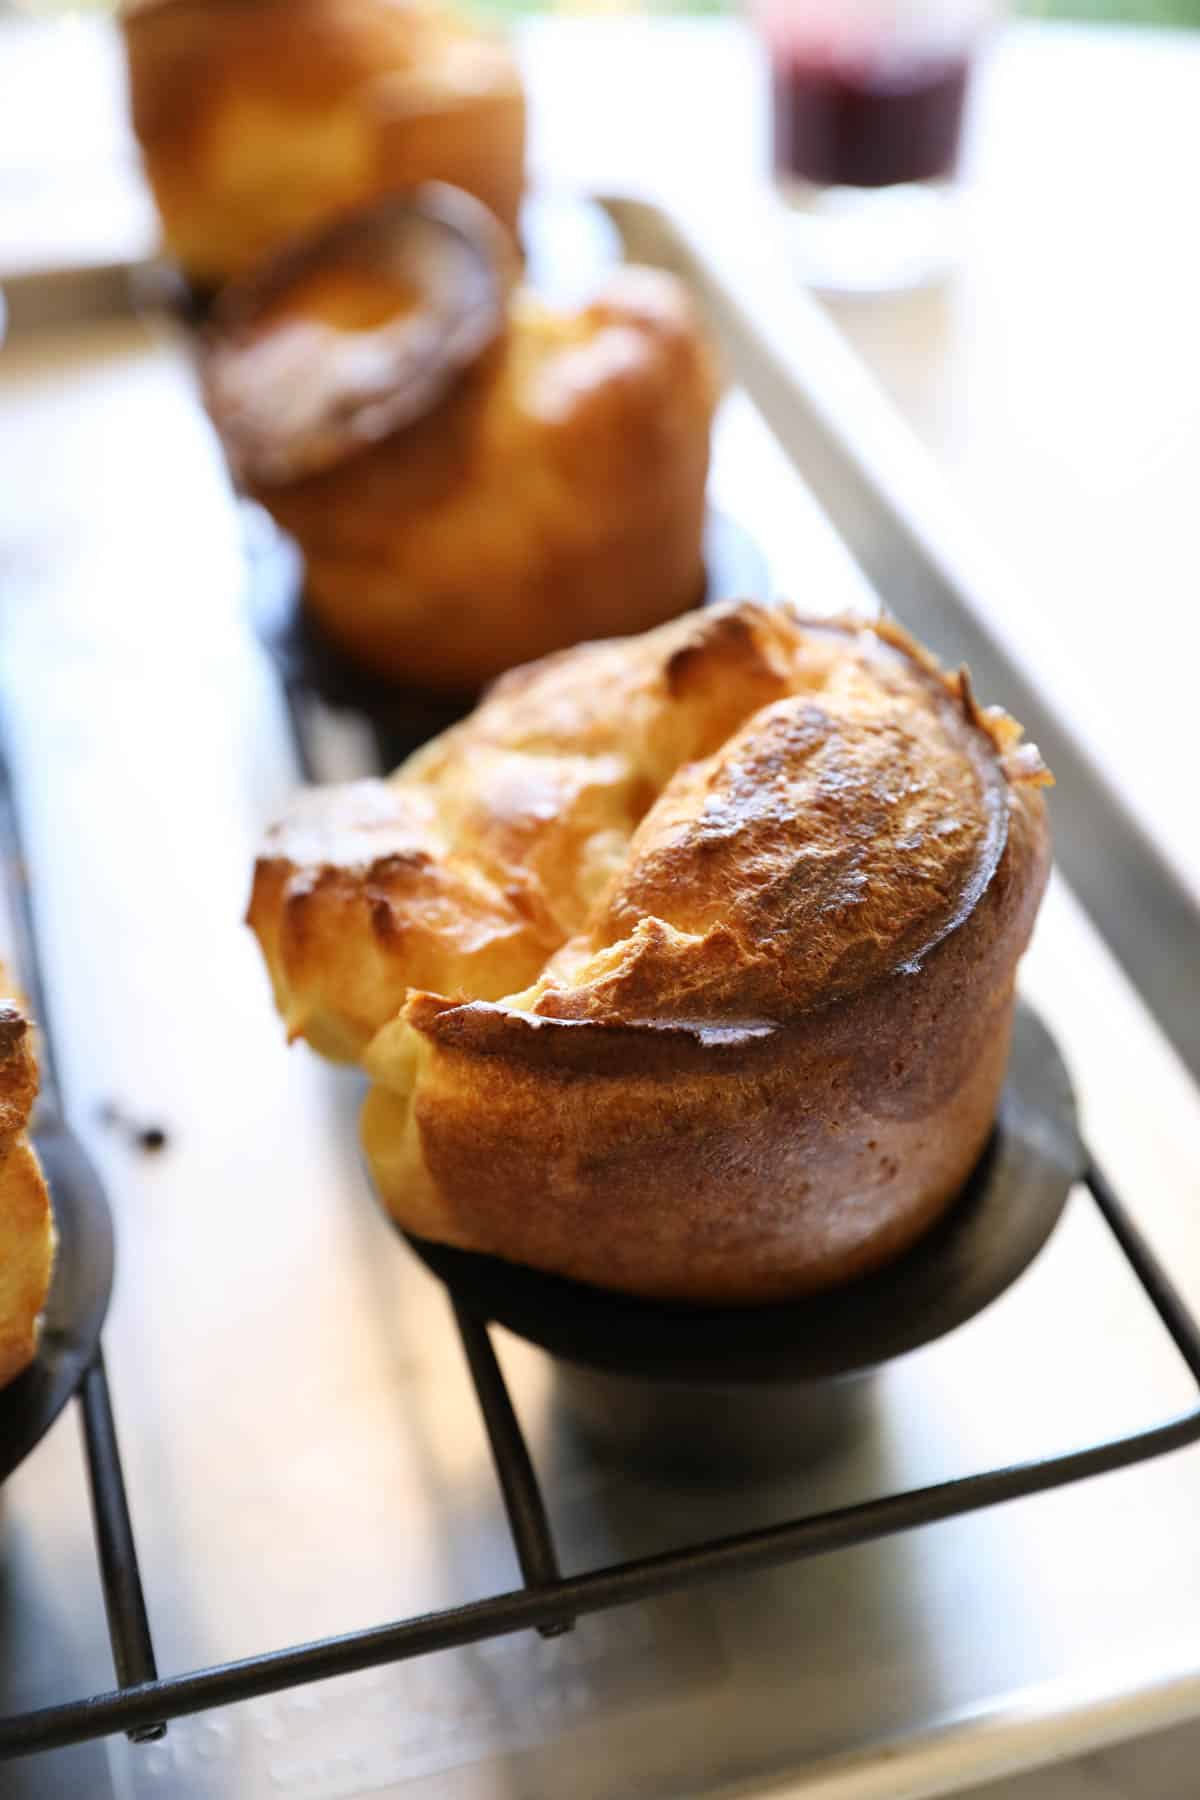
Popovers are a fantastic treat to serve for a Sunday brunch, or with a Sunday roast. They are slightly hollow on the inside but soft and chewy, and crispy on the outside.
They take minimal ingredients and can be a cinch to make if you follow my 7 Tips for Making a Great Popover below!

Would you like to save this?
What’s The Difference Between a Popover and Yorkshire Pudding?
- Yorkshire pudding and popovers are essentially the same thing with one key difference.
- Yorkshire puddings are baked in beef fat, typically the drippings from a roast, whereas popovers are baked in melted butter or oil.
- Yorkshire pudding came first, and popovers were the American version developed by the early colonists who set out to recreate their beloved Yorkshire pudding in their new home.
- They were called popovers because of the way they rise up and “pop over” the baking tin.
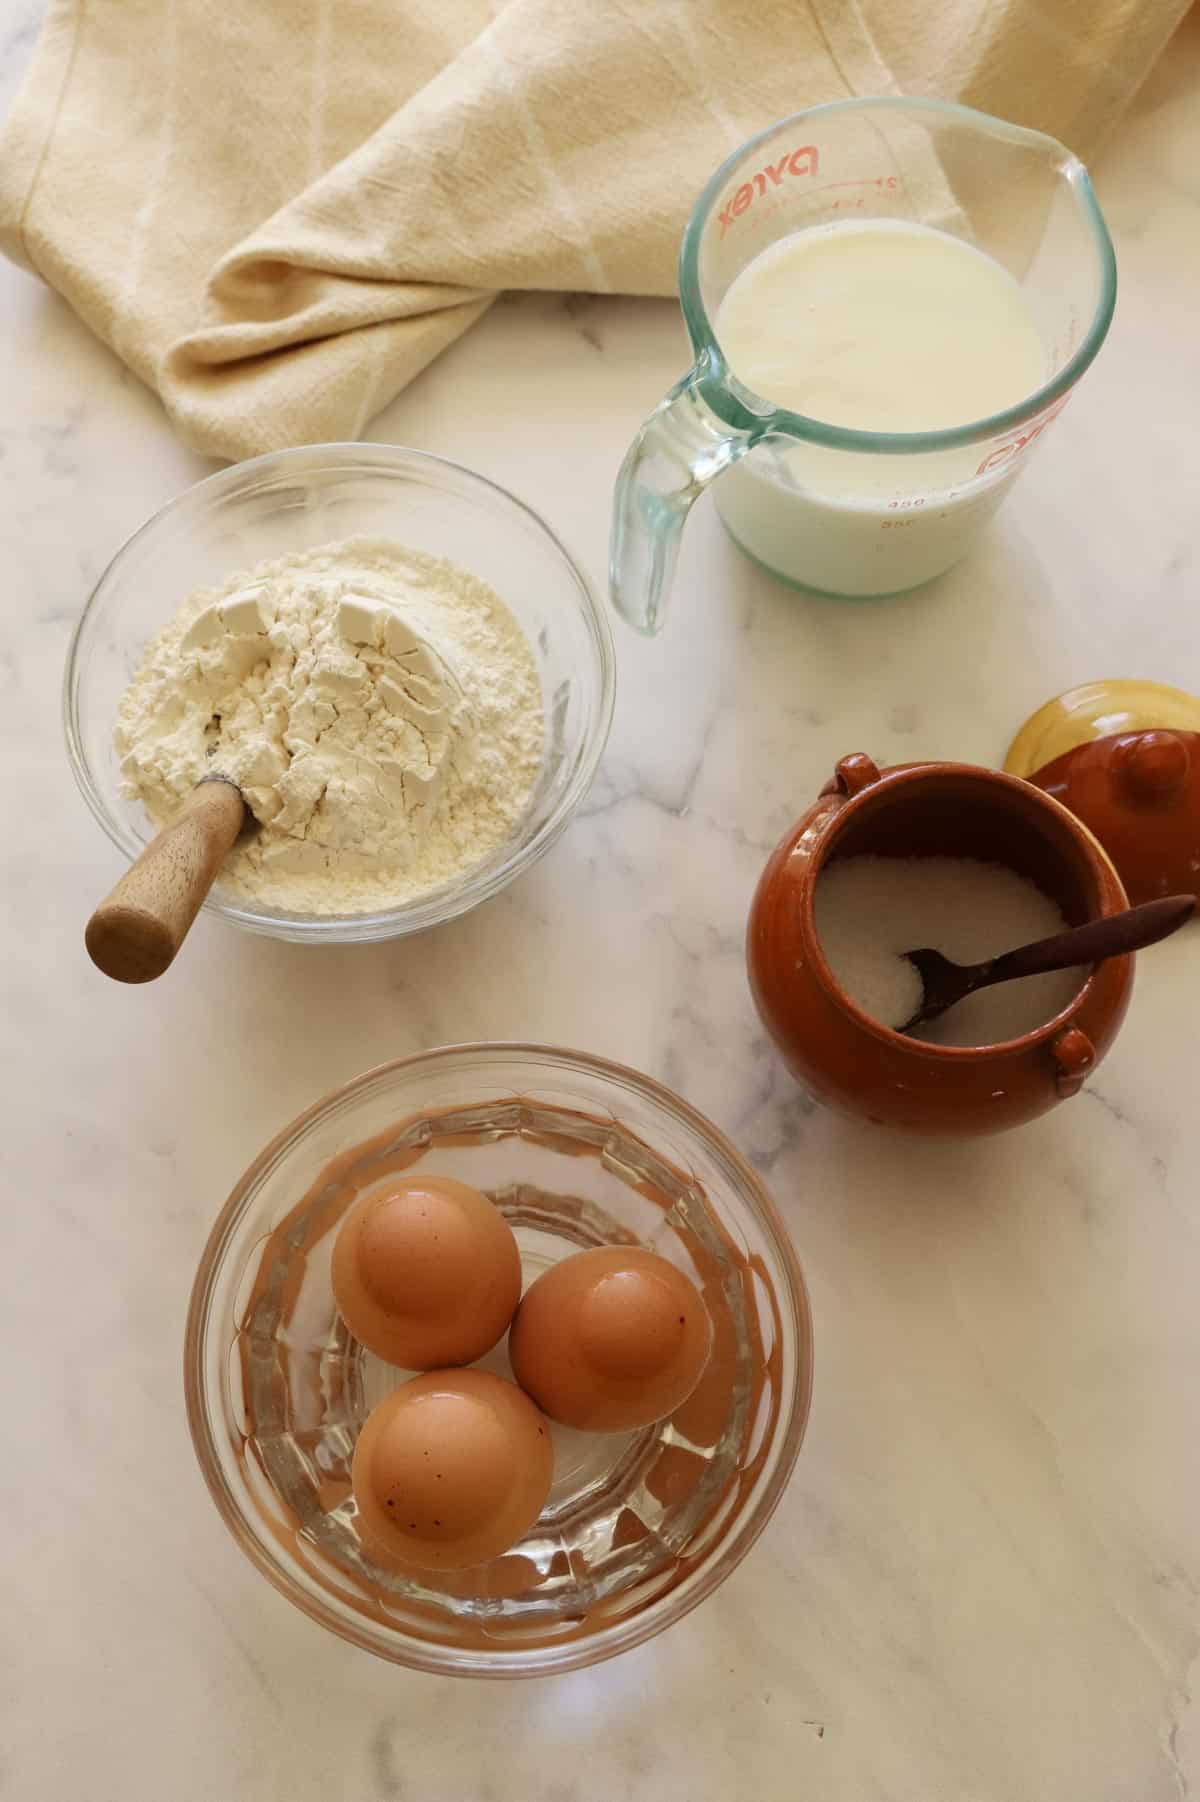
The Ingredients:
- Eggs You’ll only need three, I find more than three and the popovers become too dense.
- Milk I find for best results use whole milk.
- Kosher Salt You’ll get better flavor with the Kosher salt than regular table salt. If table salt is all you have, use only 1/8 of a teaspoon.
- Flour No fancy flour is needed for popovers. All-purpose flour is all you need. This is one of the great things about popovers, you probably have all the ingredients you need already on-hand!
- Vegetable Oil For greasing the popover tin.
Why Oil is Better Than Butter For Greasing
- Oil works much better than melted butter for greasing the popover pan for two reasons.
- First, oil has a higher smoke point than butter, allowing it to get hotter for longer before it starts to smoke.
- And since you need to heat the popover pan in the oven first so it’s hot before you add the butter you will eliminate a smokey kitchen with burnt butter in the bottom of your pan.
- Secondly, the oil is a pure fat, unlike butter which is only 80% fat, this allows the vegetable oil to create a better non-stick surface assuring an effortless release of your beautifully risen popover.
- And do not use nonstick cooking spray! At the high heat that popovers need, it will leave a sticky residue on your pan that will be near impossible to get off.
Watch My Popover Video Demo Below
Tip#1: The Eggs and Milk Must Be At Room Temperature
- Keeping the eggs and milk at room temperature, or even using slightly warmed milk, will give these ingredients a “head start” in the oven.
- This is the first secret to making the them rise quicker. If they were chilled, they would have to “catch up” with the heat with the oven.
- To speed up the process, place the milk in the microwave at :30 intervals until warmed through to lukewarm.
- For the eggs, submerge them in warm water for 10 minutes.
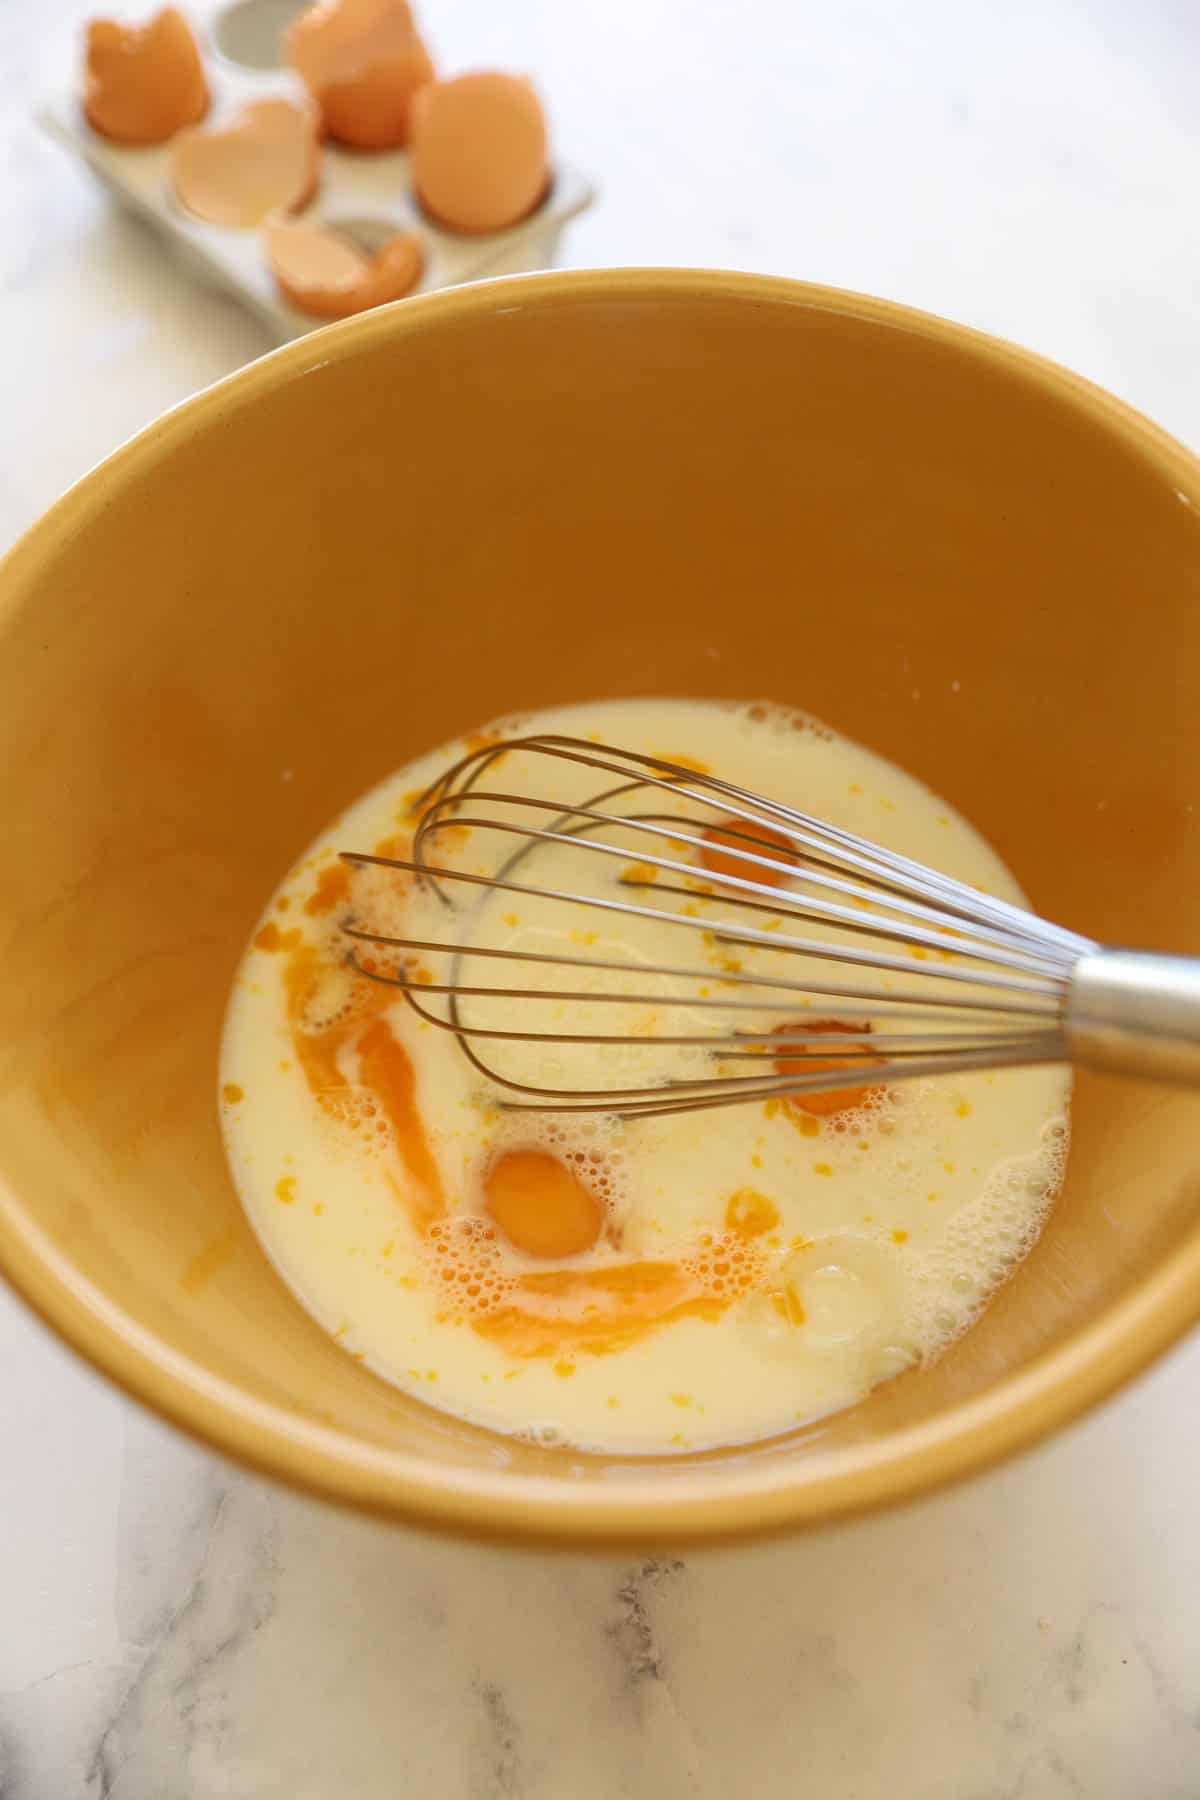
Tip#2: Mix the Eggs and Milk First
- The other secret to a great popover is to mix the eggs and milk in a large bowl first, before adding the flour.
- This will allow the eggs to become incorporated well without over mixing the flour.
- Add the flour slowly, a little at a time, this will prevent lumps. If you add it in in one dose you’ll have lumps.
- You don’t want to over mix the batter once the flour is in or you’ll have a gummy popover.
- This is why I don’t use a blender because while it may prevent lumps, it will over mix your batter!
Should Popover Batter Rest Overnight?
- There is much debate about this online, but in my experience I say NO. There’s no need.
- I never rest Popover batter or crepe batter and always have great results!
- If you refrigerate the batter “to rest” overnight, it will thicken, forcing you to add more milk to thin it out, and then the ratios are off because now you’ve added more milk, which means the flavor and the texture will be off and so on!
- Also, I’m a firm believer that the batter needs to be at room temperature, but now you’e chilled it and need to wait for that to happen.
- So the long and short, in my humble opinion, is skip the resting! Just charge ahead, following the tips below!
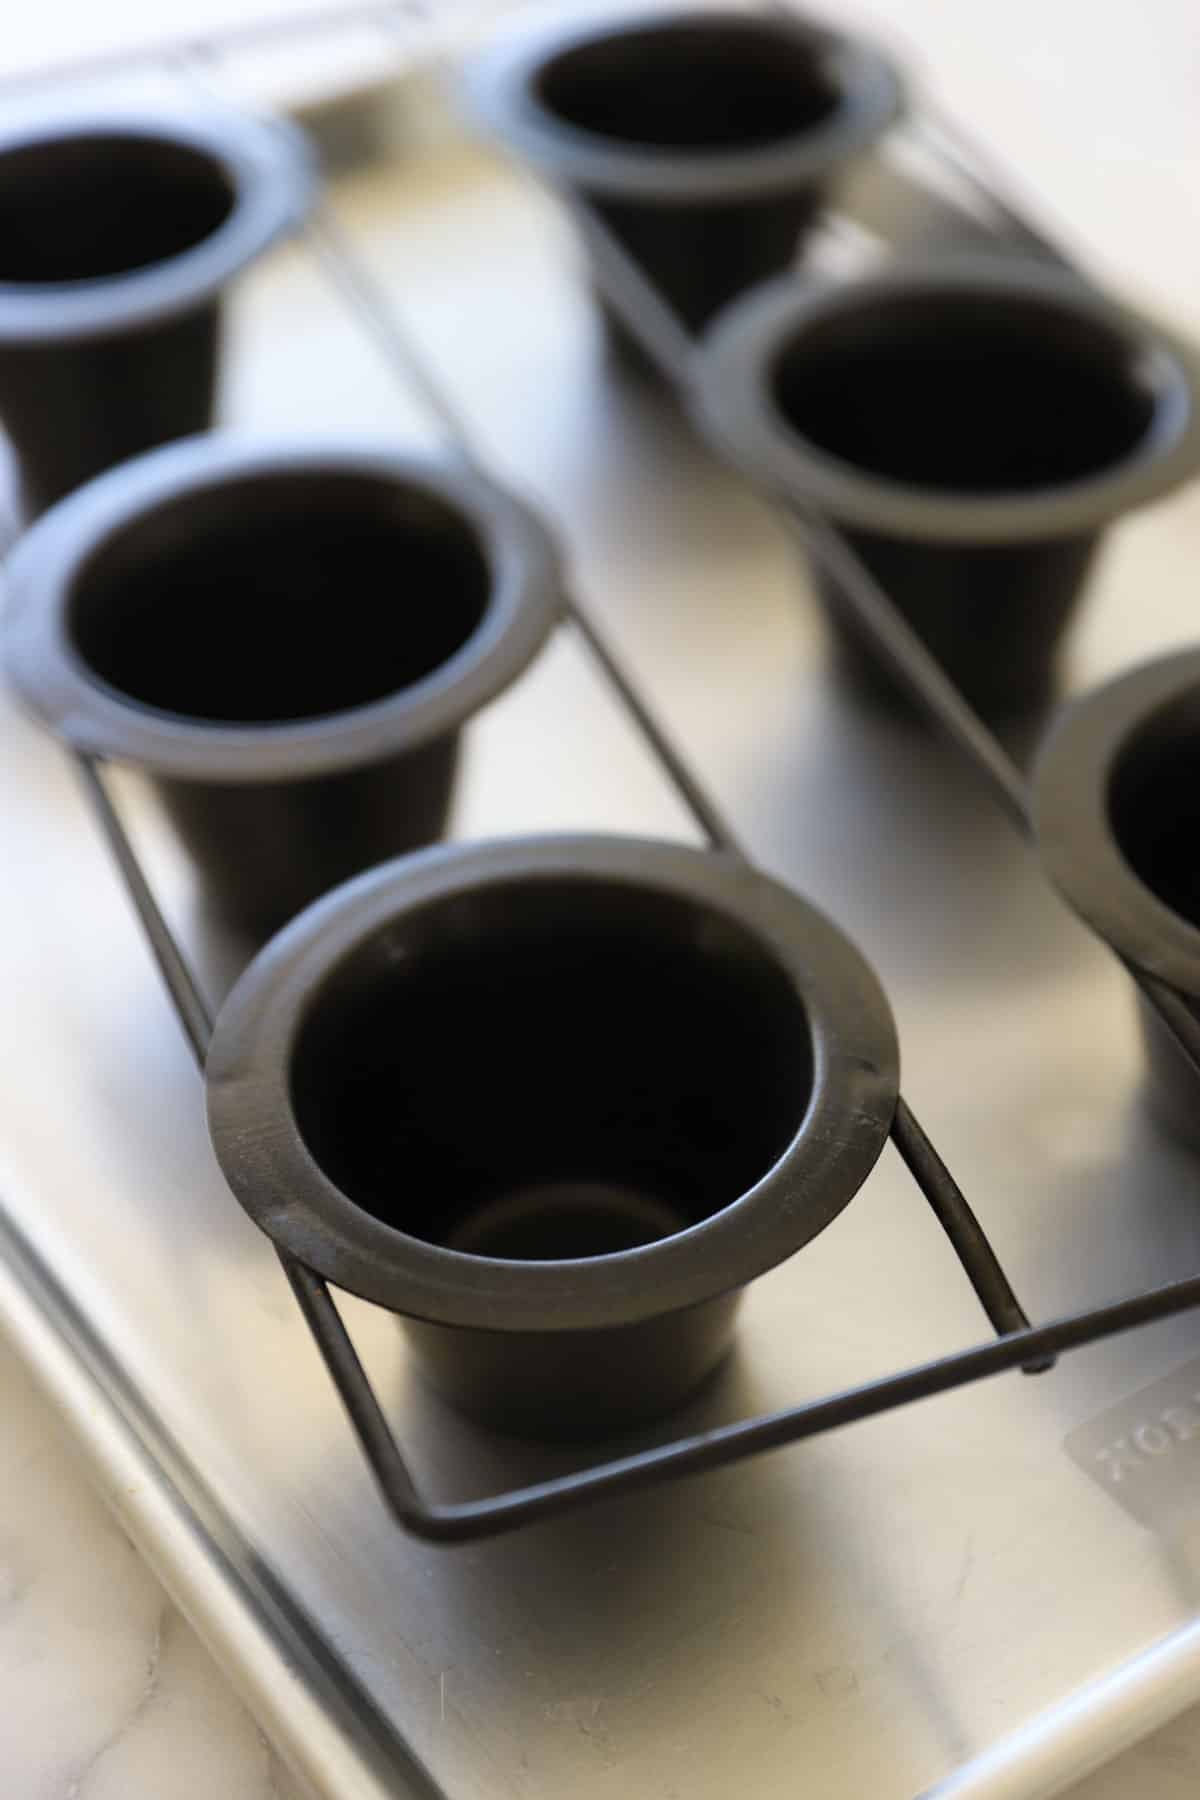
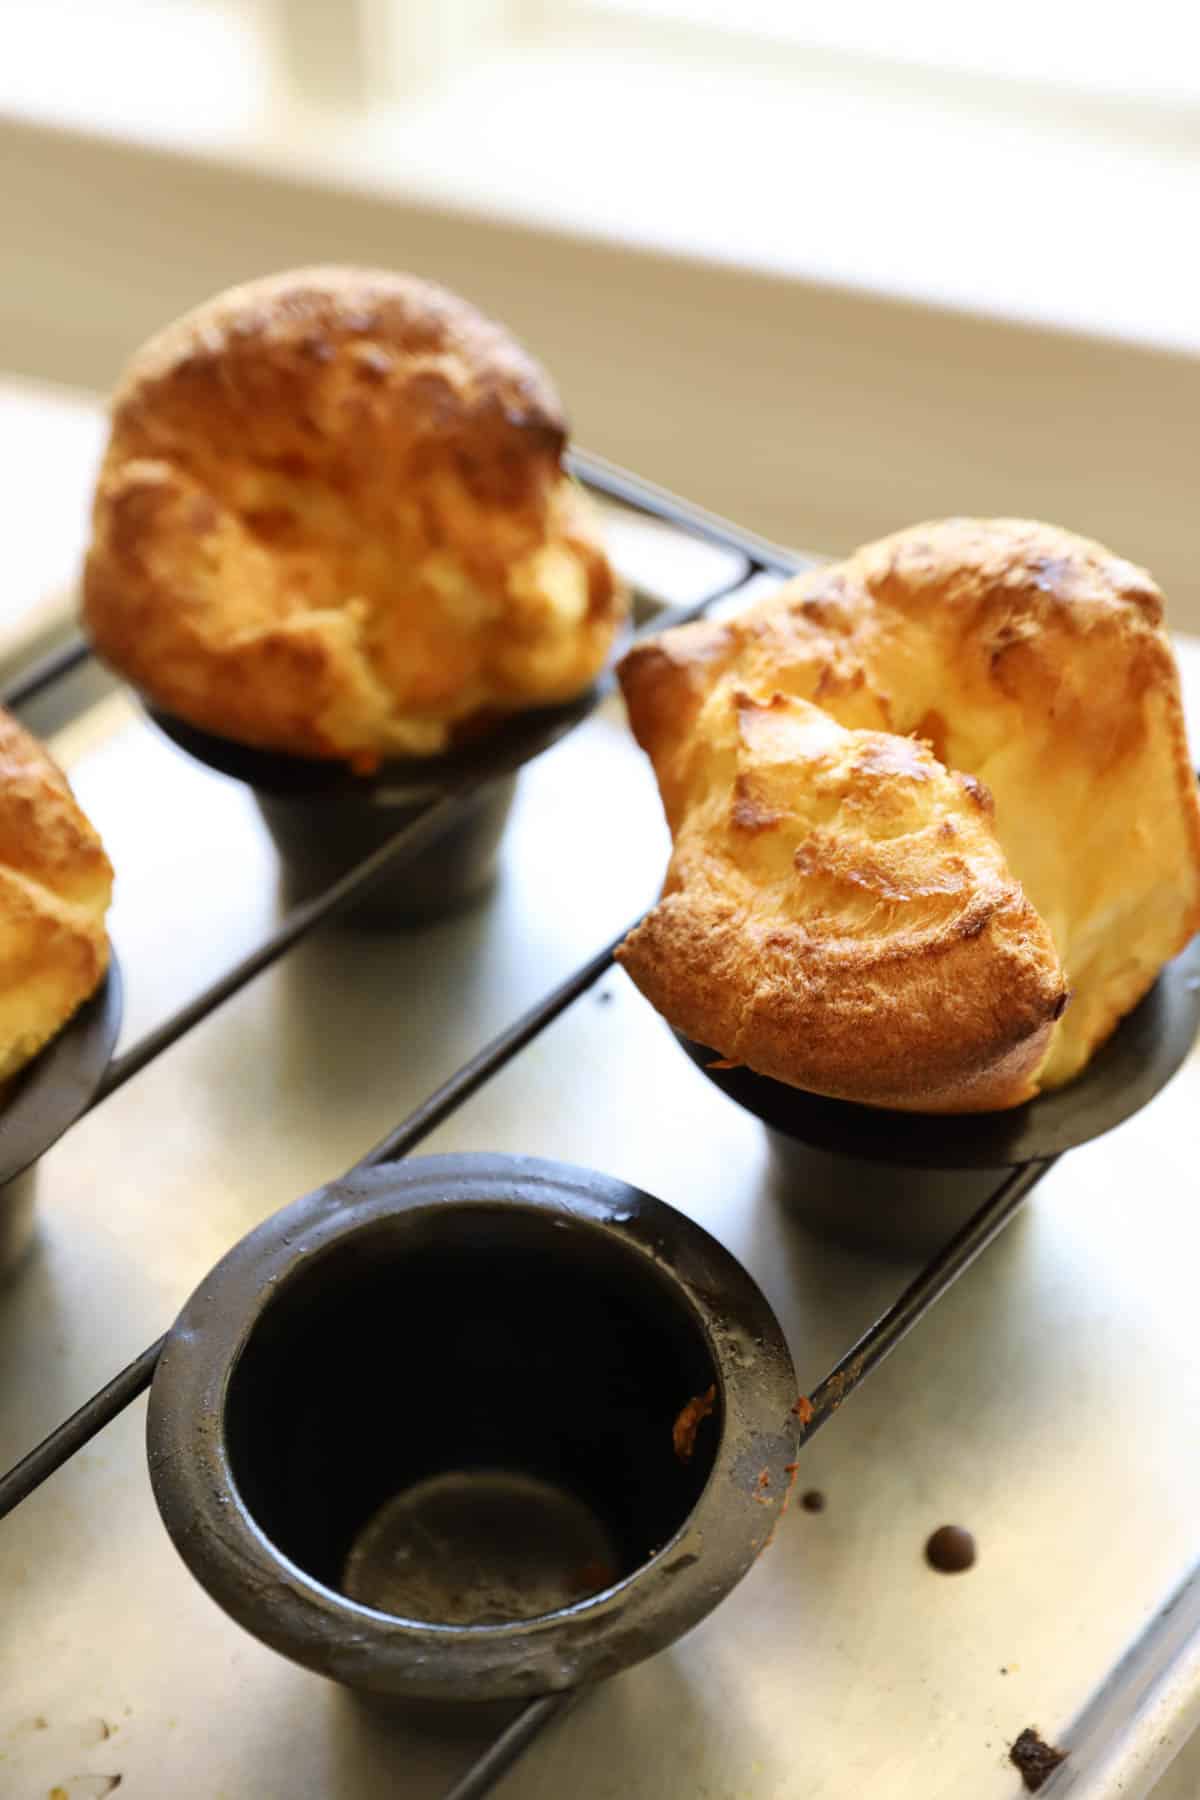
Tip#3: Use a Popover Pan
- Certainly you can make these in a muffin tin, but they will be denser, and your yield will be more than 6 popovers. So it’s best to have 2 muffins tins at the ready. It will probably stretch to 10-12 popovers depending upon how much you fill the wells.
- But for mile-high popovers that are sure to impress, a popover pan is what you need! The wells are twice the size of a muffin tin, allowing the popover to reach great heights!
- you can fill the wells with a standard ladle or even easier transfer the batter in stages to a 2-cup Pyrex pitcher and pour the batter in that way. This will be easier for preventing drips!
- The other secret for making popovers rise is not overfilling the pan. You only want to fill each way 2/3 of the way full. This will give them the extra room they need to rise high! Over-filled wells just create dense popovers with no height. No height, no airy interior!
- My favorite pan is a Non-Stick Popover Pan. The kind where the wells are suspended among rods. This helps the heat circulate around the well, to create a wonderfully crisp exterior.
- Alternatively, you could also bake this recipe in a heat safe skillet, which would be a savory version of my Dutch Baby Recipe.
Tip#4: Grease with Oil Not Butter
- While butter tastes pretty good, it’s trickier to get an easy release from the pan when greasing with butter!
- Instead, I use vegetable oil, and save the butter for when the popovers are baked!
- The vegetable oil allows them to just slip out of the pan, once they are done! Or you could also use another high-heat oils like avocado oil.
- But be sure you allow the popovers to bake all the way through the full baking time. Because an underbaked popover will also stick to the pan.
Tip#5: Heat The Pan Before Adding The Batter
- This is another secret to great popover success! Preheat the pan.
- It’s important to allow the oven to be preheated and come up to 450F first. Then put in the greased pan for 15 minutes.
- Not only will this also prevent the popovers from sticking to the pan, it will also give them a head start on the rising too!
- Hot pan + warm batter=Sky High Popovers!
Bonus Tips:
- Do not over fill the wells! Or your popovers won’t rise as much and they will be dense and not airy and light. Only fill them 2/3 of the way up.
- If you see any oil has collected at the top of the filled well, whisk it back in to the batter with a fork. Otherwise they will rise up unevenly.
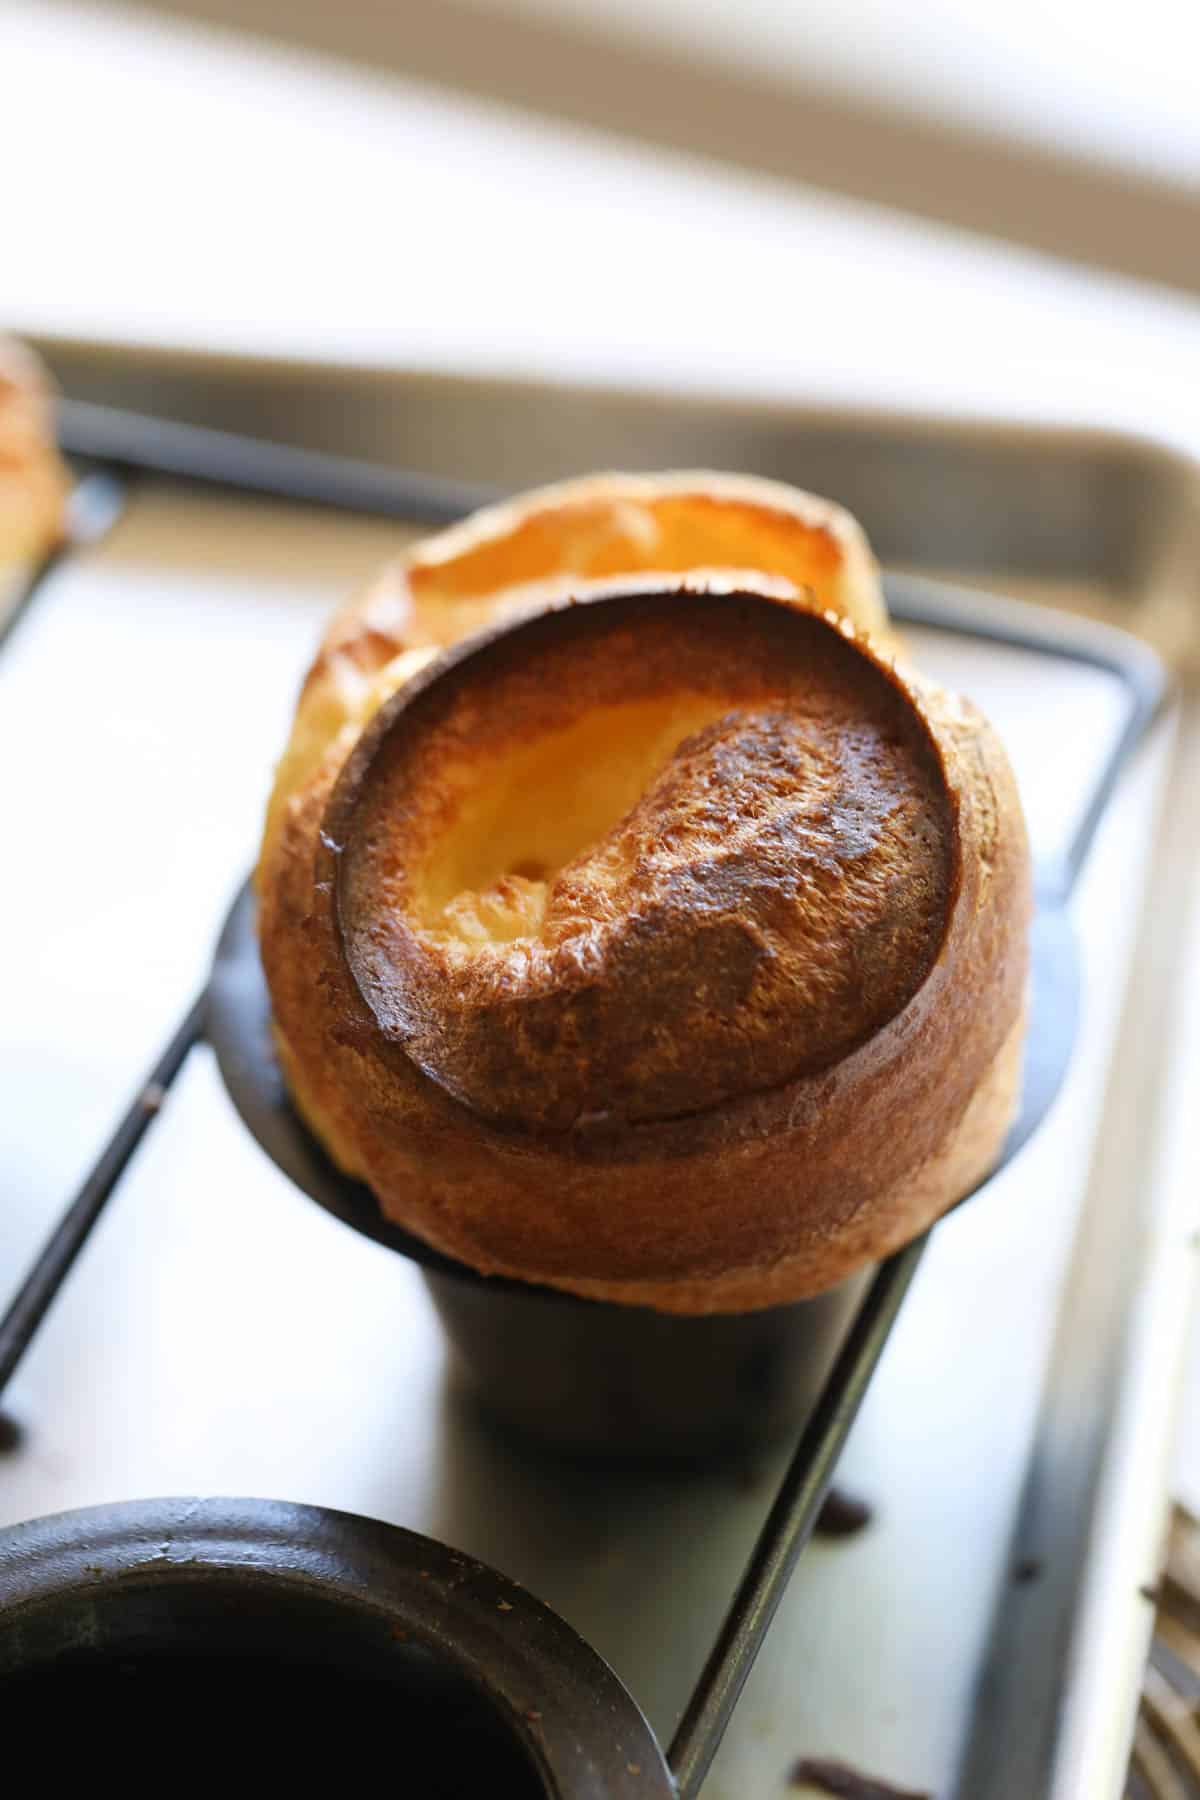
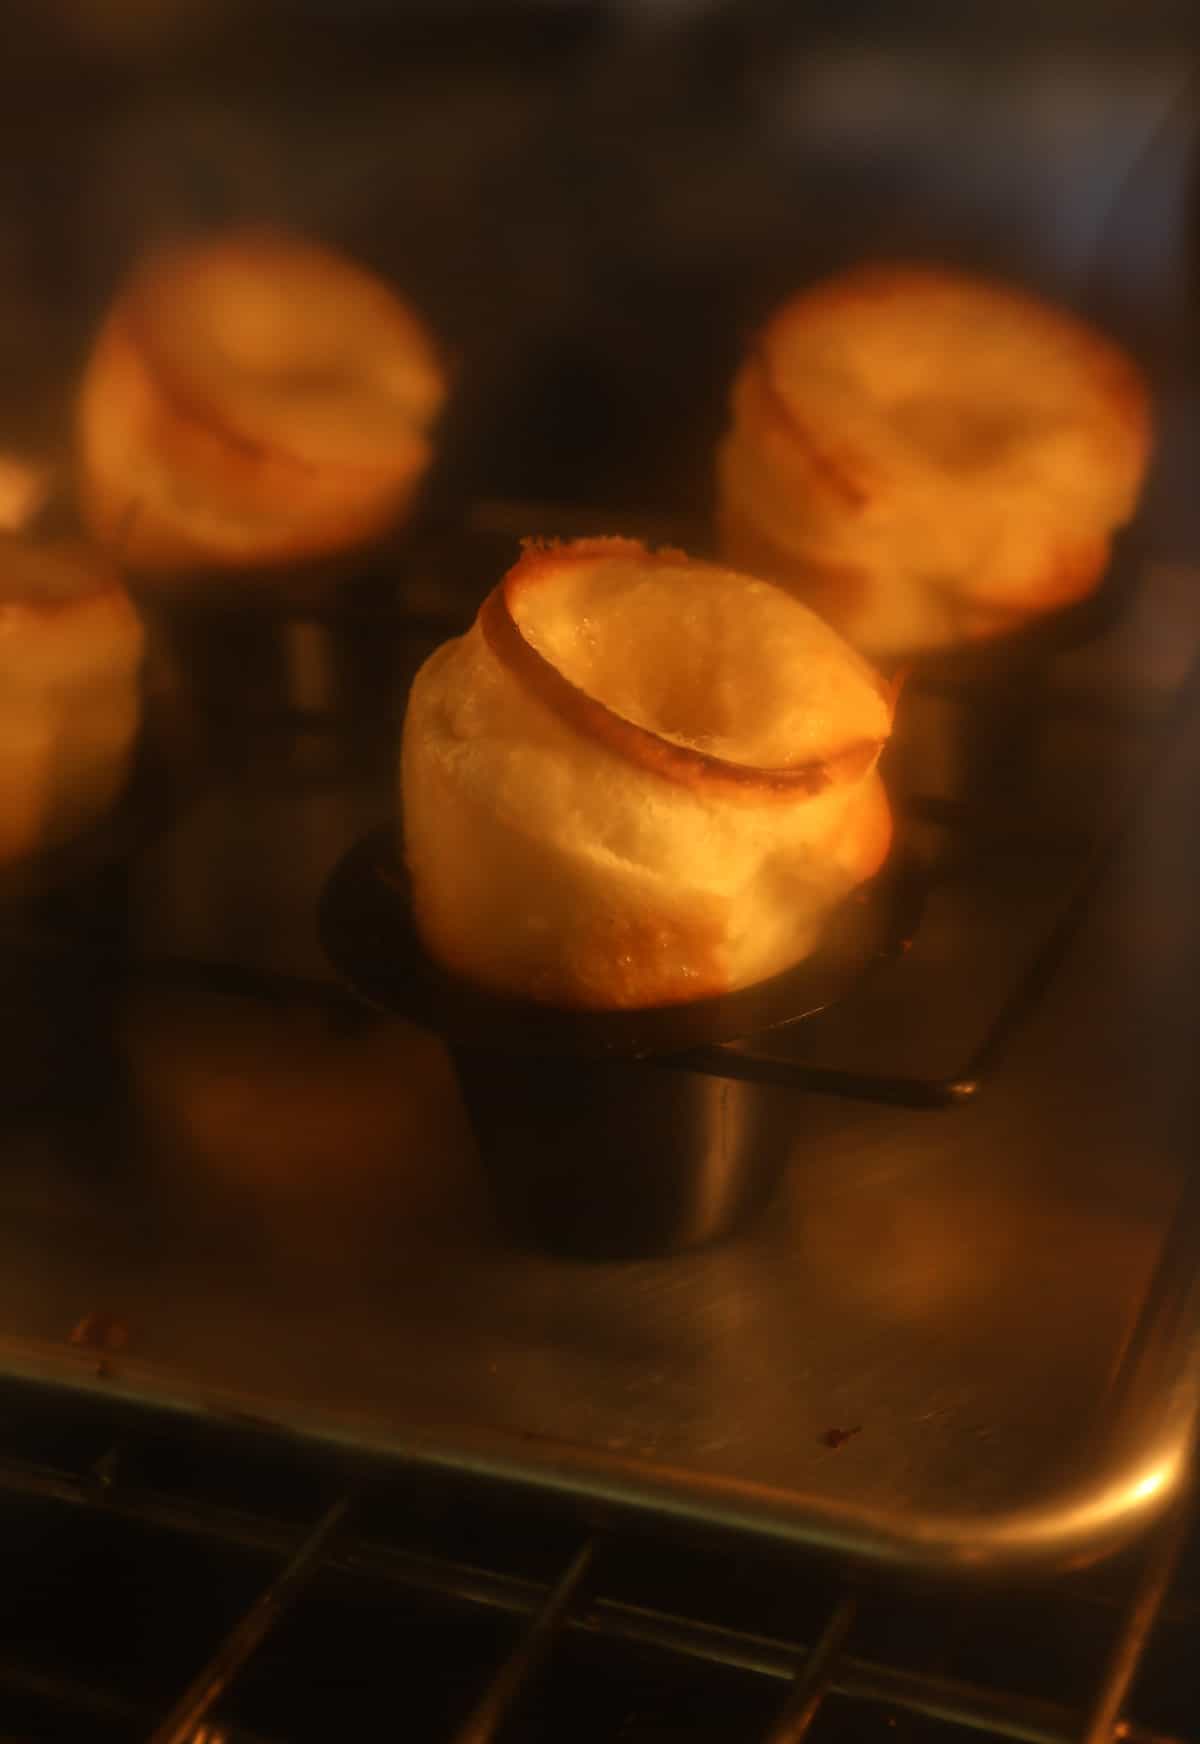
Tip#6: Bake the Popovers in Two Stages
- A great popover has two distinct characteristics. A crispy exterior and a slightly hollow, light and airy interior.
- So it only makes sense that it would require two stages of baking to get these results!
- Stage #1 involves baking the popovers at 450F for 20 minutes. This is the rising stage and where the popovers will reach the greatest heights.
- At this stage Do Not Open The Door. Or they will deflate and you’ll have a dense, eggy popover.
- Stage #2, reduce the heat to 350F and bake for 10-15 minutes more. During this stage the popover will bake inside, hollowing out and turning golden brown on top.
Bonus Tip:
Be sure to set your oven rack on the lowest level possible to avoid burning the tops of your popovers during the stage#2 baking.
Tip#7: Poke the Popovers to Release the Steam
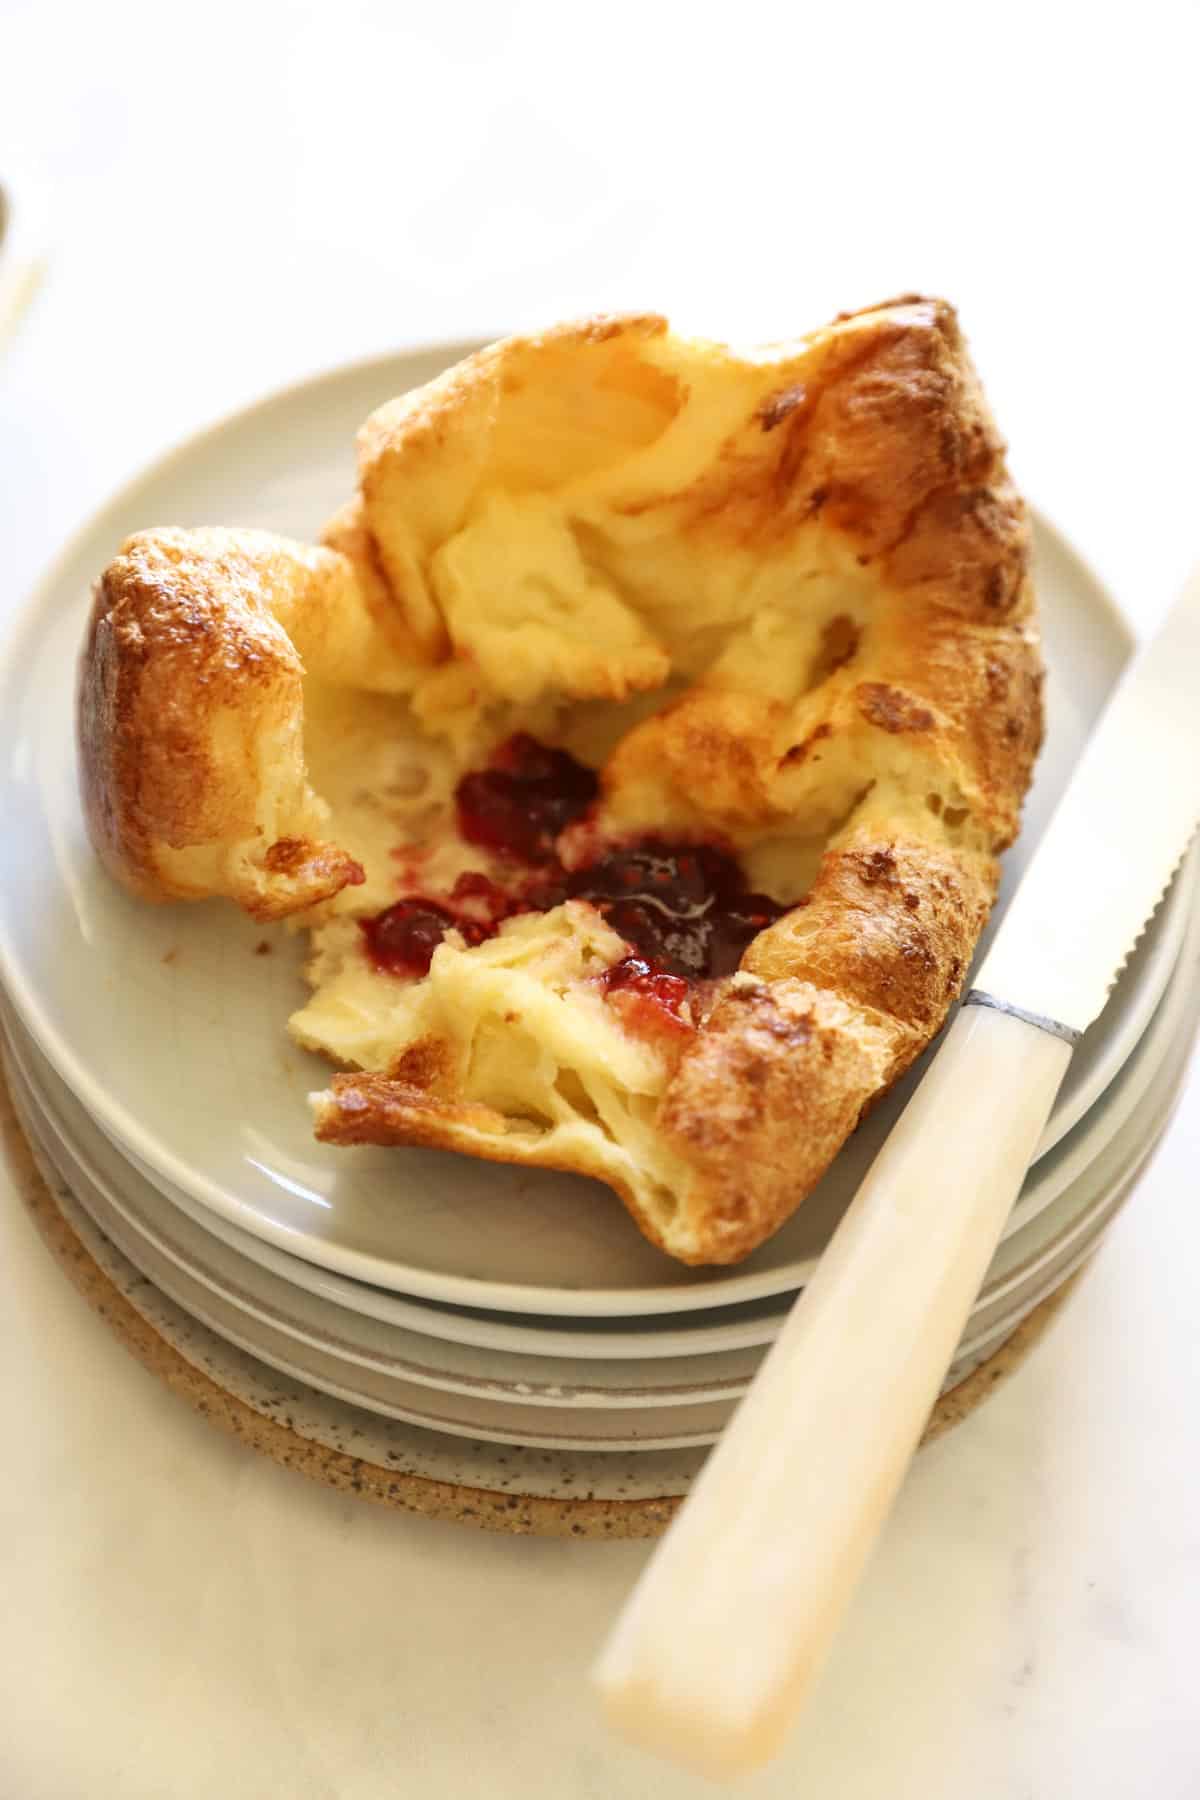
- As soon as the popovers come out of the oven, pop their tops with a pairing knife to release the steam.
- This will prevent them from deflating quickly, while also will keep them crisp.
- Serve with butter and jam or with your favorite Sunday roast
Storage and Reheating Popovers:
- Popovers are best enjoyed immediately out of the oven. But I have found a little trick for storing them that yields pretty good results! This also works in a pinch if you want to make popovers ahead of time.
- Once cooled, place the popovers in a resealable plastic bag and place them in the freezer for up to a month.
- Then place them in your air fryer at 375F for about 6-10 minutes until crispy and hot throughout.
- Alternatively, you can also place them in a 300F oven to reheat. But I would not place them in the microwave, they will deflate a bit more and loose their crispness.

Popovers Recipe
Yield:
6
Prep Time:
10 minutes
Cook Time:
35 minutes
Total Time:
45 minutes
These popovers are crispy on the outside, and soft and chewy on the inside! Serve them with raspberry jam for a brunch, or with your favorite Sunday roast.
5.0 Stars (3 Reviews)
Ingredients
- 3 eggs
- 1 1/2 cups of milk
- 1/2 tsp kosher salt
- 1 1/2 cups all-purpose flour
- Vegetable oil for greasing
Instructions
- Place the oven rack on the lowest level. Preheat the oven to 450F.
- Allow the eggs and milk to come to room temperature or better yet, for quicker preparation, place the milk in the microwave at :30 intervals until lukewarm. Submerge the eggs in a bowl of warm water for 10 minutes.
- Whisk together the eggs and the milk until combined well. Then whisk in the salt.
- Slowly add the flour a little at a time until combined and smooth. Don't over mix, small lumps are OK.
- Grease the popover pan with the oil. Be generous with the oil!
- Place the popover pan on a sheet pan, and place it in the oven, empty, in order to "preheat" the pan, for 15-minutes.
- Meanwhile you can transfer the batter to a pitcher for easy pouring of the batter into the pan.
- Only fill each well 2/3 of the way up the pan. The less the wells are filled the higher the popovers will rise.
- Bake for 20 minutes at 450F, then reduce the heat to 350F and bake for 10-15-minutes more.
- Do not open the door while they are baking or they will deflate!
- Try to go the full 15-minutes on the second stage of baking for crispier exteriors and easy release! Underbaked popovers will stick to the pan!
- Serve immediately!
Notes
If you would like to serve these with a roast, bake the popovers while your roast is resting.
Nutrition Information:
Yield: 6 Serving Size: 1Amount Per Serving: Calories: 200Total Fat: 6gSaturated Fat: 2gTrans Fat: 0gUnsaturated Fat: 4gCholesterol: 98mgSodium: 170mgCarbohydrates: 27gFiber: 1gSugar: 3gProtein: 8g

Hi,
I am using a new oven this year and am wondering why the top of my popovers always have a hole in them. I understand the popover is hollow inside. I am literally talking about the top of the popover having a hole it it. You literally can see into the body of the popover.
Anyone have any suggestions?
This recipe was fantastic. I used 1% milk. Easy to follow recipe and great tips to ensure they came out perfect.
YAY! So glad to hear it!
It has taken me 30 years to find a yorkshire pudding recipe that works! I cannot tell you how many I have tried including friends who tell me their recipe was foolproof. Thanks Beth! I followed your exact recipe and steps and they didnt shrink or stick and tasted great!
Aww that’s so great to hear! YAY! So glad they were a hit!
Any problem with doubling the recipe to use all 12 cups in my new popover pan?
Ah OK so this reciupe makes 6 popovers so if your new pan has 6 you will be all set. But if it has 12 then sure you can double the recipe. Just be sure to follow all the same tips for the large batch! :). Hope you enjoy!
I’ve been trying to make the perfect popovers for months, these were my favorite side to my favorite meal (potato soup) when I was a kid. I haven’t been able to get them right yet, my popovers always turn out eggy and dense. I’ve had one or two popovers get a little closer to how I remember them but I have yet to get a good batch. Hoping to try this recipe soon! Thank you!
Oh they are so good! Follow the tips and use a popover pan and you will achieve success! 🙂
Hi Beth. This recipe is what I use (my mother’s) for Yorkshire Pudding served with roast beef. We love this English side. Never thought of them in any other context, but now I will try them with jam!
Oh yes! They are really great both ways! I hope you enjoy!
My family is bigger than just for 6 popovers. Other than buying more than 1 pan can you make these ahead of time?
Sure! What you could do is make them ahead of time, allow them to cool and then freeze them in a Ziploc bag. Then place them on a sheet pan, with a roasting rack if you have one to elevate them, and reheat in the oven at 300F for about 15 minutes or until crispy and warmed through. Hope you enjoy them!
I love popovers, but they stick every time! I bought a new popover pan; they still stick. I’m going to try your recipe and leave them to bake the full time you suggest. Wish me luck.
Yes bake the full time and use the oil! 🙂 Keep me posted! I hope you enjoy!!
Wouldn’t preheating the pan with oil/butter at 450 for 15 minutes cause a smoky mess?
You’re popovers look perfect, however.
With the butter yes! And then the butter starts to burn before the pan is hot enough! This is why I like the oil. Just choose a oil with a high-smoke point (Vegetable oil, Avocado oil, Canola, Sunflower etc) grease liberally, but don’t overdo it, and you’ll be smoke free. Hope you enjoy!