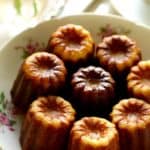
Canelés Recipe
SHARE THIS RECIPE!

This recipe for canelés is a great weekend baking project. Canelés are a delectable French recipe that you won’t find in many American bakeries. They are delicious when served with a cup of coffee and can make any occasion feel special. In fact, they are best eaten fresh the day they are made, which is why they are even better when made at home.
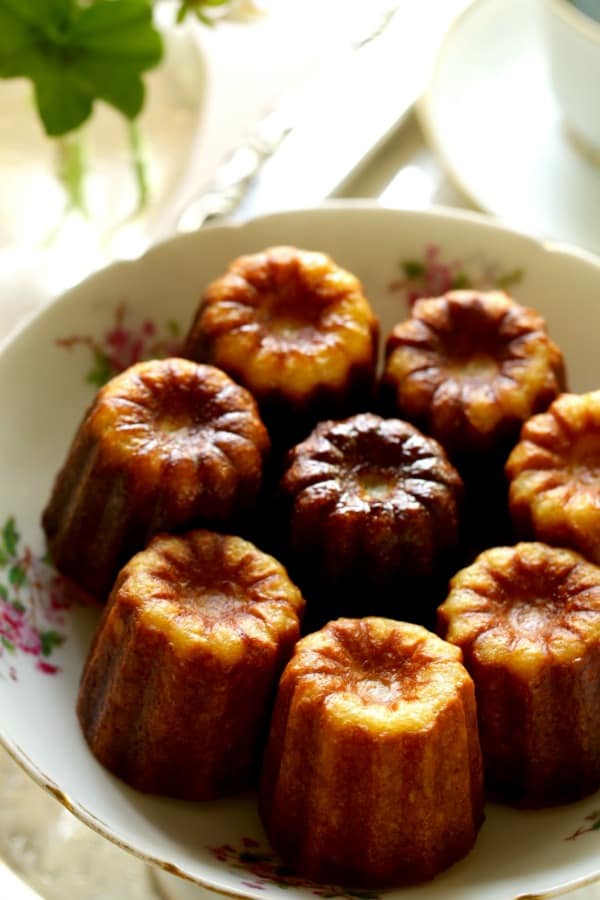
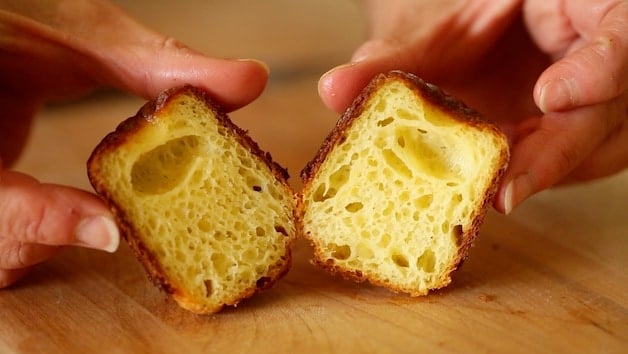
Their caramelized exterior provides a delicious sugary crunch against their soft, custardy interior. These two textures, combined with their vanilla and rum flavors, make for a taste sensation worth achieving!
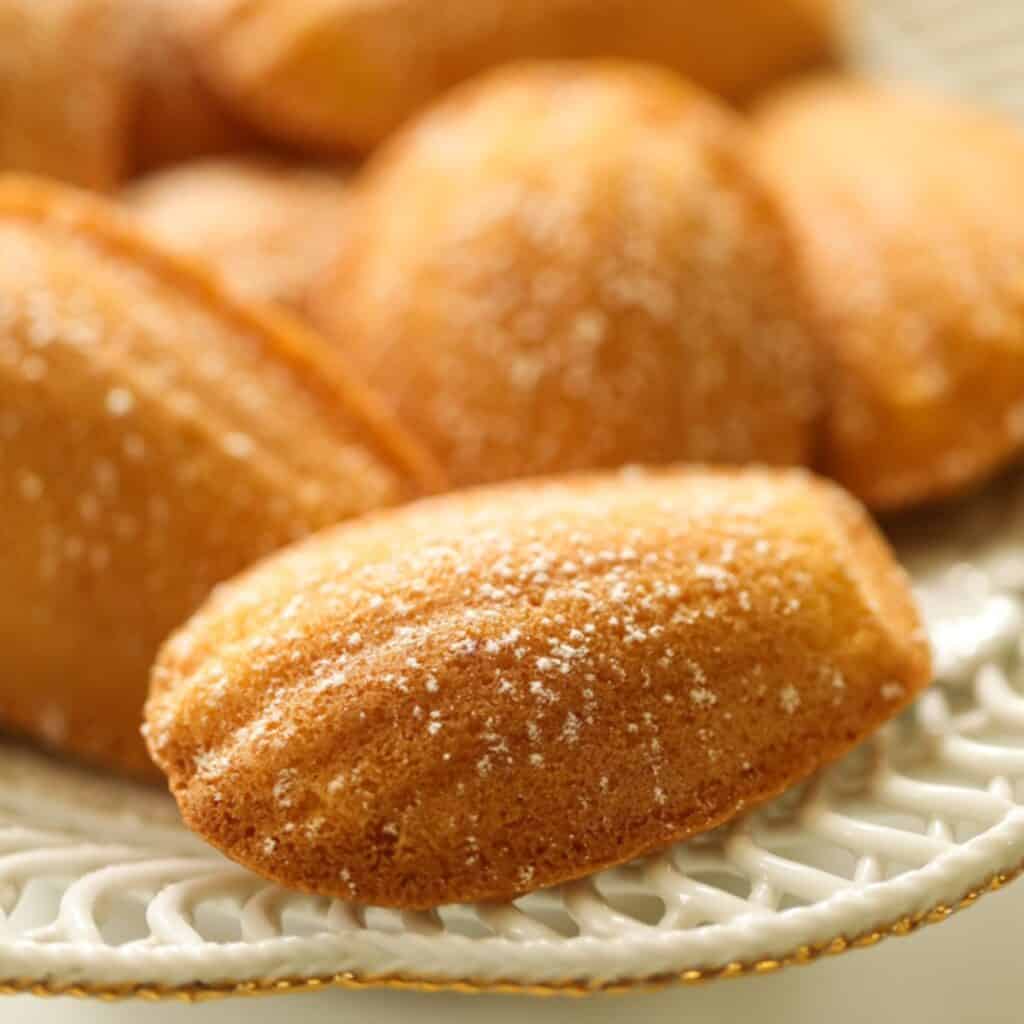
For another wonderful French dessert that goes perfectly with coffee, try my Financier Recipe or my Foolproof Madeleines.
Would you like to save this?
How-To Pronounce Canelé?
- The correct pronunciation of Canelé has three syllables, CAN-Nell-LAY. The word varies in spelling, sometimes with one “n” and sometimes with two, yet both are considered correct, and the pronunciation remains the same.
- The word canelé comes from the French word for fluted, which is the hallmark of their design. The fluting is typically achieved using a fluted copper mold. But more on that below!
What are the Origins of the Canelé
- Canelés originate from Bordeaux, a city in southern France, a region known for its winemaking. In fact, the story goes that winemaking influenced the creation of the canelé, since winemakers would use egg whites in the process, apparently to clarify the wine.
- This left them with excess egg yolks, which they would then give to the nuns in local convents to feed the poor children in their care. And this is how the canelé was born. This is why you’ll see that the covenants are typically credited with their origins dating back to the 15th century.
Step#1: Pick Your Pan
- There are lots of choices for canelé molds out there, and everyone has their favorites. But for this recipe, I found there was a clear winner!

Copper: The Traditional Mold
- They are perfectly lovely, but I found they were too inconsistent! They didn’t always create that beautiful crusty exterior so closely associated with a traditional canelé.
- They are also expensive! My copper molds were $50 for a set of four. This was the cheapest I could find! Some were as much as $60 apiece?!
- I also found they were really hard to clean! So, NEXT…!
Silicon Molds: The Promise of Easy Release Has Its Price
- While this looks like a great idea in theory, in reality, it was a no-go for me.
- I found they never created a crusty exterior.
- They were all squishy to the touch
- They didn’t achieve the caramelized, crunchy exterior
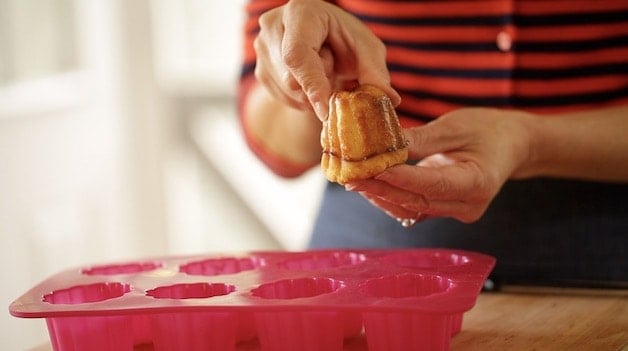
They even bent when I tried to slice them open….NEXT!
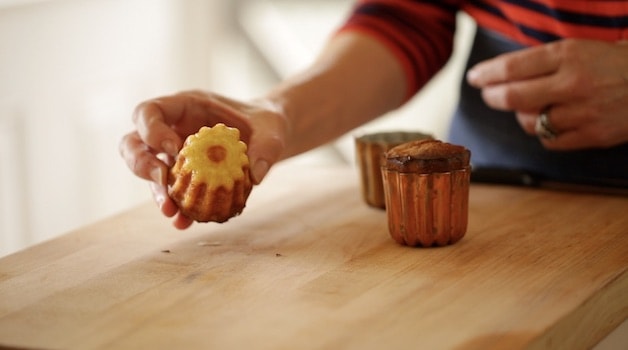
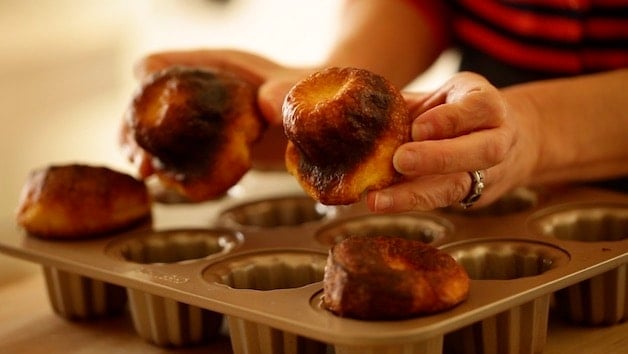
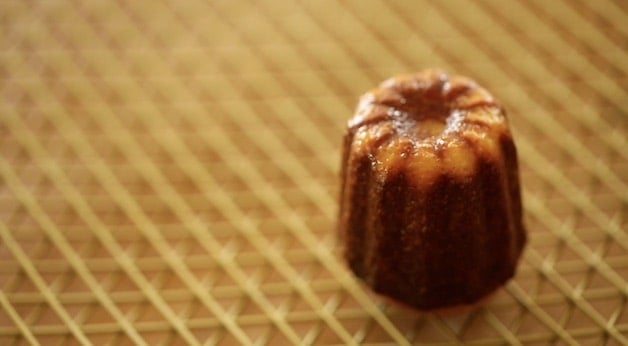
The Carbon Steel Pan: The Clear Winner!
- This was the one pan that created that glorious, crusty exterior, which was a non-stick, carbon steel pan
- It also created nicely shaped canelés that were beautifully caramelized on the outside but delicately custardy on the inside
- It also releases easily. It was like magic!
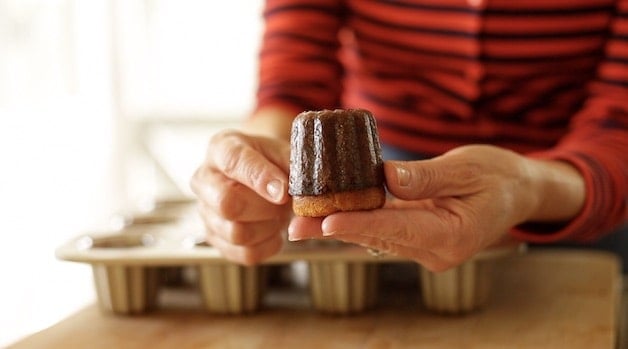
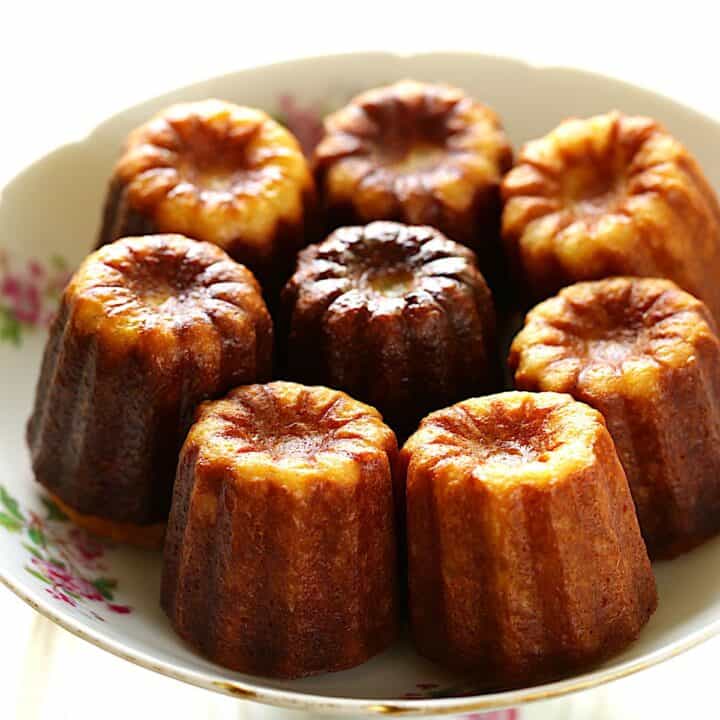
It creates a wonderful hard shell that is beautiful and shiny, just like the traditional caneles you see in the windows of Bordeaux bakeries.
The insides were so light and custardy with impressive air bubbles!
Step#2: Make the Batter
- The batter is really easy to make and uses ingredients you probably already have on hand. Milk, butter, flour, eggs. The one exception would be the rum extract.
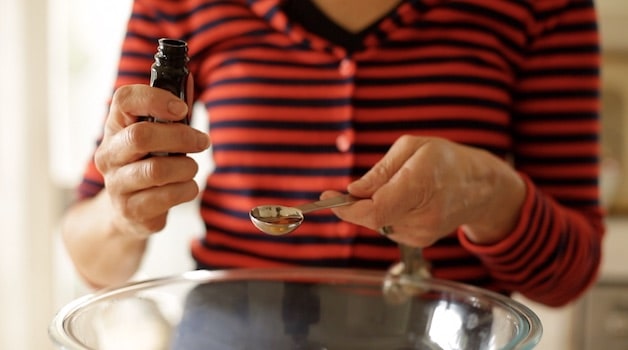
Rum Extract vs. Rum
- I think you get better flavor from the extract, and it’s a lot cheaper than buying a full bottle of rum.
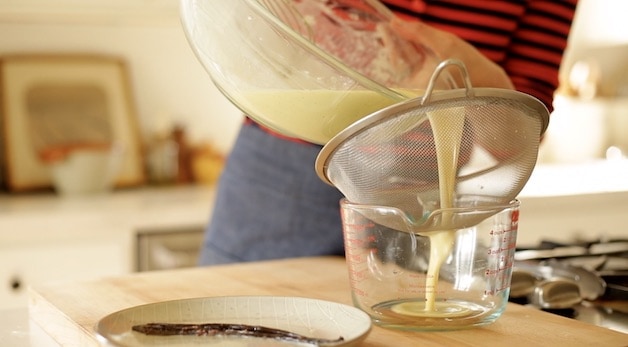
- Be sure to strain your batter through a fine-mesh sieve for the smoothest interior texture. You can also pop those vanilla beans back in with the batter.
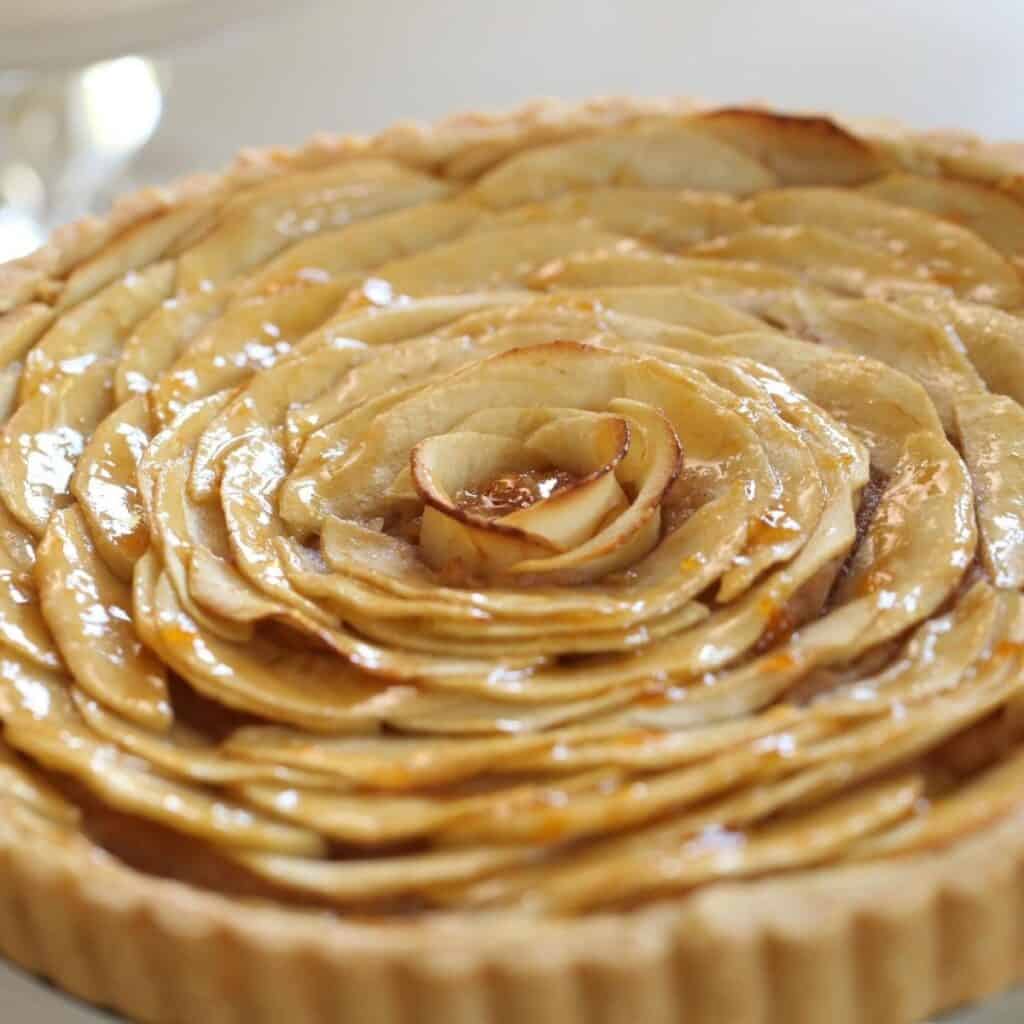
- This will make the vanilla flavor even more pronounced. Have extra rum extract? Use it up in my French Apple Cake Recipe.
Do You Really Have to Rest the Batter?
In a word. Yes.
What Happens If You Don’t Rest the Batter?
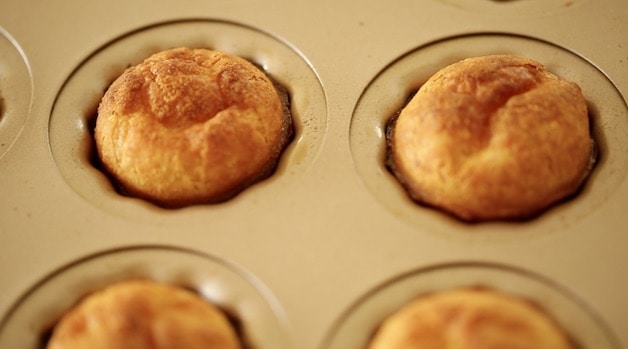
- Well, then you’ll have more of a “popover” effect.
- The batter is not dense enough at this stage to form a proper canelé since the gluten in the flour hasn’t had a chance to develop.
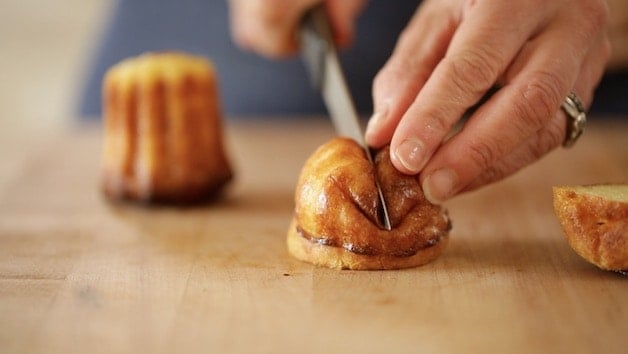
- The result will be really weird, misshapen Canelés that look like this. Tasty, but strange!
Step#3: Rest The Batter
- Ideally, you should rest your batter for 48 hours.
- You’ll get the best texture, shininess, and flavor this way.
- But if you can’t wait that long, 24-hours will also yield good results.
Step#4: Spray The Pan
Even though the pan is non-stick, it also helps to spray it with baking spray. It creates a nice, shiny exterior and allows for easy release of the caramelized sides.
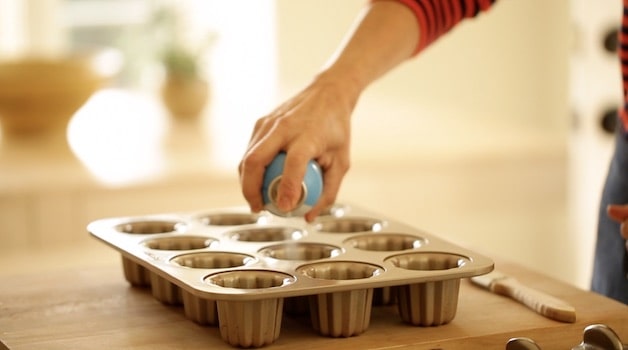
Fill to 3/4 full for 6-8 large canelés. Fill halfway for smaller canelés. If making smaller ones, adjust the baking time by about 5-8 minutes in the second wave of baking at 375F.

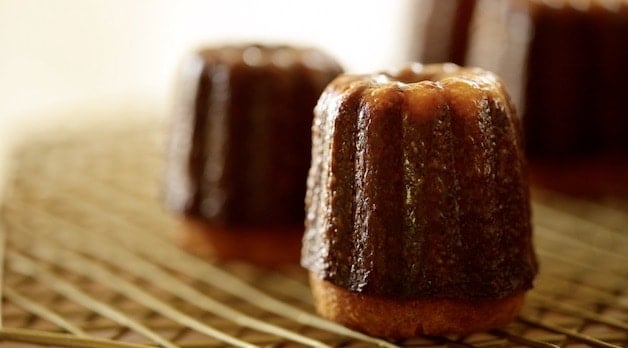
Step#5: Cool and Serve
Take the pan out of the oven once the tops puff up and are golden brown. Then allow them to cool in the tin.
Then transfer the canelés to a cooling rack. They need at least 30 minutes to cool so their custardy interiors can set up. Serve on a pretty cake stand with coffee or tea! Enjoy!
“Made your beautiful recipe this weekend for mothers' day afternoon tea – they were an absolute hit and your tips are spot on! The only break from the recipe was to use orange blossom water instead of rum – although not traditional I would recommend it to anyone who doesn't like rum. So happy to have found your site. Thanks so much!”
Canelé Recipe
A delicious French dessert that is crunchy on the outside and custardy on the inside! A perfect sweet treat for afternoon tea or coffee.
Ingredients
- 2 cups (475ml) milk
- 1 vanilla bean
- 3 tbsp.(45g) butter (use salted butter inside The United States. Unsalted Outside the States)
- ½ cup (100g) sugar
- 3 egg yolks
- ½ tsp (2.5g) salt (increase to ¾ tsp/3.75ml if using unsalted butter)
- 1 ½ tsp (7.5ml) rum extract
- 1 cup (120g) of all-purpose flour
Instructions
- In a large sauce pot combine the milk, the vanilla bean paste and pod, butter and sugar. Heat until butter is melted and vanilla seeds rise to the top. Remove vanilla pod and set aside.
- In a large mixing bowl whisk together the egg yolks, salt and rum extract. Slowly temper the eggs by pouring a small amount of the warm mixture into the eggs whisking all the while, combining more milk gradually until all milk has been combined.
- Slowly whisk in the flour just a little at a time, until all the flour has been incorporated. Strain mixture through a fine mesh sieve into a 4-cup Pyrex Pitcher. Add back in the vanilla pod for a deeper vanilla flavor. Cover and refrigerate for a minimum of 24 hours, but 48 hours is even better!
- Pre-heat oven to 450F(232C). Spray the canelé pan with baking spray, distributing it well with a pastry brush.
- Pour batter into canelé ¾ of the way full. Bake at 450F (225C) for 10 minutes. Then reduce heat to 375F(190C) and bake for 30-35 minutes more until tops are a rich golden brown.
- Remove from the oven, allow to cool and then remove the canelés from your pan and flip upside down. Allow to cool completely before serving, this will set the centers.
Notes
- These are best eaten the day they are made.
- You'll get much better browning and release from the baking spray than butter. No need for the beeswax! I found it really hard to source and to know which variety was food safe.
- These can be made ahead and frozen in an air-tight container or zip lock bag, then reheated in a 300F(148C) oven for 10 minutes to de-thaw and crisp back up.
- Allow the batter to rest! This allows the gluten in the batter to develop. If you do not allow the batter to rest your batter will puff up to to point that you’ll have more of a popover or like a Yorkshire pudding!
- The longer you allow the batter to rest, the shinier the exterior will also be on your canelés and the denser and more custardy your interiors will be also.
Nutrition Information:
Yield: 12 Serving Size: 1Amount Per Serving: Calories: 52Total Fat: 1gSaturated Fat: 0gTrans Fat: 0gUnsaturated Fat: 1gCholesterol: 46mgSodium: 2mgCarbohydrates: 8gFiber: 0gSugar: 0gProtein: 2g

I have made this recipe so many times and it’s perfect canalé every single time. Thanks Beth!
Aww YAY! So glad to hear it! 🙂
Hi Beth,
I don’t have a canele pan is there something else I could substitute like ramekins?
Thanks,
Katie
Well, some people use muffin tins, which will give you the flavor, but not the exact texture, but I bet they would still be a yummy treat 🙂
I made the canelés to serve on New Year’s day and they worked out very well. I followed your recommendations, using the carbon steel pan and the rum extract. I did not use the vanilla bean & substituted with 3 tsp vanilla paste. I taste tested one & then a second canelé. My pup snatched part of the second one from my hand. So two reviewers are giving this recipe the thumbs up!
Hi Beth, I loved your recipe for madeleines so want to try these next —- do you know if almond milk would be a suitable sub for dairy milk?
You know, I haven’t tried them with almond milk before so I’m not really sure how they would come out? But I think if you have had success using almond milk with similar things like muffins, they might be OK!
You have vanilla bean paste in the instructions, but I do not see it in the list of ingredients. Is it just a typo?
Ah OK vanilla bean paste refers to the “paste” that is scraped from the vanilla bean 🙂 by splitting it down the middle with a knife, lengthwise, and then add the paste to the pot, along with the split vanilla bean pod. I hope that helps!
Hi Beth, I can’t seem to find the link to the caneles pan?
Oh sure no problem here it is!https://amzn.to/34TL6TS Hope you enjoy!
If I don’t have the special pan, can I just use a muffin tin?
Sure you can do that if you are just after the taste, but they will be more like little egg custards since the muffin tin won’t make them caramelized on the outside, but I bet they would still be tasty in their own way 🙂
Made these caneles and they turned out really great! My parents love things lightly sweet and they loved these caneles a lot!
I notice that other recipes require >200g of sugar. Did you intentionally cut the sugar down?
Ha! Yes! I cannot take overly sweet desserts 🙂 I find they are sweet enough just the way they are 🙂 So glad to hear they were a hit!
When you pour your batter into the cups, is the batter at room temperature or still cold from having been in the refrigerator?
Looking to baking this but I must buy the pan first.
It’s typically still chilled from being refrigerated. I wouldn’t let it sit out too long. Yes you’ll love the pan! It’s great 🙂 Hope you enjoy it!
Hi! Excited to try this recipe. I don’t have vanilla bean, only vanilla bean paste. Can you tell me how much to use here? Thanks
Oh sure 1 tsp of vanilla bean paste is equal to 1 vanilla bean pod. Hope you enjoy them!
Hi Beth, I am from South Africa and want to use Brandy instead Rum, is that OK?
Yes of course! Brandy would be great too! Hope you enjoy!
Hi Beth,
I love your blog and recipes. I just made these wonderful Canelés. I followed all the instructions, and everything was going well, except mine didn’t come out quite as browned as yours. I wonder if my oven wasn’t hot enough? When I took them out of the pan, my Canelés looked brown on the side, but quite light on top. Is there something I need to change? I am using a carbon steel pan like yours, but by Chefmade. I baked my Canelés right in the center of the oven, 10 minutes at 450 degrees, and 35 minutes on 375. I suspect that even though the oven indicator said 450 degrees, my oven wasn’t quite there?! Hmmm! Thanks so much for your help. Maybe my next batch will turn out as lovely as yours! 🙂
Ah yes at that high temperature you’d be surprised how few ovens actually run ” at temperature”. Best to get an Oven Thermometer to be sure. This video explains more about why this is important!https://www.youtube.com/watch?v=FUs_sk-o_7M I bet that is it! Otherwise next time you could go a bit longer say 15 mins at 450F and then 25-30 at 375 🙂 Hope that helps!
Thanks for a delicious recipe! Want to ask, mine didn’t rise at all (after 48h wait), any idea what could’ve gone wrong?
Hmmm sometimes they don’t rise well if the eggs are not fresh, or if you’ve filled the wells too high. That’s the first thing that comes to mind 🙂
Thanks Beth, it was quite amazing, as commented some didn’t rise and then I prayed because I was nervous about it and then the second batch that went into the oven did.
I’m making these for the second time today, I use a different pan which I’ll link for you.
Thanks for this lovely recipe.
I’m so glad you are having success! Yes they do take a little bit of practice, but once you get the hang of it, they are easy! 🙂
This is a wonderful recipe! Made it for brunch, and they were a hit! Bought the same pan, and great results. No copper or beeswax needed to make these incredible treats!
Thanks Beth!! ❤️
YAY! So glad they were a hit! Isn’t that pan the best! 🙂
Hi Beth,
Can I bake after setting it in the fridge for 18hr instead of 24hr?
If i want to use actual rum (not extract) how much should i add? Thanks
sure I would use 3 tablespoons 🙂 Hope you enjoy!
Bake your recipe this week, and it was a big hit! Your tips are spot on! Thank you Beth 🙂
So glad it was a hit Sue! 🙂 Aren’t they yummy? Ha!
Made your beautiful recipe this weekend for mothers’ day afternoon tea – they were an absolute hit and your tips are spot on! The only break from the recipe was to use orange blossom water instead of rum – although not traditional I would recommend it to anyone who doesn’t like rum. So happy to have found your site. Thanks so much!
So happy it was a hit Cara! YAY! Love the idea of the orange blossom water that sounds fantastic! 🙂