Key Lime Cheesecake Bars
SHARE THIS RECIPE!


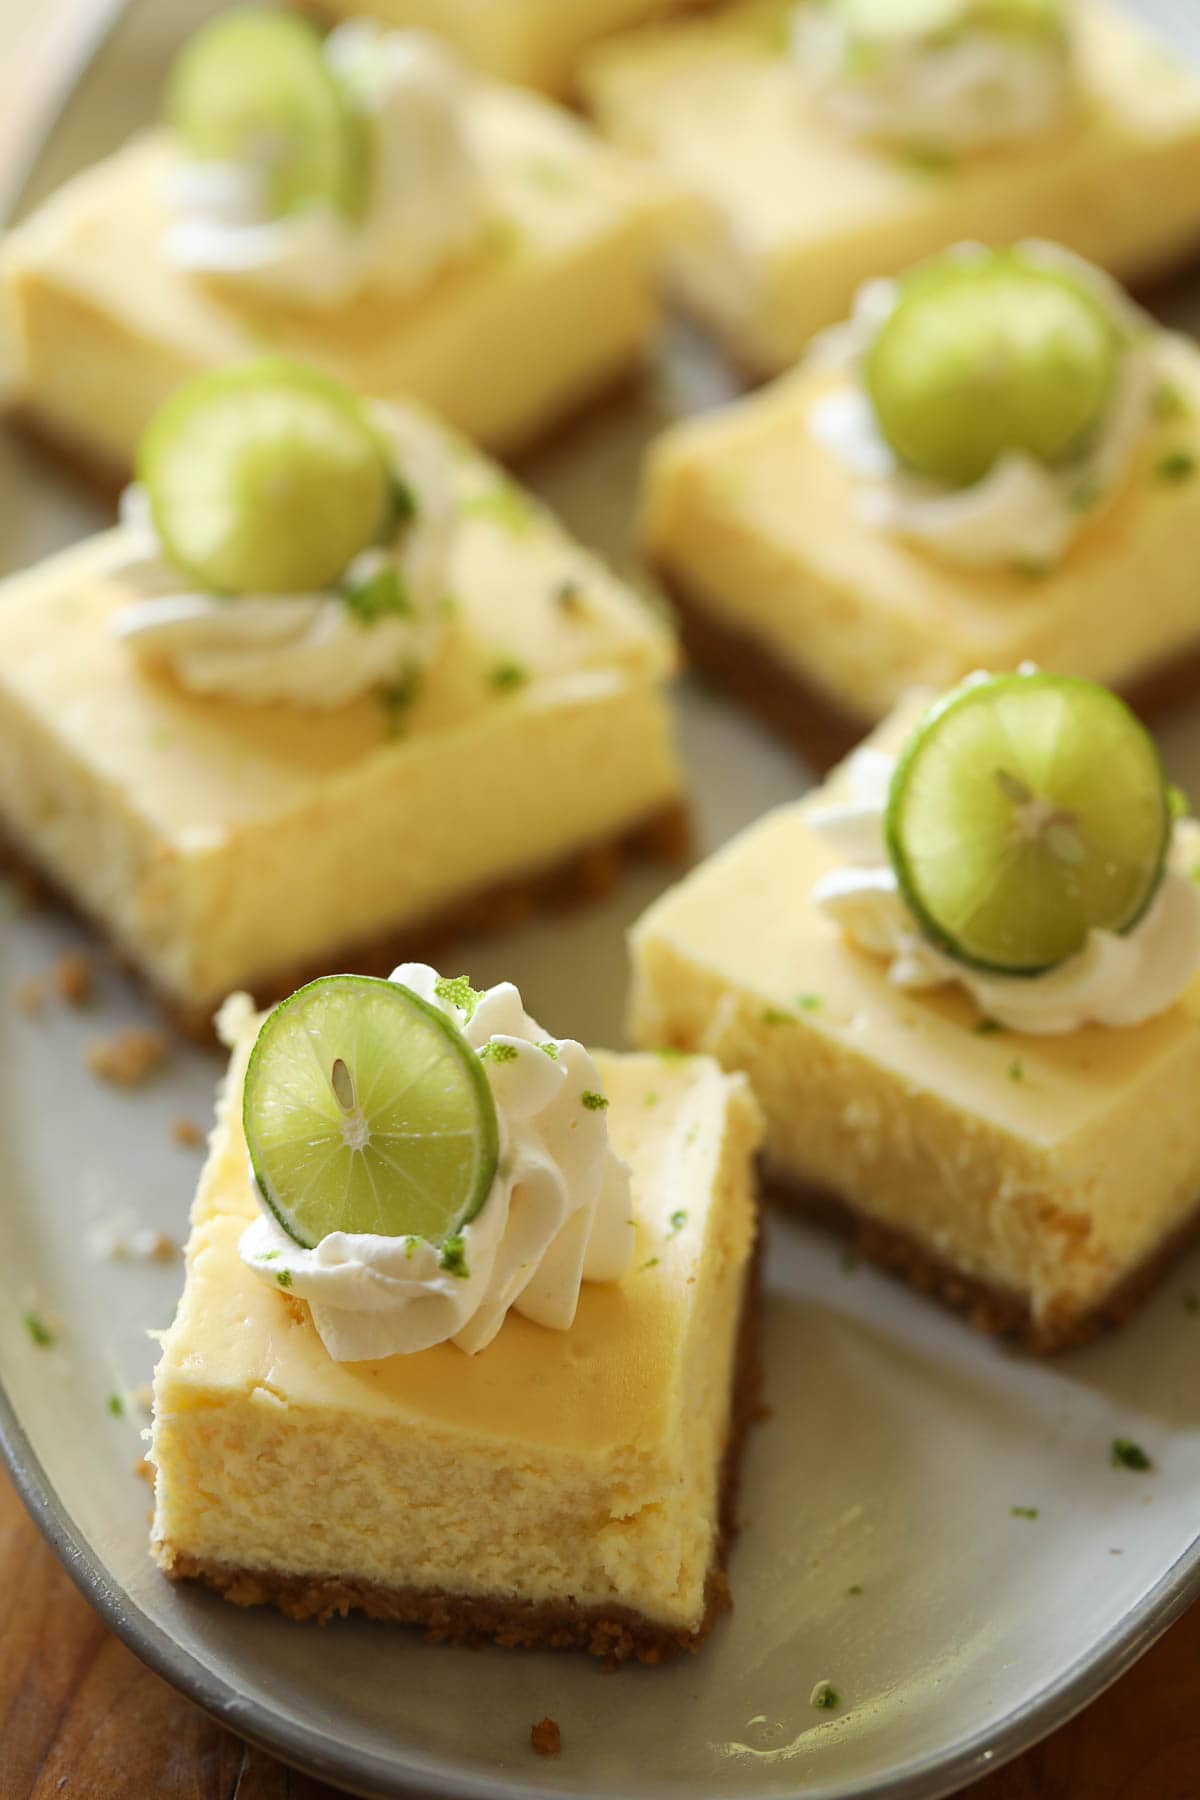
Key limes are in season and one of my favorite ways to use them up is in these Cheesecake Bars. They are easy to make, rich and creamy with just the right amount of tartness coming from the key limes.
Add a dollop of whipped cream and a slice of lime, and they make a festive dessert for Easter or Mother’s Day. They are also great for baby and bridal showers! For another great cheesecake bar recipe, try my Pumpkin Swirl Cheesecake Bars.

Would you like to save this?
The Flavor and Texture
- These bars have a luscious creamy texture coming from the ratio of cream cheese to eggs.
- And the flavor is sweet and tart at the same time!
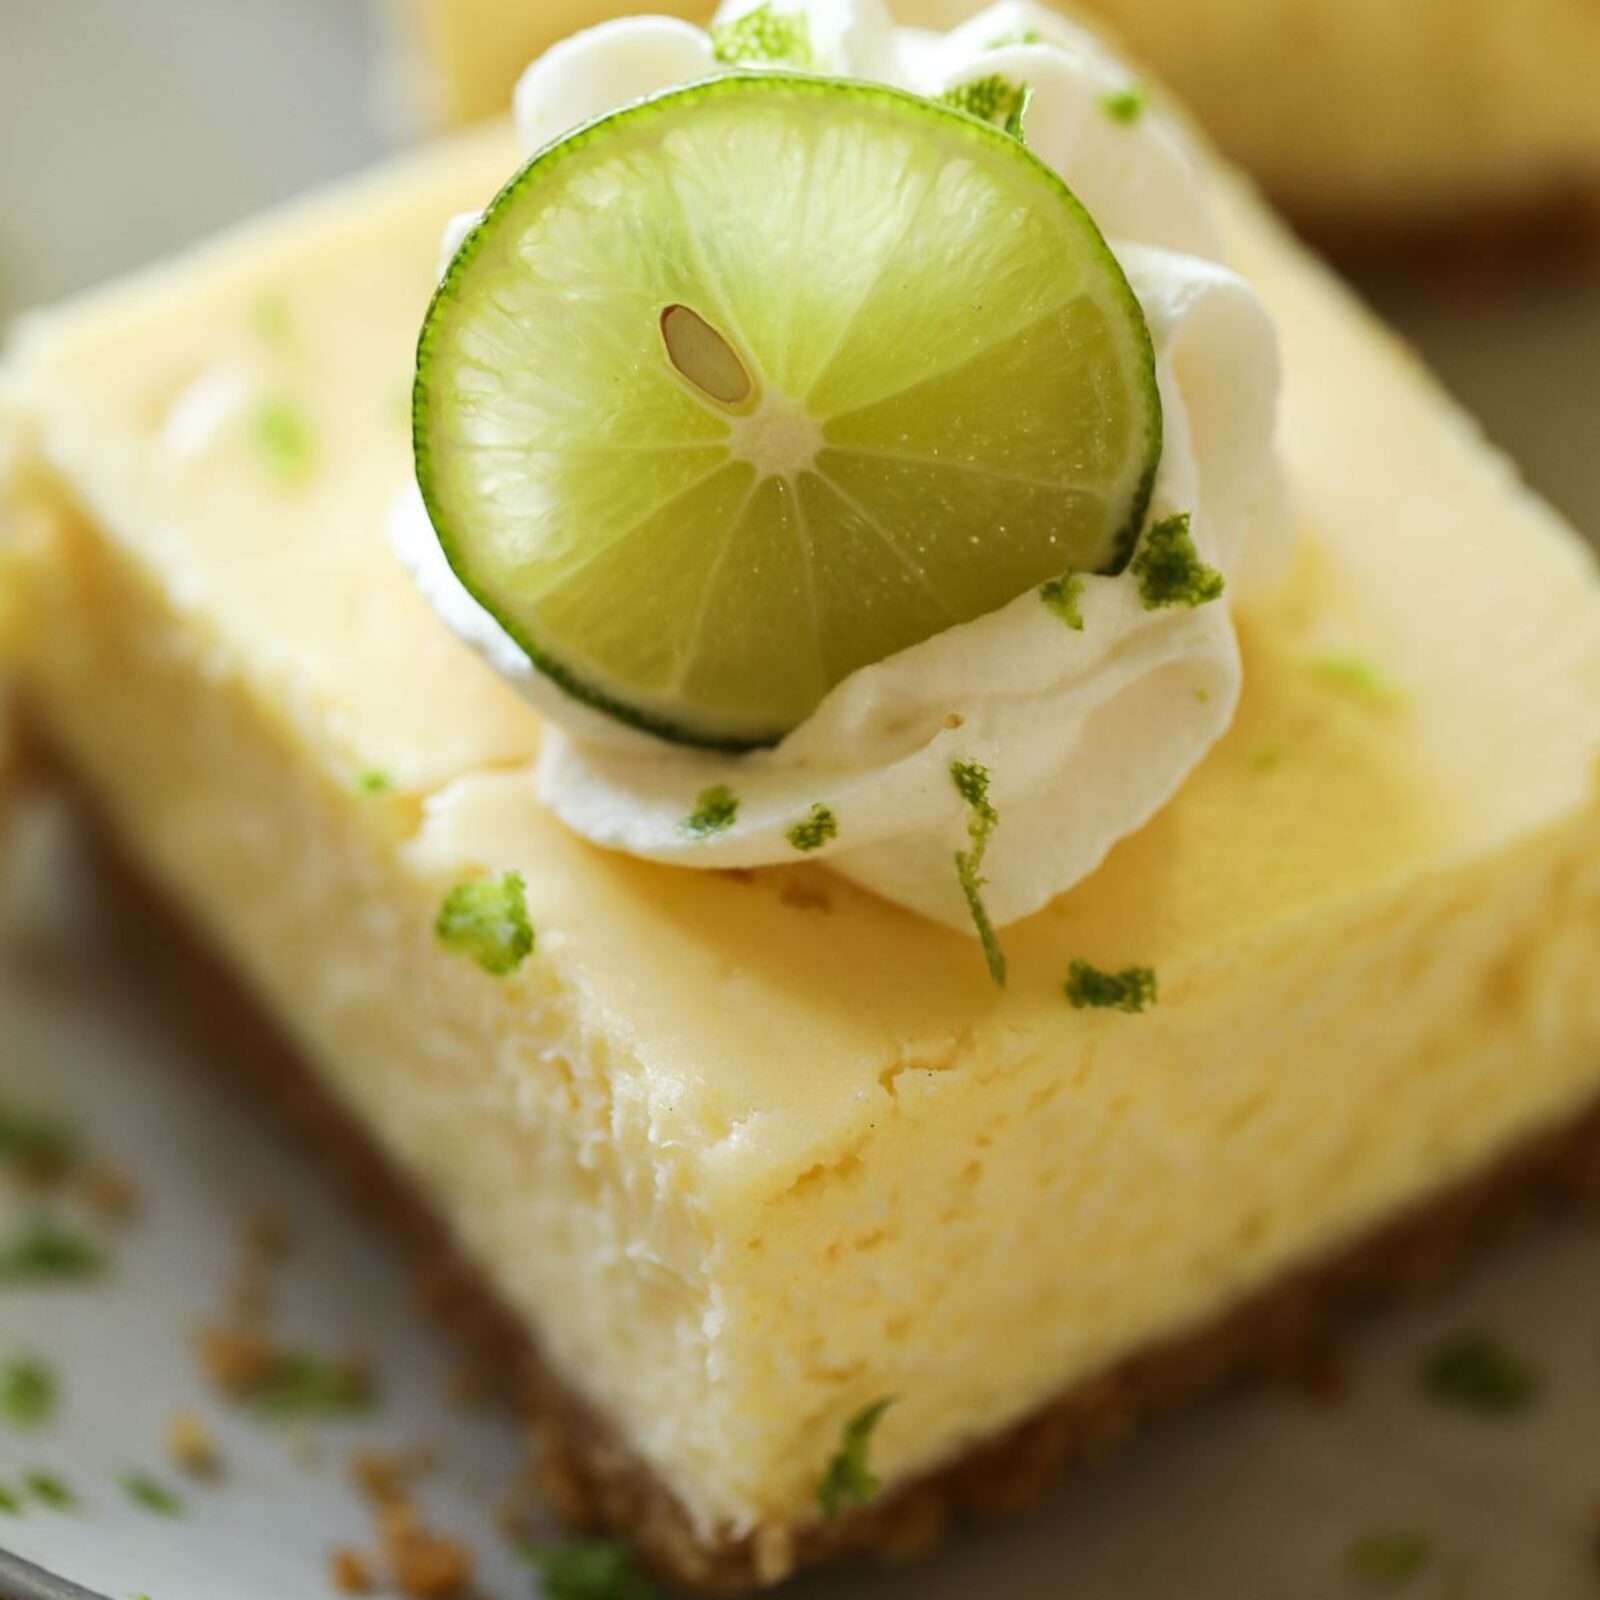
- The homemade whipped cream on top balances the flavors well and looks festive, too.

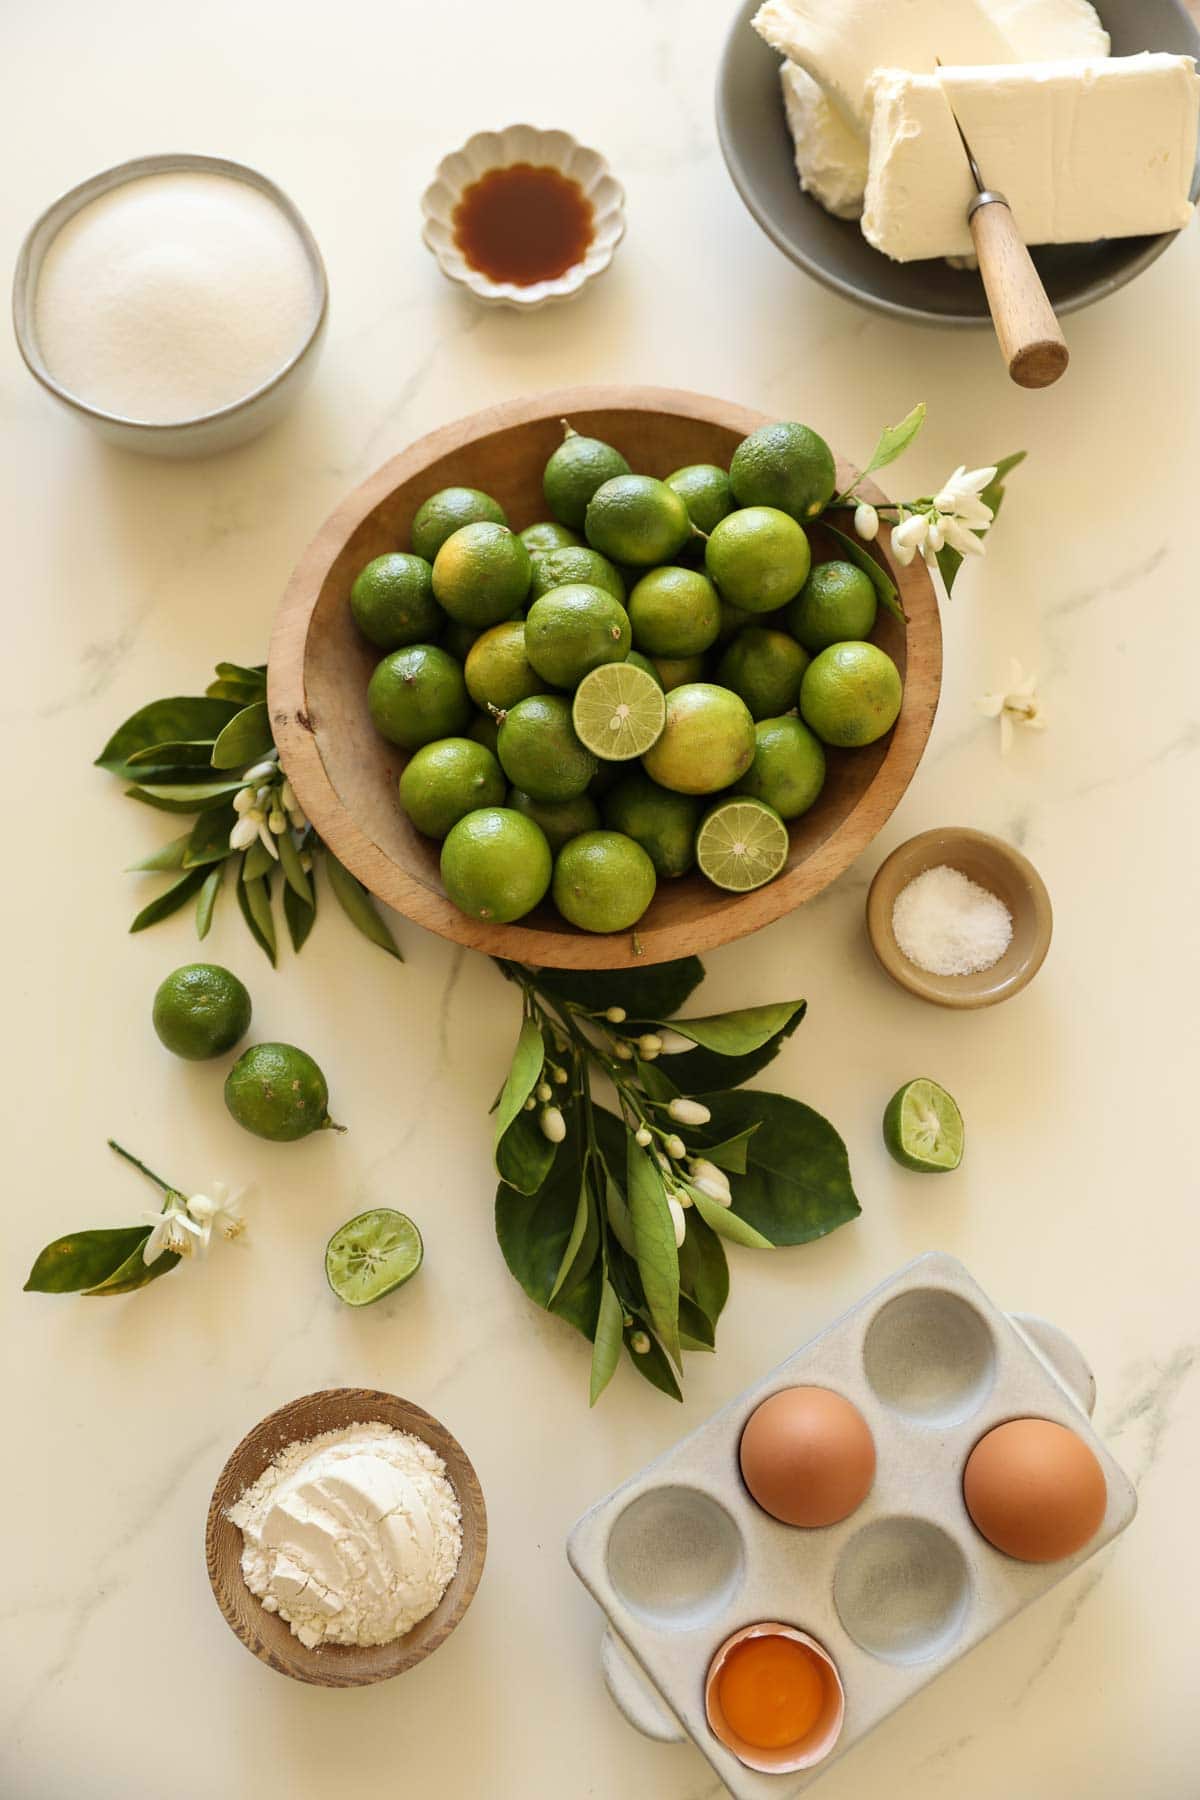
Ingredients:
- Key Limes: I love to use fresh key limes for this recipe because they are floral and fruity and not as sour as a regular lime. Stay away from bottled key lime juice; it’s not the same thing as using fresh key limes, and personally, I think it has a very artificial taste. You can substitute key limes for regular limes in this recipe, but if you go this route, add 1/4 cup more sugar to balance out the tartness. Also, save 4-5 key limes for the garnishing. These bars look really pretty when garnished when lime slices.
- Cream Cheese: I use brick cream cheese instead of whipped cream cheese; it’s better for cream cheese bars because it makes them firmer and easier to slice.
- Flour: I add a little bit of flour to avoid baking these in a water bath. This gives them structure and prevents cracking.
- Eggs + Egg Yolk: I use a combination of eggs and one egg yolk for the creamiest texture.
- Sugar: White granulated sugar will dissolve the best.
- Pure Vanilla Extract: This will add a little depth of flavor and sweetness.
- Salt will heighten the flavors. I use kosher salt in all my recipes because it’s “flavor-enhancing” without being too salty.
- Graham Crackers for the crust. For a chocolate crust, you could also use Oreos with the fillings scraped out. You’ll need 7 ounces (200 g) of Oreo crumbs.
- Butter for the crust. I use salted American butter for the best flavor.
Watch The Video Demo Below
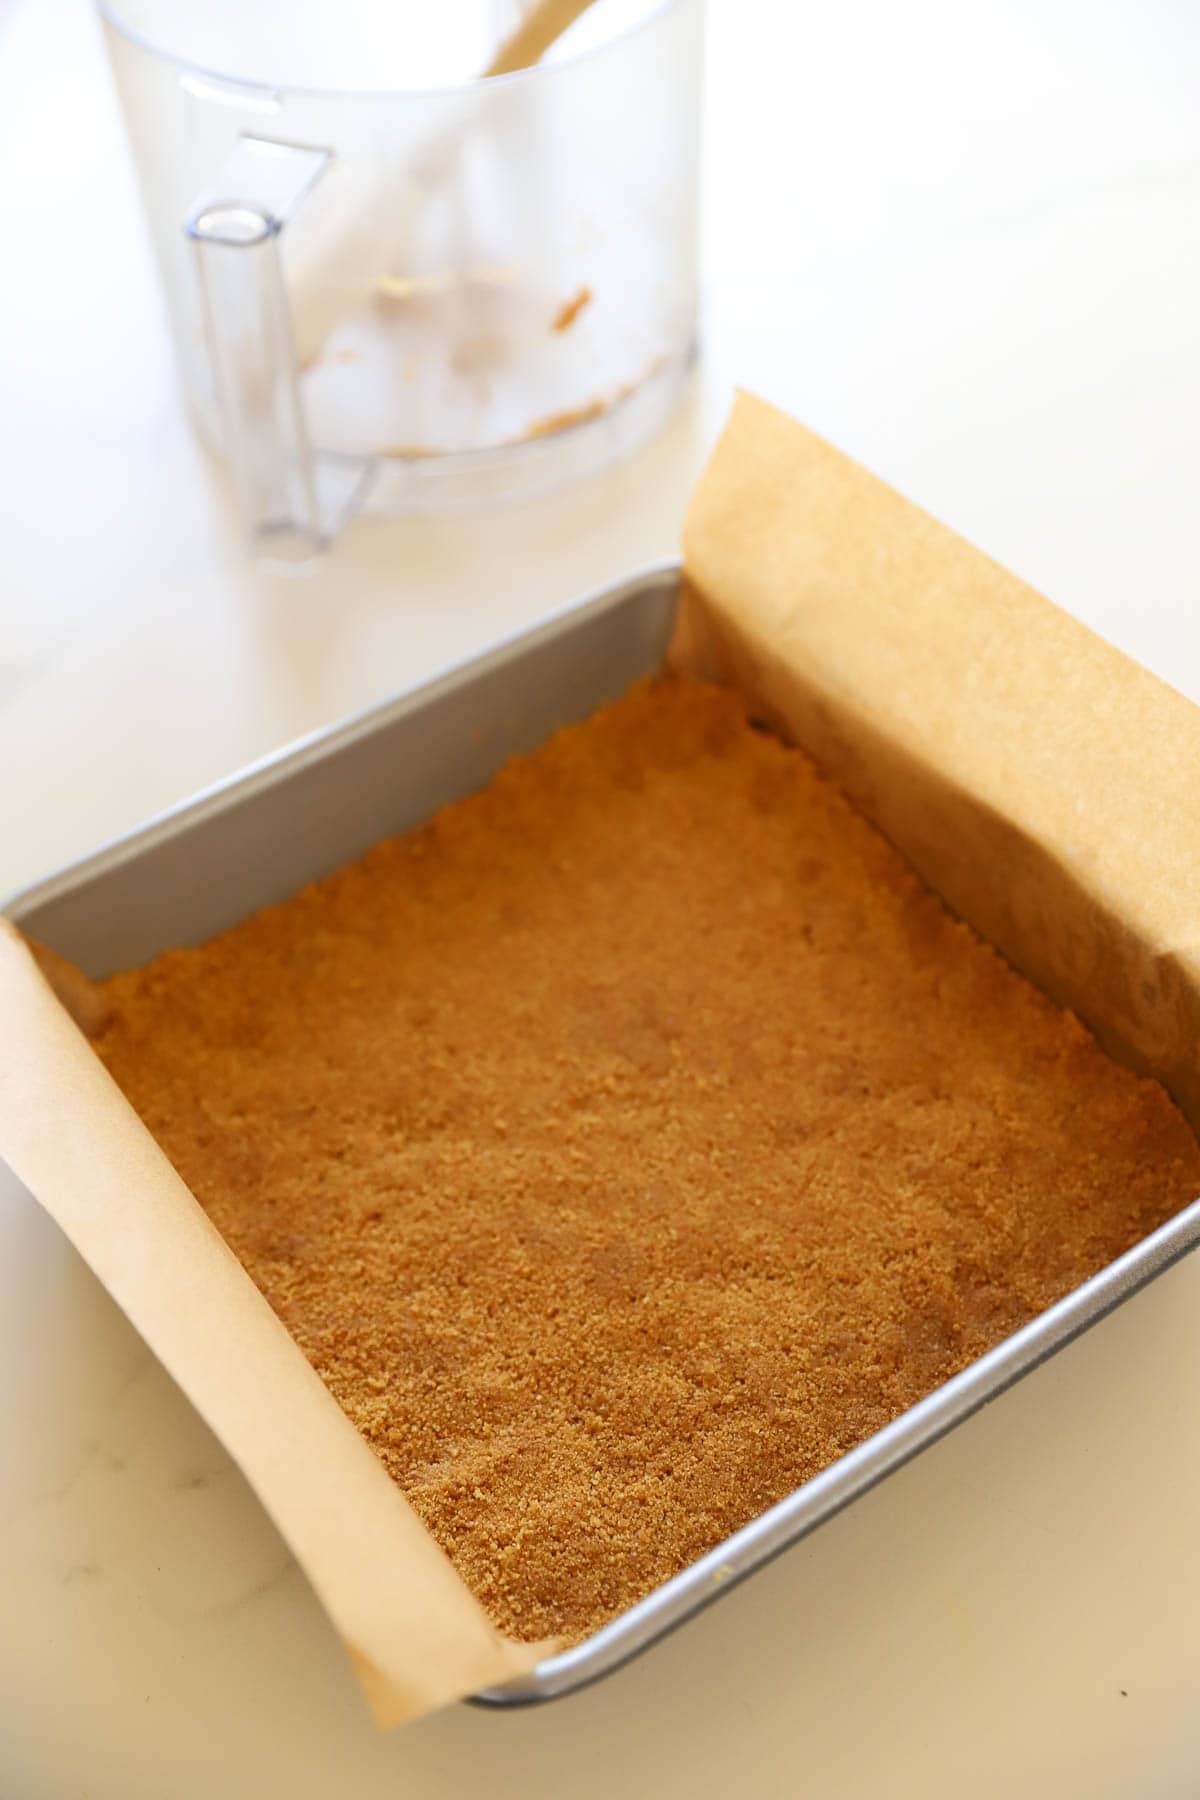
Step#1: Make The Crust
- You’ll line a 9″ x 9″ (23 cm x 23 cm) brownie pan with parchment paper to make the cheesecake bars easier to remove once baked. Or you can use a cheesecake pan.
- Process the graham cracker crumbs in a food processor, then add the sugar and butter until a wet crumb forms.
- Fit the crumbs into the pan, pressing down to form an even layer, and then bake.
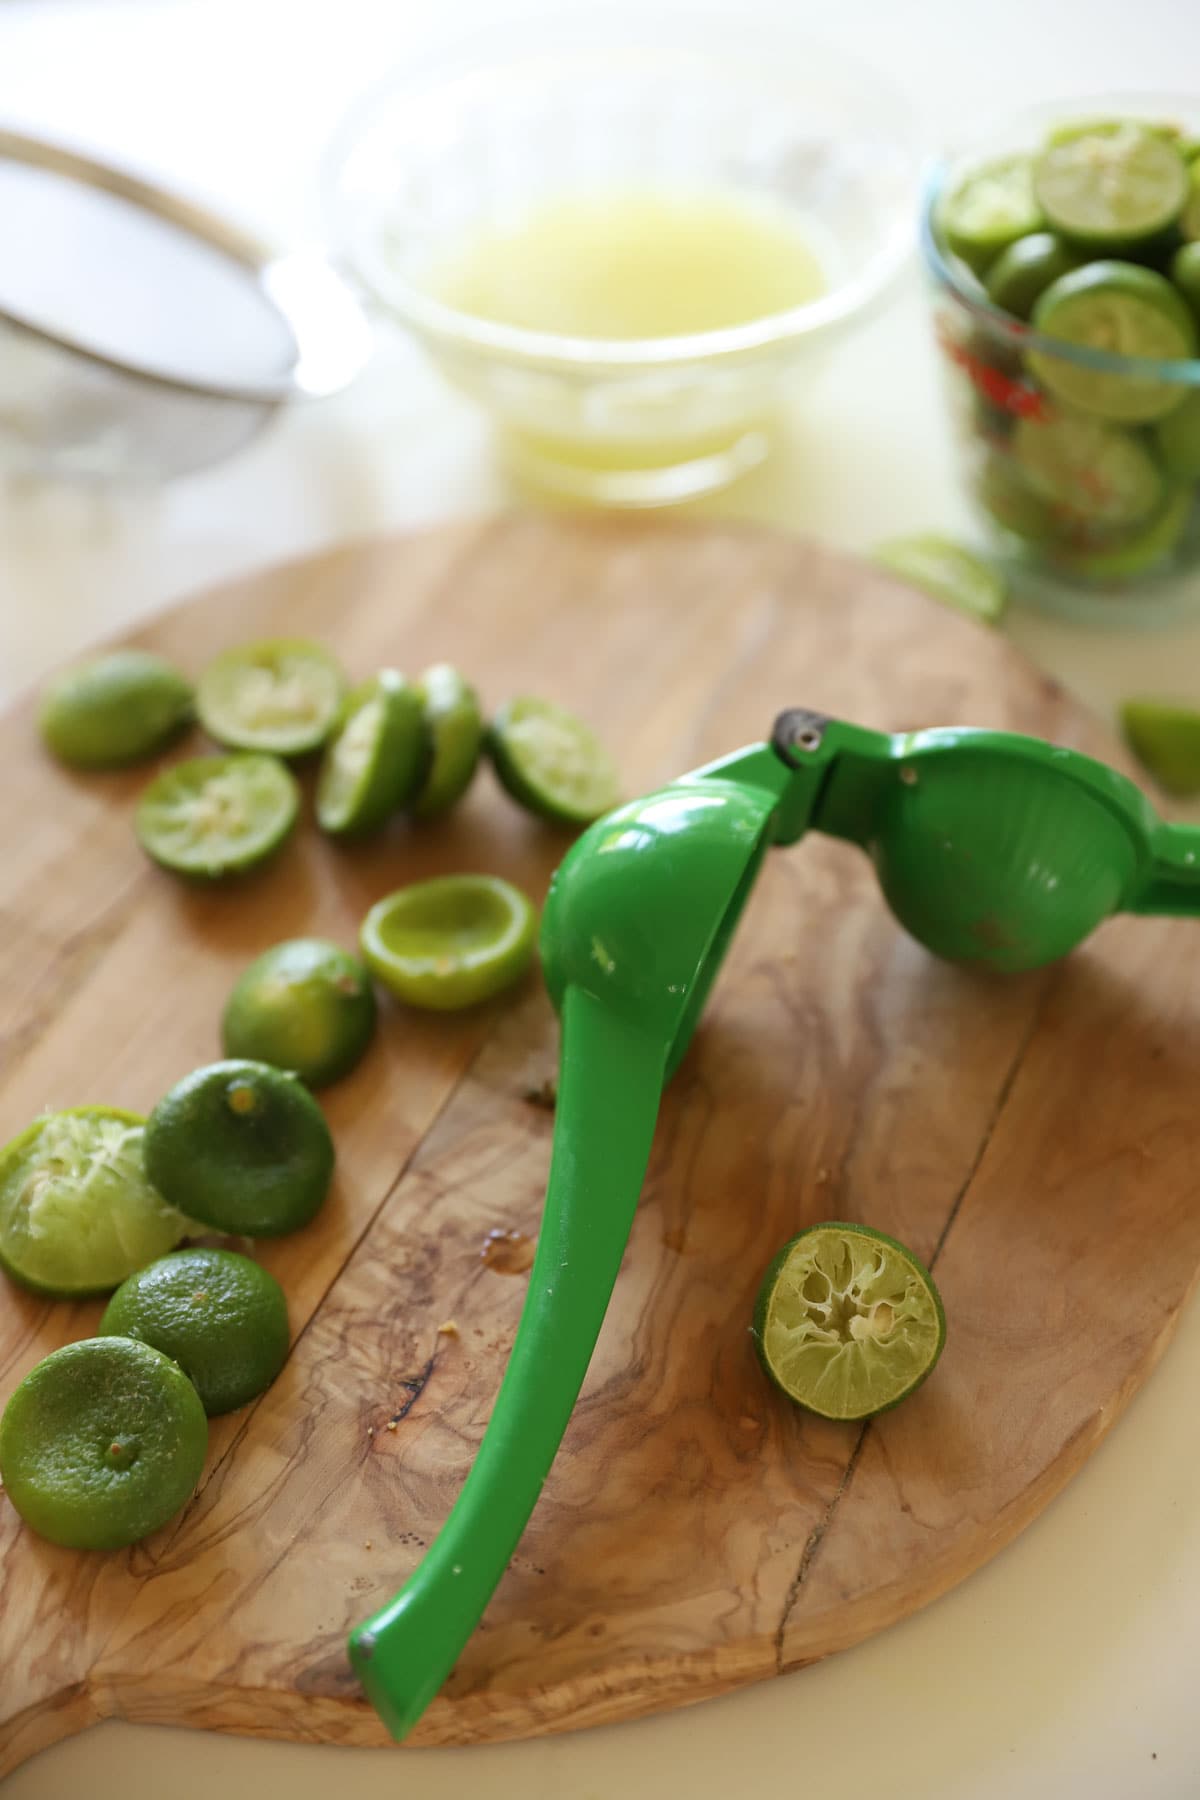
Step#2: Squeezing the Key Limes
- Key limes are small—1/3 the size of a traditional lime—so squeezing enough of them to get 3/4 cup of juice can be a bit of a chore!
- This task will go a lot quicker with a lime squeezer.
- You’ll need about 1 1/4 pounds of key limes, so the squeezer really helps you use them all up!
- Be sure to save 4-5 key limes for the garnish.
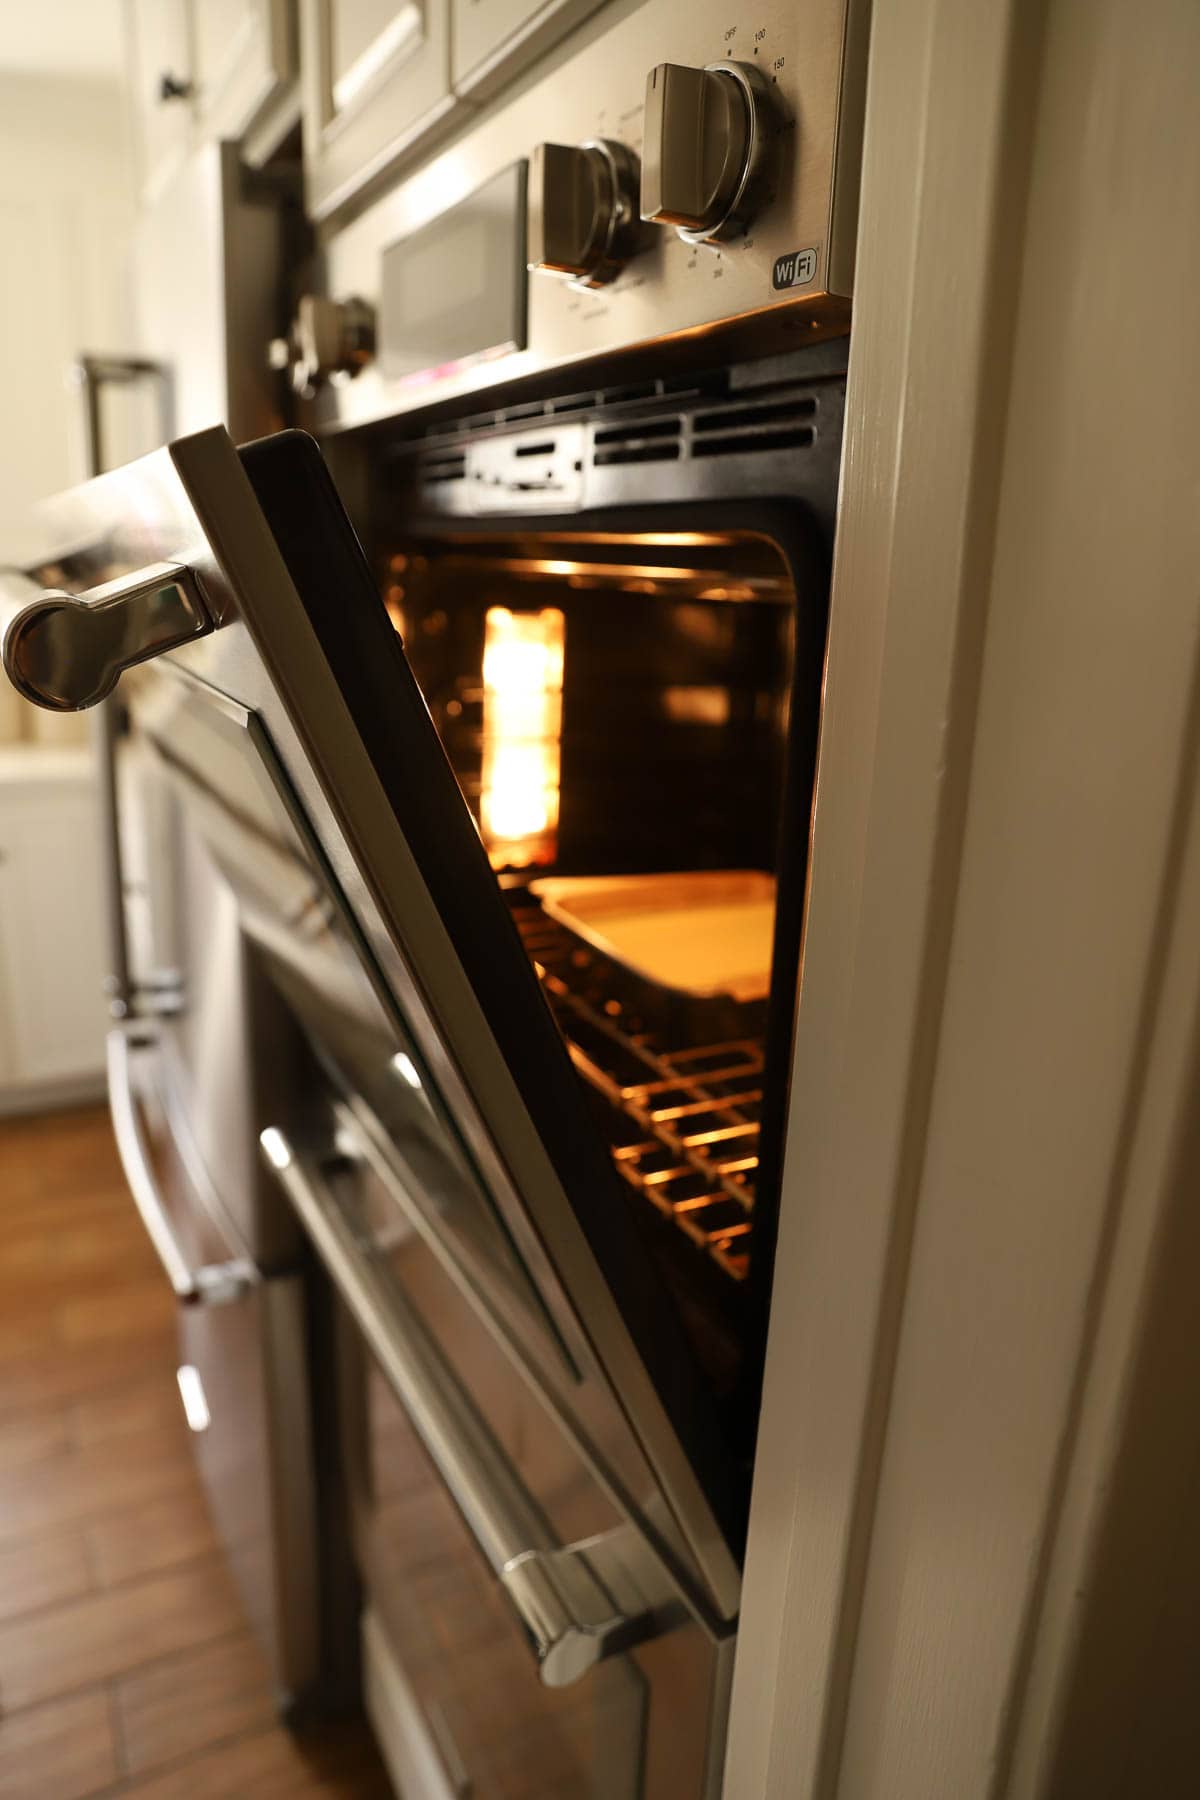
Step#3: Mixing, Baking, Cooling
Step#4: Serving
Key Lime Cheesecake Bars
Yield:
9 bars
Prep Time:
30 minutes
Cook Time:
30 minutes
Additional Time:
30 minutes
Total Time:
1 hour 30 minutes
Delicious creamy, and rich key lime cheesecake bars, perfect for any special springtime occasion.
5.0 Stars (1 Review)
Ingredients
For Crust:
- 13 graham crackers (7-ounces/200g of crumbs)
- 1 tbsp (13 g) sugar
- 7 tbsp (98g) butter, melted
For Filling:
- 24 ounces (680 g) cream cheese
- 1 ¼ cups (270g) white sugar
- 2 eggs + 1 egg yolk
- 2 tsp (10 ml) vanilla extract
- Pinch of salt
- ¾ cup (177 ml) key lime juice ( 1 1/4 lb of key limes)* Save 4-5 for garnishing
- ¼ cup (34 g) flour
For Garnish:
- 1 cup (240 ml) heavy cream
- 1 tbsp (7 g) powdered sugar
- 1 tsp (5ml) vanilla extract
- Lime zest + slices from 4-5 key limes
Instructions
- Preheat oven to 325F (165C).
- Prepare a 9" x9" (23 cm x 23 cm) brownie pan with baking spray. Line one side with parchment paper, enough to create large flaps on either side. Set aside.
- Add graham crackers to a food processor and process until crumbs form. Add the sugar and pulse while adding the butter until wet crumbs form.
- Place crumbs in the pan and shake the pan to level them out, then press down to create an even layer. Bake for 10 minutes and allow to cool.
- Meanwhile beat the cream cheese and sugar together with an electric mixer, add the eggs one at a time, beating in between each addition. Then add the egg yolk. Scrape down the bowl.
- Add the vanilla extract and salt and beat to combine.
- Then add the key lime juice and slowly beat to combine.
- Then add the flour and beat to combine.
- Remove the bowl from the mixer and whisk the mixture to ensure no lumps remain.
- Pour the mixture over the cooled crust, whisking while pouring to remove any lumps.
- Bake for 30 minutes at 325F (165C).
- At the 30-miniute mark cheesecake will still look jiggling in the center. That's OK it will continue to set in the warm oven as it cools.
- Turn the oven off, open the oven door ajar, and allow to cool in the oven for 15 minutes. Then cool at room temperature for 30 minutes.
- Refrigerate, uncovered for a minimum of 4 hours, but overnight is even better.
- To serve whip the heavy cream, powdered sugar, and vanilla extract until stiff peaks form. Transfer whipped cream to a pastry bag fitted with a star tip.
- Slice cheesecake into 9 bars. Pipe a star of whipped cream on top, garnish with lime zest and a thinly sliced wheel of key lime.

Hi Beth! Can I substitute the lime with lemons if I want to make lemon cheesecake instead?
Oh sure! Great idea! Just keep the quantity of the juice the same 🙂 Let me know how it turns out!
Hi Beth,
I love your site and watching all your wonderful videos. Passover is coming up, Do you have any flourless recipes to share? Can your Key Lime cheesecake be made flourless?
Well the flour really prevents it from cracking and I assume there’s flour in the graham cracker crust. So you might be better off with this recipe for Chocolate Cake is flourless and it great! Or the Classic Macaroons are flourless too! So easy and delicious 🙂 Hope you enjoy and so glad to hear you enjoy the site and videos!
*****These are spectacular!!!!! I made them yesterday and enjoyed them today! Thank you again for another winner! Now, let’s get that cookbook out!!
Ha! Oh I know I can’t wait to share it with you all! So many great recipes to come! So glad you enjoyed these! Yummy right?! 🙂 My new faves!
what does the crackers equal to in cups? I only have fine crumbs. It would be nice to put both to help with whatever people had. Thanks.
Oh sure great idea! I just updated the recipe card. It’s 7-ounces or 200 grams 🙂 Thanks for the idea!
What was the 1/4 cup of flour for? Is this a mistake or should it be included in the filling? This is confusing to me and I’m pretty sure others are confused as well.
Thanks
Oh I’m so sorry! It was in the wrong place and omitted in the instructions! Thanks for catching it! I just updated it! It goes in the filling :). Hope you enjoy!!