Gateau Saint Honore Recipe
SHARE THIS RECIPE!


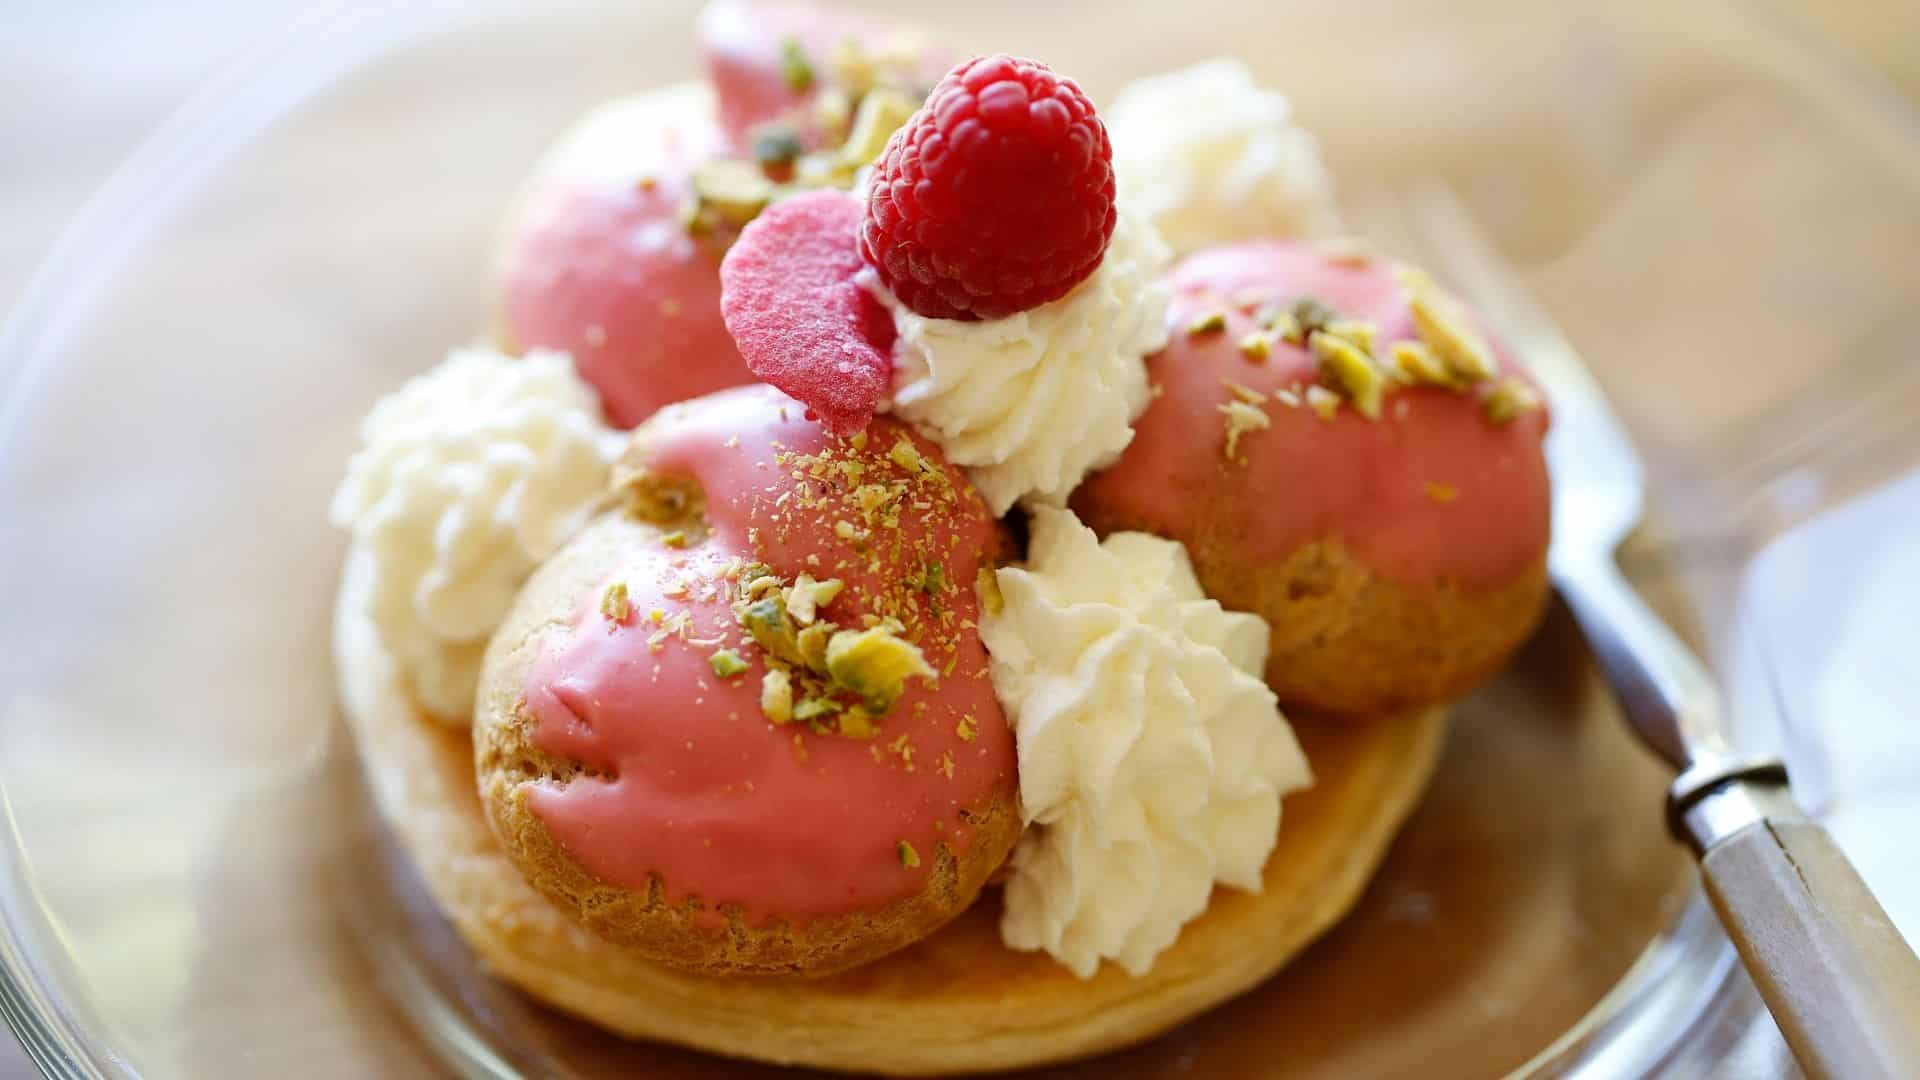
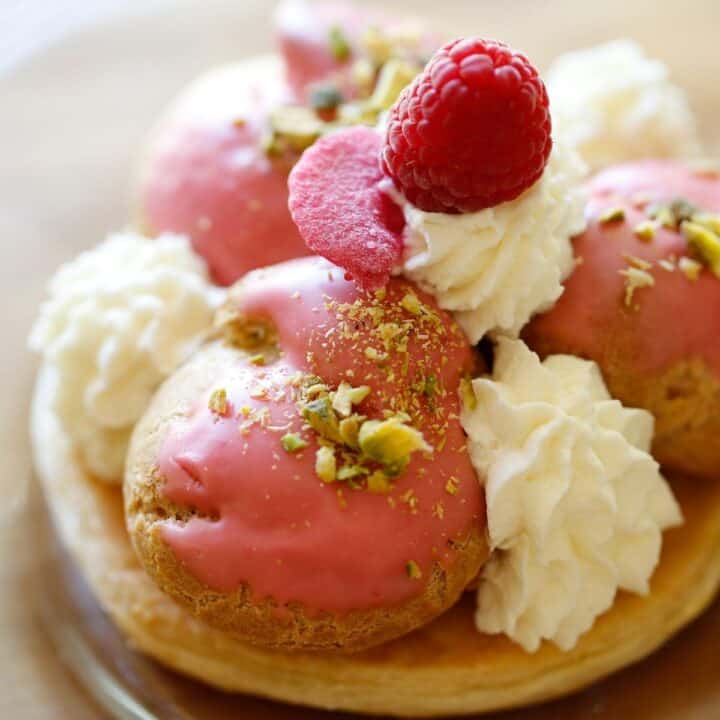
This mini Gateau Saint Honore is a beautiful dessert for Mother’s Day or any springtime occasion, like a baby or bridal shower. Although Gateau Saint Honore is typically made as one large dessert, I love to make it in individual portions so that each guest is presented with a beautiful plate.
The History of Gateau Saint-Honoré
The Gateau Saint-Honoré is named for the patron Saint Honoré, or Honoratus, who died in 600 AD. It’s a long, involved story, but suffice it to say that Honore was celebrated as the Patron saint of bakers and pastry chefs. His feast day is May 16th, making this a perfect spring dessert idea.
The Components
- You’ll find many varieties of this dessert, from the traditional made with cream puffs dipped in caramel to the more exotic flavors of mango, espresso, and lavender. But the basic components remain the same.
- A base of puff pastry
- Cream Puffs filled with vanilla pastry cream (pastry cream flavors can also vary!)
- Some type of icing, caramel, or ganache on top of the cream puff
- Sweetened whipped cream surrounds the cream puffs. Which can also be a Creme Diplomat (1 part pastry cream + 1 part whipped cream)
Step#1: Make the Pate à Choux
- The pate à choux is the dough you must master to create a successful cream puff.
- But don’t worry—I’ll give my tips below! After making these for a few years, I’ve learned a few things about these fickle pastries the hard way!
Tip#1: Be Sure to Cook the Flour
- When it comes time to add the flour mixture, after simmering the water and the butter.
- Be sure to cook the flour long enough, until a dough forms and pulls away from the side of the pan. Then add the eggs.
- If you add the eggs too soon, before the flour has had a chance to cook, it will affect the structure of your final cream puff and cause it to be less stable when you fill it.
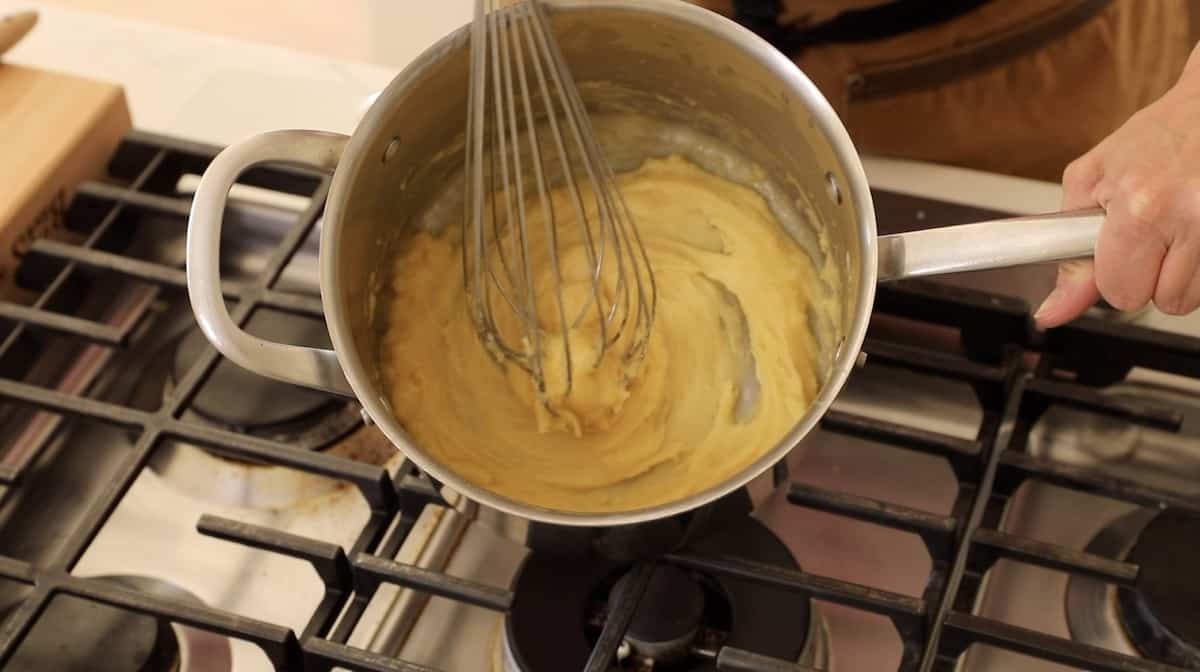
Tip#2: Use a Whisk to Add the Eggs
- A whisk works better to combine the eggs with the dough base.
- As soon as you add the eggs, it’s a bit of a messy affair, and you’ll wonder if it will ever come together!
- A whisk will help the eggs incorporate faster into the dough.
- Once combined, you’ll have a sticky, pasty mixture—exactly what you want.
Fixing the peaks
- After piping out the choux pastry, you’ll notice you’ll have small peaks at the top left by the pastry tip.
- You can pat those down with the back of a metal spoon that has been dipped in cold water.
- You can also smooth out any cracks or misshapen edges of your pastry mounds this way too.

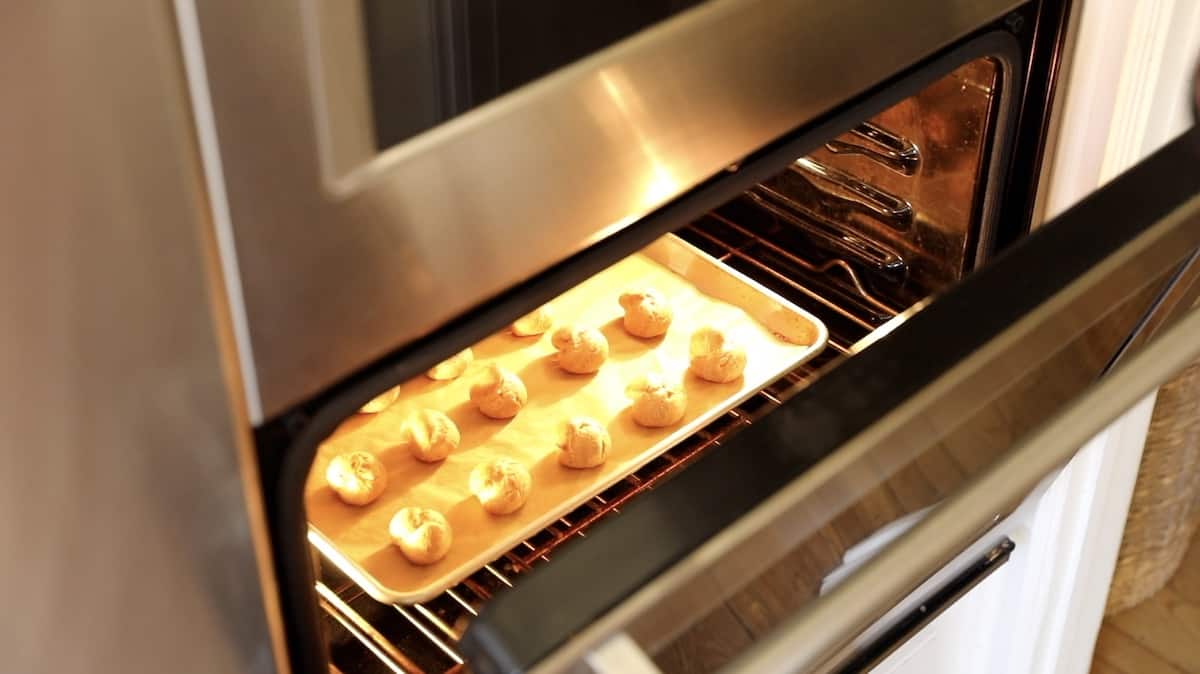
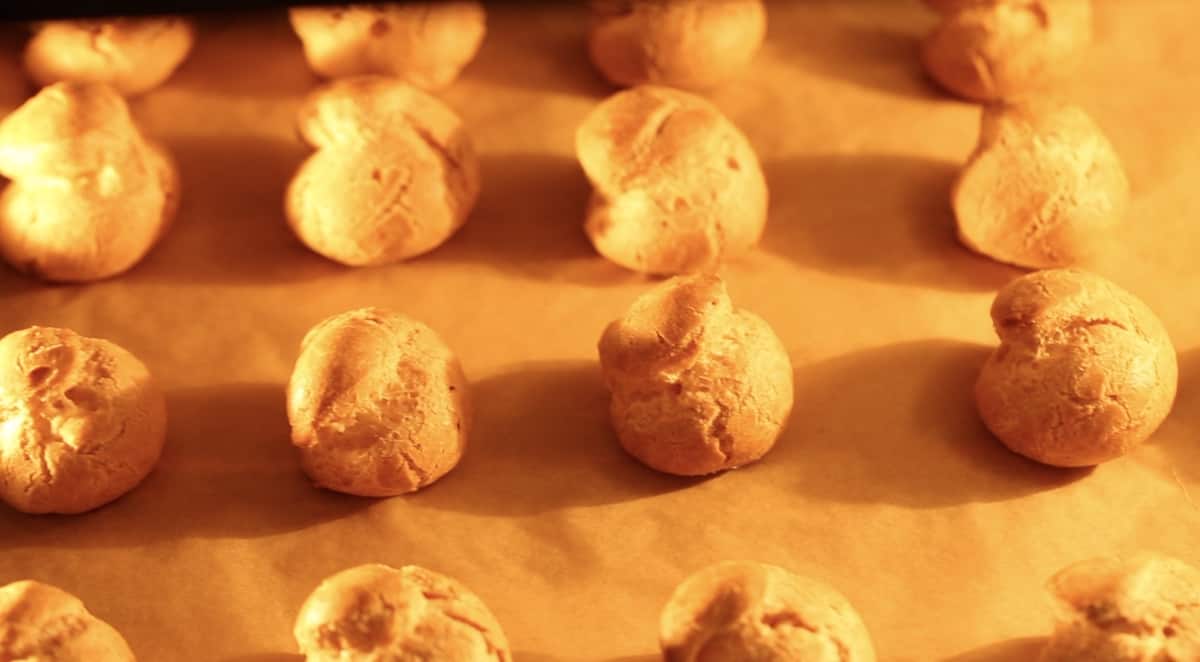
Success is in the Baking
- Cream puffs can be finicky and deflate quickly. This is the method that I have found works best!
- To begin with, bake at 400°F (200°C) for 10 minutes. At this stage, they will inflate and rise.
- Reduce to 350°F (175°C) for 35 minutes. In this stage, they will turn golden brown
- Turn the oven off. Open the oven door slightly and allow them to stay in the oven for 20 minutes. At this stage, they will dry out inside and cool down gradually, which will prevent deflating.
A Hollow Cream Puff is Key
Filling your cream puffs with pastry cream will be much easier if they are hollow. The more hollow the cream puffs are, the more pastry cream they will hold.
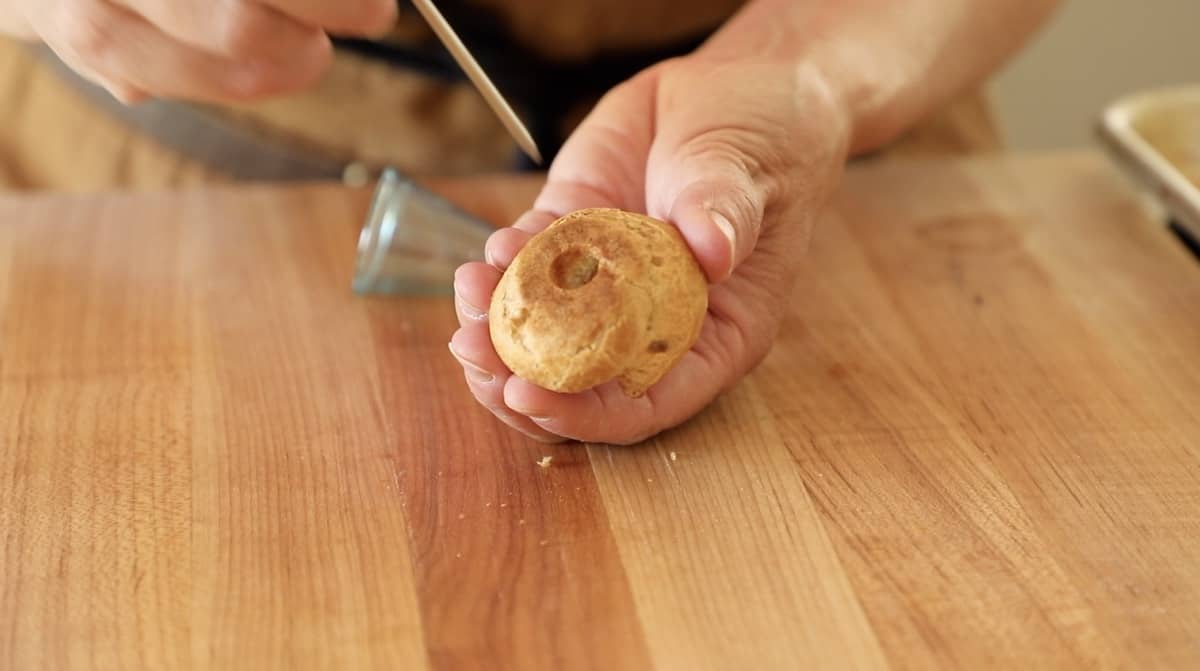
Creating the Hole in the Cream Puff
- If you bake your cream puffs for 35 minutes and allow them to cool down properly, it will be a lot easier to create the holes at the bottom because the shells will be crisp, and the centers will be hollow.
- The best way to create the hole is with a round pastry tip. Insert the tip into the bottom of the cream puff, twisting it until a hole forms. Then hollow them out a bit more with a skewer.
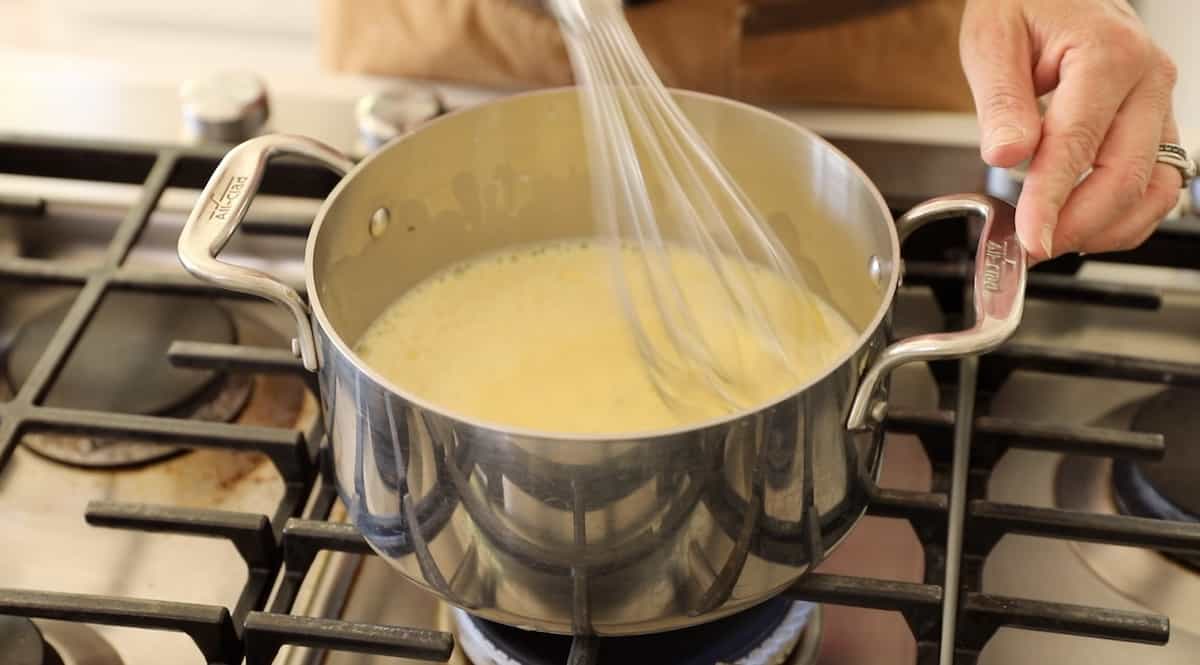
Step#2: Make the Pastry Cream
The pastry cream is really easy to make and can be made up to two days ahead of time. Just follow the steps in the recipe below and keep mixing and whisking while cooking to avoid scorching.
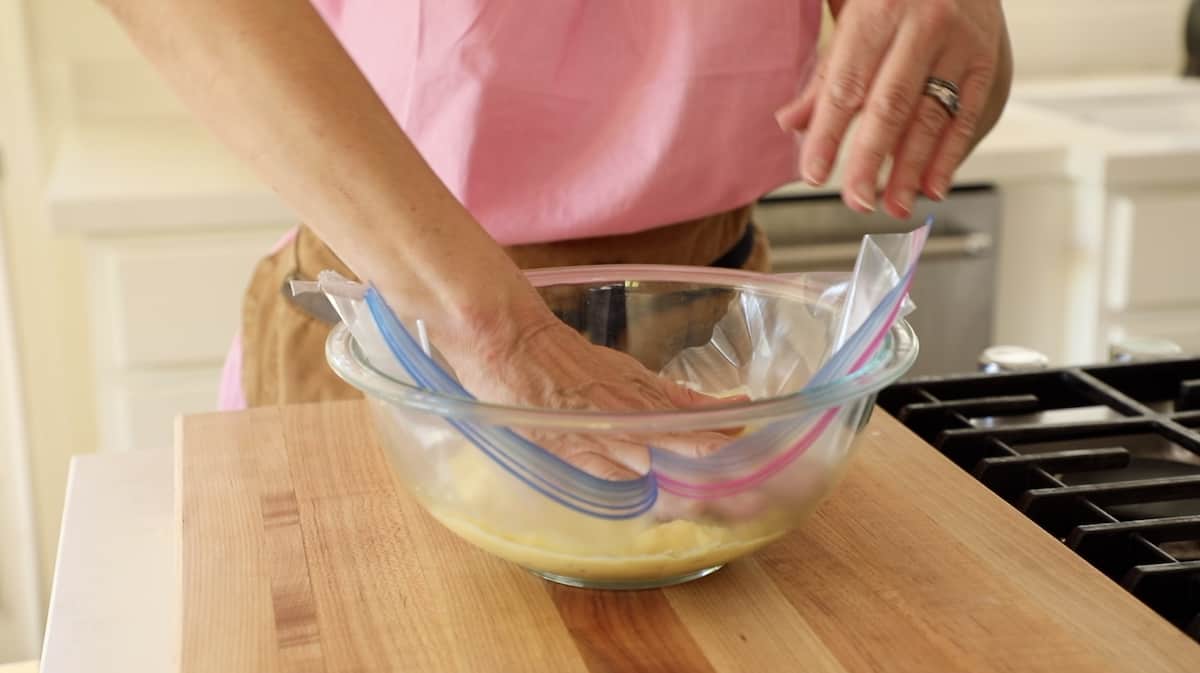
Refrigerating the Pastry Cream
- Transfer the pastry cream into a heat-safe bowl immediately, then place a sheet of plastic wrap or a cut-open plastic bag directly onto the pastry cream, touching the surface.
- This will prevent it from forming a skin while it refrigerates.
Step#3: Bake the Puff Pastry
- If you really want to go for broke, you could make your own puff pastry, but I’ve found excellent store-bought puff pastry brands, and it will save you a ton of time.
- I’d recommend Pepperidge Farm, Wewalka or Trader Joe’s puff pastry. Since this dessert is a bit labor-intensive, you’ll welcome the shortcut.
Baking the Puff Pastry
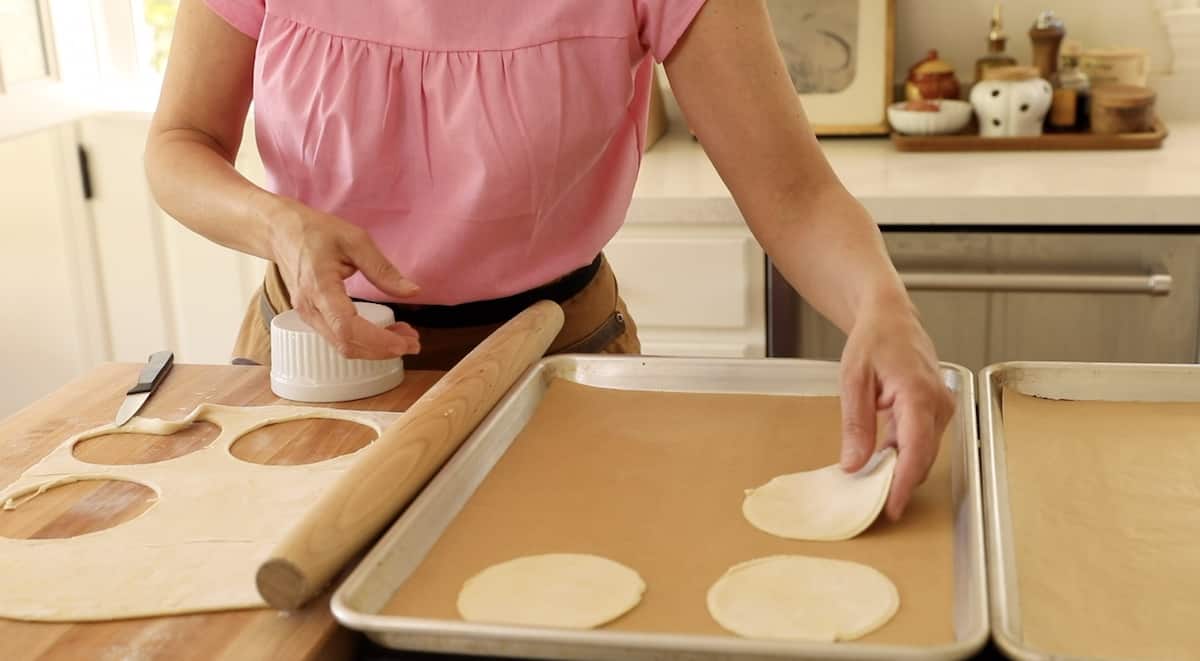
- First, be sure to prick the dough with a fork before baking.
- Since the puff pastry is being used as a base for our dessert, you don’t want it to puff up too much.
- To prevent this, place another sheet of parchment paper on top and a second sheet of pan on top as well.
- This will allow the pastry to bake without rising up, yet still preserving its flaky texture.

Allow the puff pastry to cool completely before assembling the dessert. You can bake the puff pastry at room temperature for a few hours before assembling the dessert, but I find it’s best to bake it the day you plan to serve it.

Step#4: Make the Raspberry Icing
- These desserts are beautiful, with bright raspberry icing. The tart flavor of the raspberries pairs so well with the sweetness of the vanilla pastry cream and sweetened whipped cream.
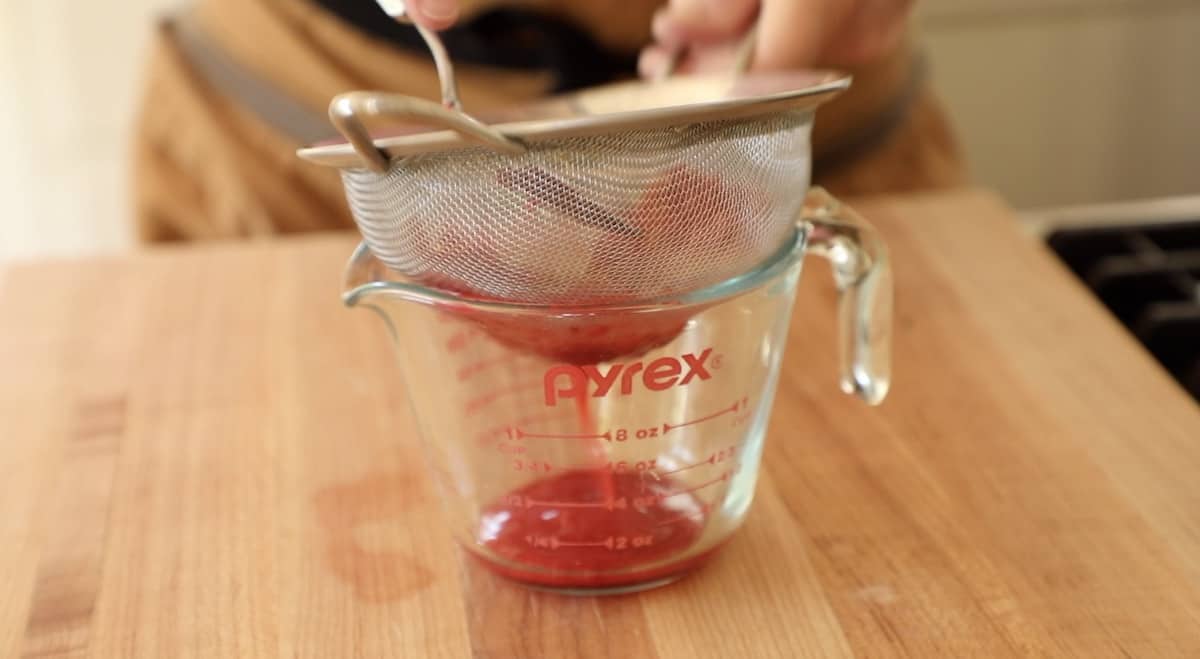
- The icing is easy to make. It only involves pressing fresh raspberries through a sieve to extract one tablespoon of juice and then mixing it with powdered sugar.
- The icing does dry to a hard, smooth finish so it’s best to make the icing right before you plan to dip the cream puffs.
Step#5: Assembling the Dessert
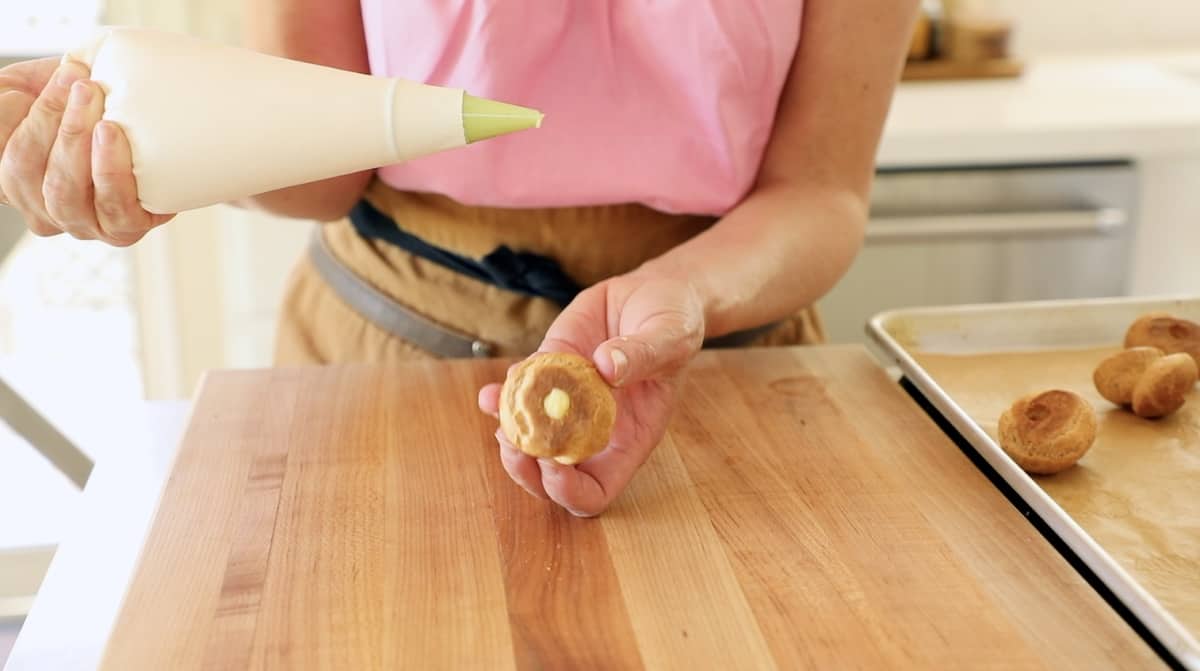
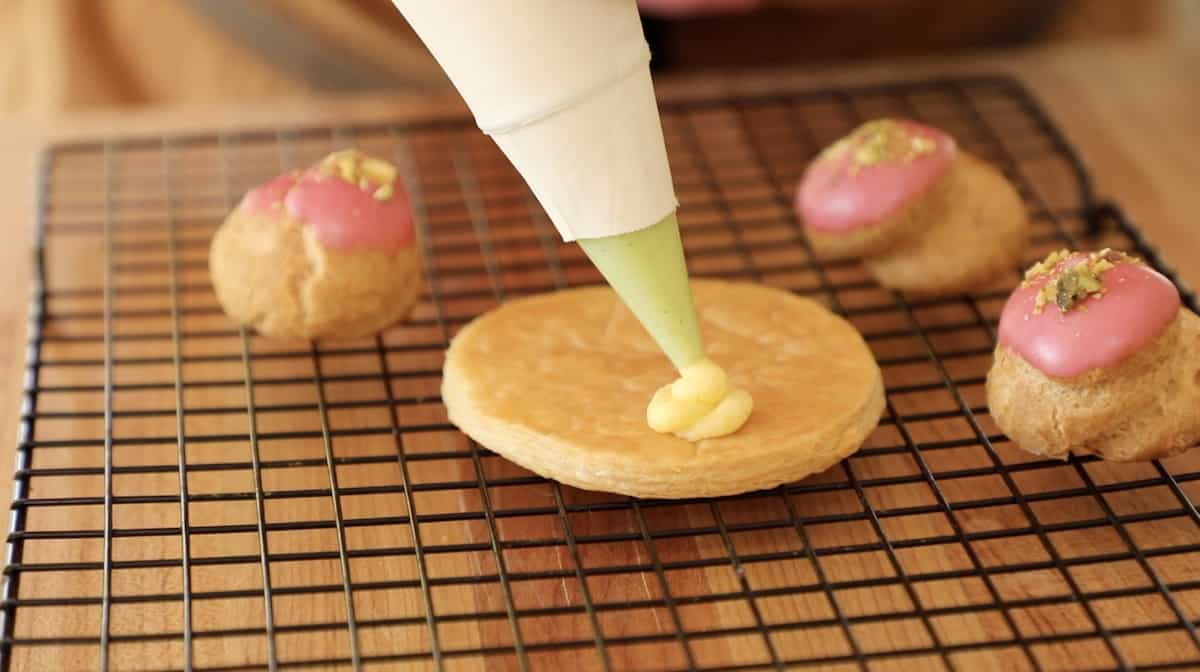
- First, fill the cream puffs with the pastry cream until it’s flush with the shell.
- Then stage them on your sheet pan. This part could also be done a day ahead and refrigerated.
- Then all you would have to do is bake the puff pastry and assemble the desserts the next day.
Dipping the Cream Puffs
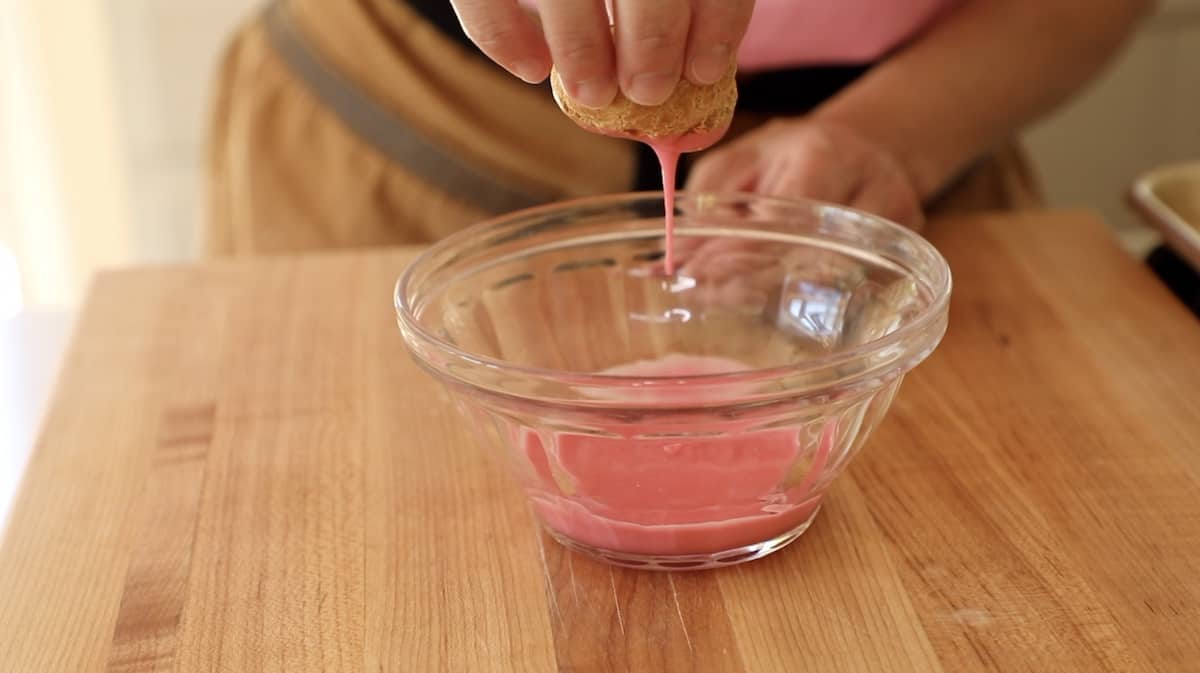
- Dip the cream puffs in the icing halfway so that only the tops are iced.
- Then hold the cream puff over the bowl to allow the icing to drip down into the bowl.
- This will prevent the icing from dripping down over the cream puff once you flip it right-side up.
Adding Pistachios
- I think it’s nice to add a little texture and color to the iced cream puffs, and chopped raw pistachios work well for this.
- In fact, if you wanted to fill the cream puffs with pistachio pastry cream, that would be wonderful, too!
- Just follow my recipe for pistachio pastry cream in my Strawberry Pistachio Tart Recipe.
- The combination of pink and green is so beautiful for a spring dessert, and the pistachios’ flavor pairs really well with the raspberry.

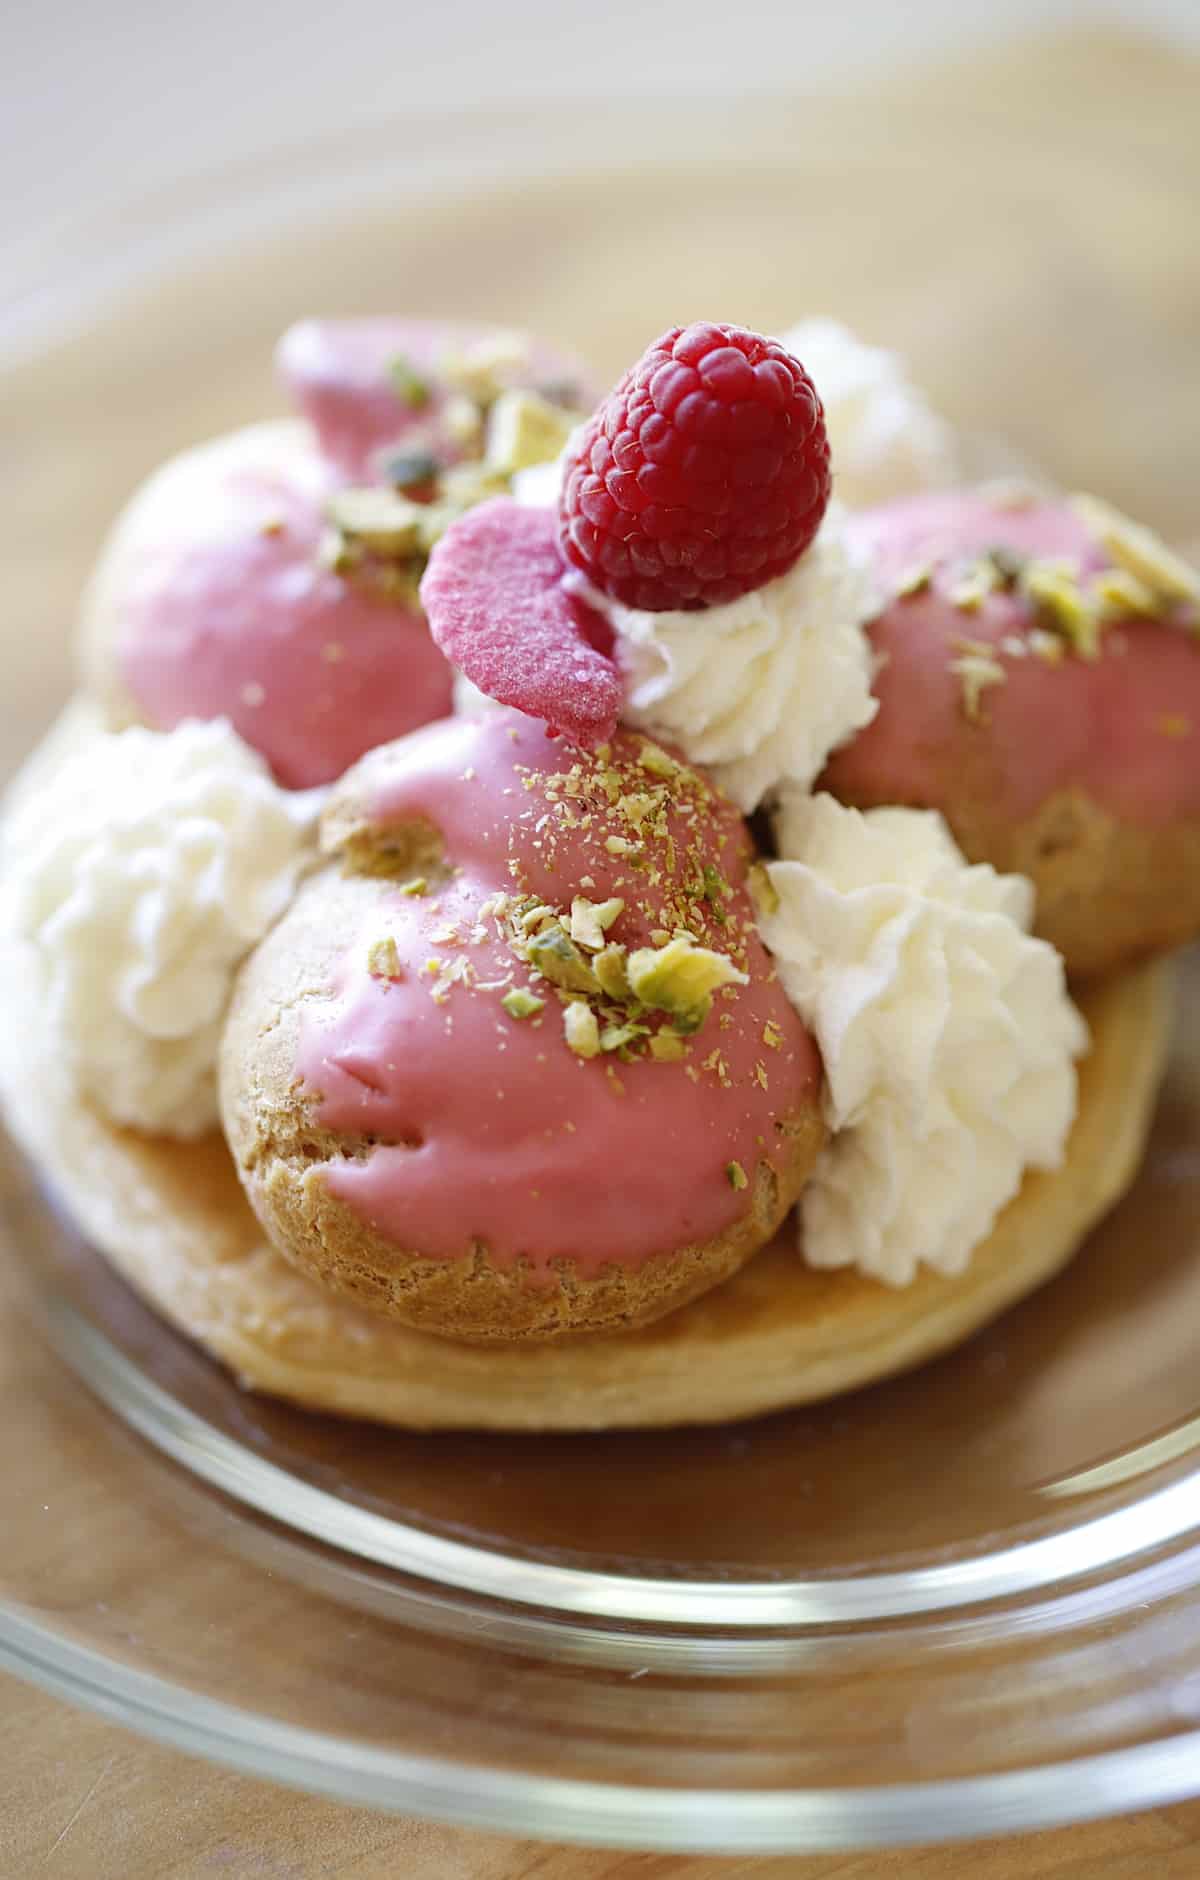
Affixing the Cream Puffs
- The cream puffs should be “glued down” to the puff pastry to avoid sliding off.
- Pipe a little mound of the pastry cream and rest the cream puff on top.
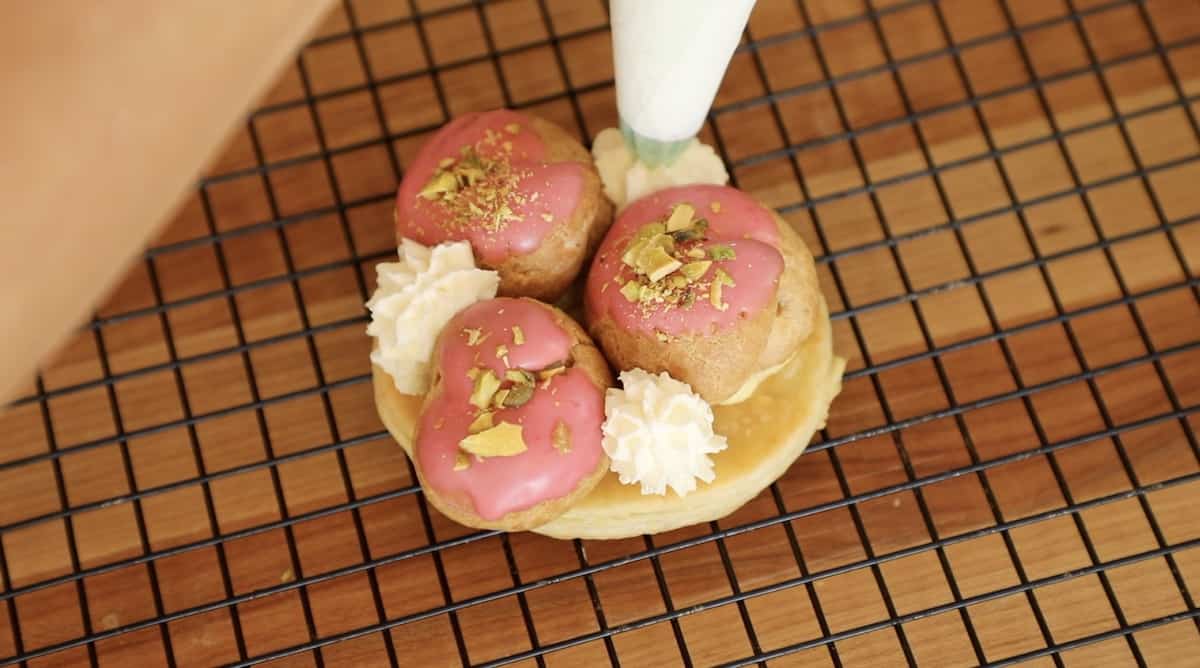
- I place 3 cream puffs, in a triangle pattern on each puff pastry round.
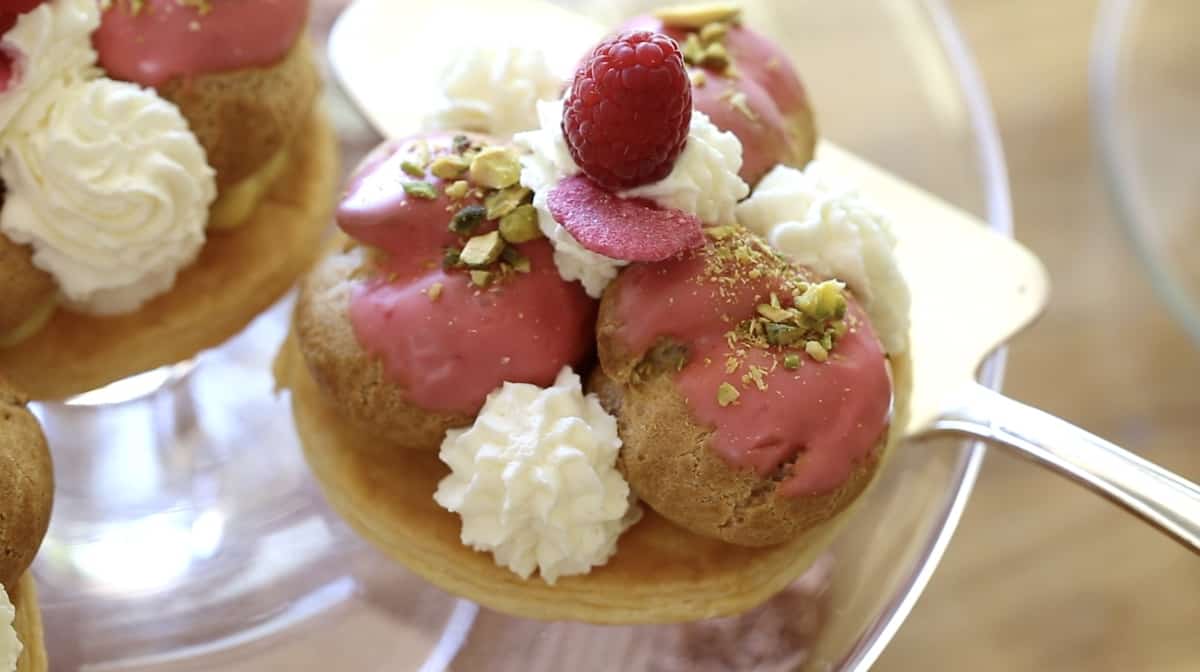
Pipe small mounds of whipped cream to fill in the gaps and a nice, pretty mound on top for the garnishes.
Adding Garnishes
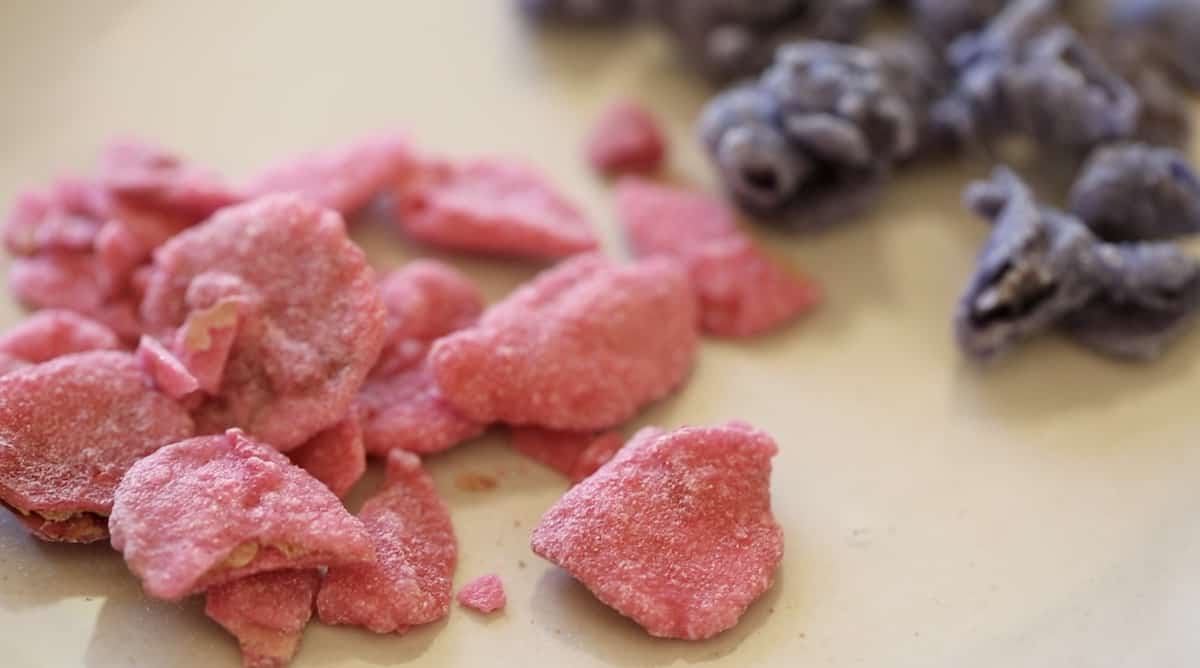
- A lovely garnish for these pretty desserts is a candied petal.
- I found a source on Amazon that sells Candied Rose Petals and Candied Violets.
- If you have leftovers, drop these candied petals into a glass of champagne!
- They add a beautiful rose flavor and slightly pink color, making them a beautiful conversation piece at brunch.
Serving Tips:
- You can assemble the dessert up to 4 hours ahead of time (leaving off the candied petal and raspberry) and place it in the refrigerator.
- Then, right before serving, add the candied rose petals and the raspberry.
- If left in the refrigerator for too long, the candied petals tend to run into the whipped cream.
More Wonderful French Desserts!
- Mastering the French Macaron
- Lavender Creme Brulee
- Foolproof Madeleines
- Canele Recipe
- Chocolate Souffle
If you Enjoyed This Recipe
Please Leave a Review and Rating Below!
Gateau Saint Honore Recipe
This mini Gateau Saint Honore is a beautiful dessert for Mother's Day, or for any springtime occasion like a baby or bridal shower.
Ingredients
Cream Puff Shells:
- 1/2 cup flour (60g)
- 1 Tbsp sugar (13g)
- 1/4 tsp salt (1.25ml)
- 4 Tbsp Butter (60g)
- 1/2 cup water (120ml)
- 2 eggs, beaten
Pastry Cream:
- 2 cups (475ml) milk
- 1/3 cup (65g) sugar
- 1 vanilla bean, scraped of its seeds
- 4 egg yolks
- 1/3 cup (35g) cornstarch
- 1 Tbsp (15g) butter
Raspberry Icing:
- 1 Tbsp (15ml) Raspberry Juice
- 7 Tbsp (45g) Powdered Sugar
Whipped Cream:
- 2 Cups (475ml) Heavy Cream
- 2 Tbsp (13g) Powdered Sugar
- 1 tsp (5ml) vanilla extract
Instructions
- For the pastry shells:
Preheat the oven to 400F (200C). Line a baking sheet with parchment paper. - Whisk together the dry ingredients and set aside. Simmer the water and butter until melted. Add the flour and stir until a dough forms and pulls away from the side. Add the beaten eggs, and whisk until combined and smooth.
- Transfer to a pastry bag and pipe 18 small mounds. About the size of a quarter. To flatten peaks, use the back of a spoon that has been dipped in water.
- Bake at 400F for 10 mins. Then reduce oven to 350F and bake for 35 mins. Then turn the oven off, open the oven door slightly and allow to cool down for 20 mins.
- For the pastry cream:
In a large bowl add 4 egg yolks and the cornstarch. Whisk to combine. And set aside. - In a medium, saucepot add the milk, sugar, and vanilla paste and pod. Simmer until hot. Fish out the vanilla pod.
- Slowly add 1-2 ladles of the hot milk to the egg mixture and whisk to combine. This will bring the eggs up to temperature and prevent them from scrambling. Then add the rest of the milk mixture. Whisk to combine.
- Then pour the mixture into a cleaned-out saucepan. Simmer on a medium-high flame, whisking all the while until thickened. It should have a pudding-like consistency. Transfer to a heat-safe bowl. Cover with plastic wrap, and refrigerate until chilled.
- For the pastry shells. Create a hole in the bottom with a small round pastry tip. Then hollow out the inside a bit with a skewer.
- Transfer the pastry cream to a pastry bag. Pipe the cream into the shells. Place the filled shells back on the tray and refrigerated (uncovered) until ready to assemble.
- For the puff pastry:
Roll out the dough on a floured surface. Cut out 4" rounds with a ramekin. Place on a parchment-lined cookie sheet. Prick with a fork. Then place another sheet of parchment paper on top. And a second cookie sheet. Bake at 400F (200C) for 20 mins. Then allow to cool. - For the whipped cream.
Place everything in a stand mixer, and whip on high until stiff peaks form. Transfer to a pastry bag fitted with a small star tip. - For the raspberry icing:
Place the raspberries in a fine-mesh sieve, and press them through with the help of a spoon, to release 1 Tbsp of their juice. Whisk in the powdered sugar, 1 Tbsp at a time, until a thick icing forms. - Dip the tops of each cream puff into the icing, allowing the excess to drip off over the bowl.
- Place 3 cream puffs on the baked pastry rounds, affixing with the pastry cream. Then pipe the whipped cream in between the cream puffs, and one mound on the top.
- Garnish with a candied flower petal (or mint leaf) and top with a fresh raspberry.
Notes
You can assemble the dessert up to 4 hours ahead of time (leaving off the candied petal and raspberry) and place them in the refrigerator. Then right before serving add the candied rose petal and raspberry. The candied petals have a tendency of running into the whipped cream if left in the refrigerator for too long.
Nutrition Information:
Yield: 6 Serving Size: 1Amount Per Serving: Calories: 254Total Fat: 16gSaturated Fat: 9gTrans Fat: 0gUnsaturated Fat: 6gCholesterol: 217mgSodium: 215mgCarbohydrates: 22gFiber: 0gSugar: 14gProtein: 5g

Suas receitas são maravilhosas. Parabéns!