Parmesan Tuile Recipe
There’s nothing quite like a Parmesan tuile. They are crispy, crunchy, and loaded with delicious parmesan flavor. They are somewhere between a cracker and a crouton and make a delicious addition to my Cream of Celery Soup Recipe, Carrot Ginger Soup, or my Grilled Chicken Caesar Salad Recipe. And you won’t believe how easy they are to make!
You can also make them ahead of time and keep them at room temperature before serving. They are crispy and cheesy, and oh so good!
Would you like to save this?
What is a Tuile?
- A tuile is typically a curved shape cookie with a sweet, crispy texture and vanilla flavor.
- They are most often served with ice cream or chocolate mousse in France, but you can also find them on cookie platters in fancy restaurants too.
- They take on a whole other form when made with Parmesan cheese and cracked pepper to make the perfect addition to soup recipes or salad recipes.
How to Pronounce Tuile?
- Tuile is a French word pronounced TW-ee-L, coming from the verb tuiler, or to tile.
- When you notice the shape of a tuile, it’s easy to imagine the terra cotta roof tiles of Europe that take on a similar curved shape.
- These Parmesan tuiles are delicious when served with any of my soup recipes.
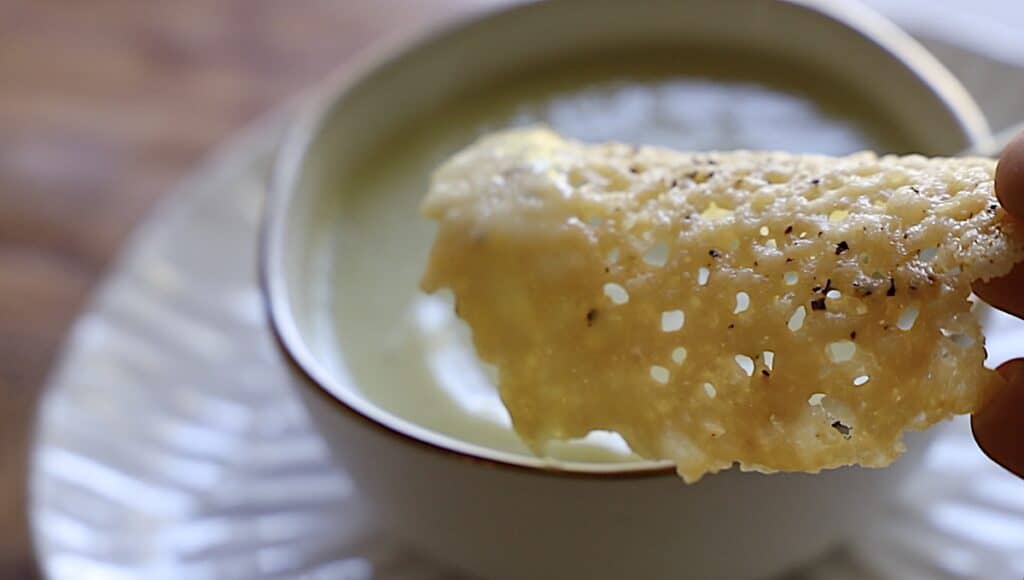
- You can dunk them in the soup or break them apart and enjoy them as croutons.
- Be sure to make at least 2-3 per person because once your guests try one, they’ll always want more! They are that addictive!
What is the Process?
- Making a Parmesan tuile is essentially a 3-step process of grating, baking, and shaping.
- It’s important to use freshly grated Parmesan cheese; it will give you the best flavor and be easier to shape than pre-grated Parmesan.
- Pre-grated parmesan may have additional “anti-clumping” agents added, which could affect your outcome.
Step#1: Grate and Bake
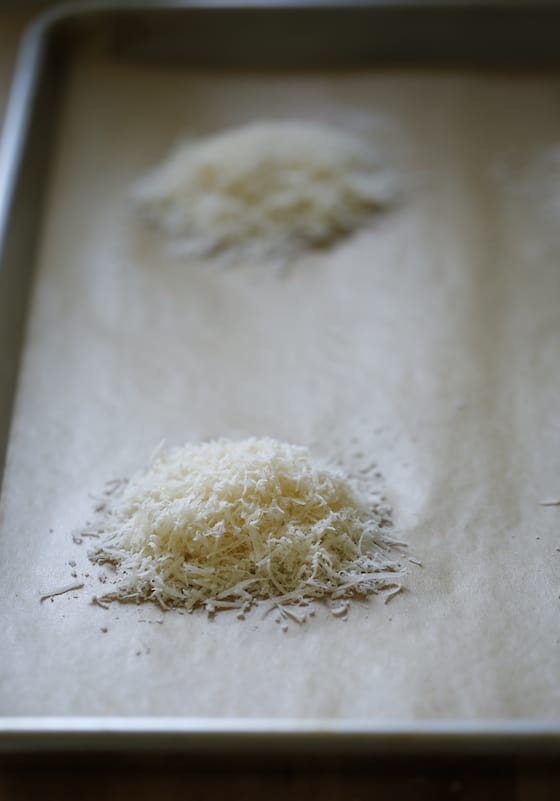
- Line a baking sheet with parchment paper, otherwise, it will be near impossible to remove the baked-on cheese from your sheet pan!
- Create 1/4 cup (22g) of cheese mounds on your tray allowing them room to spread out.
- Then top with freshly cracked pepper or you could use dried thyme, basil, or oregano too.
- Then you’ll bake at 400°F for 10 minutes.
Step#2: Forming and Cool
- Once the cheese is baked, don’t wait too long to form them, or they will be too brittle and will break.
- If they have cooled too long you can pop them back in the oven to reheat and become pliable and try again.
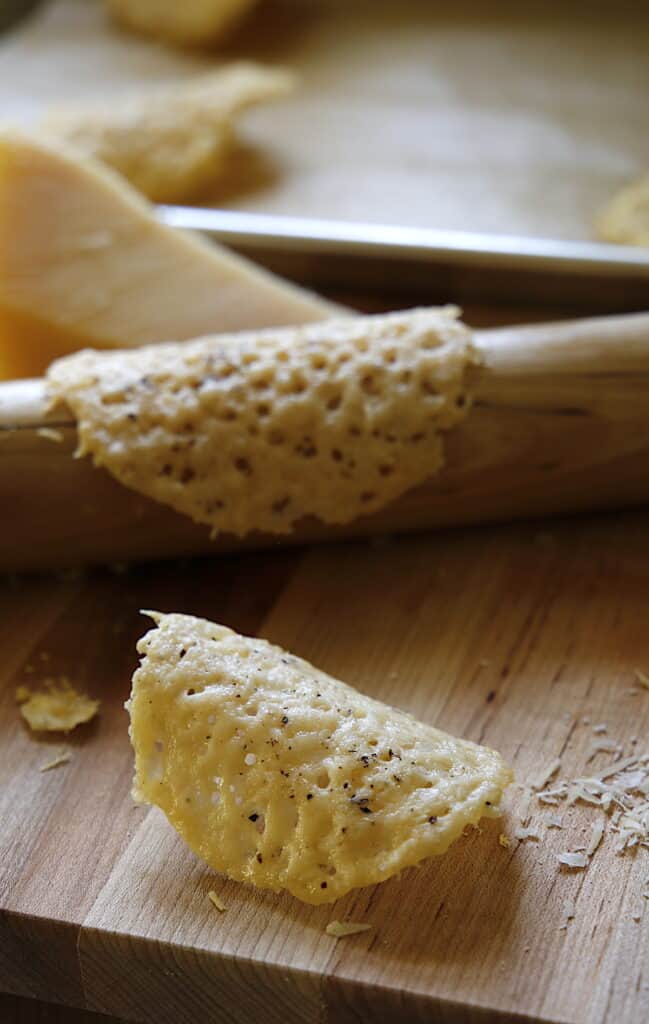
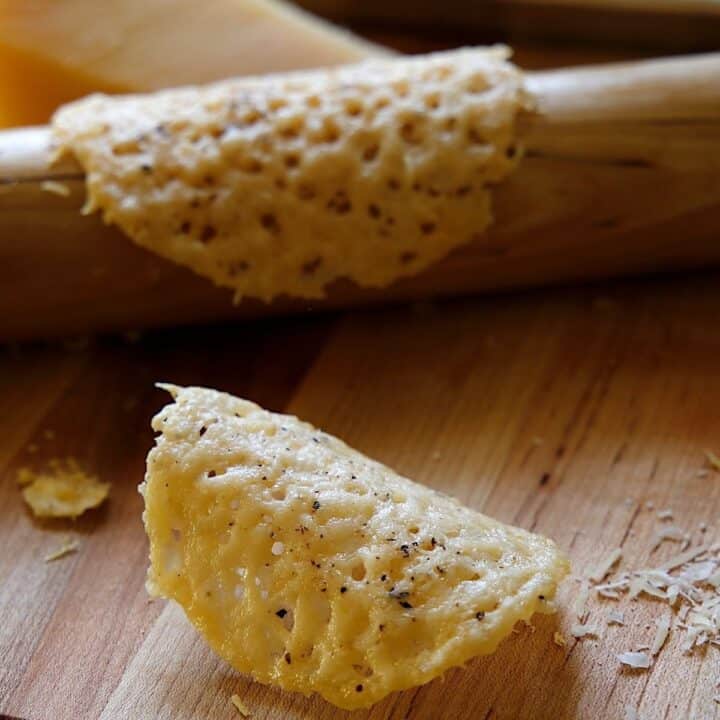
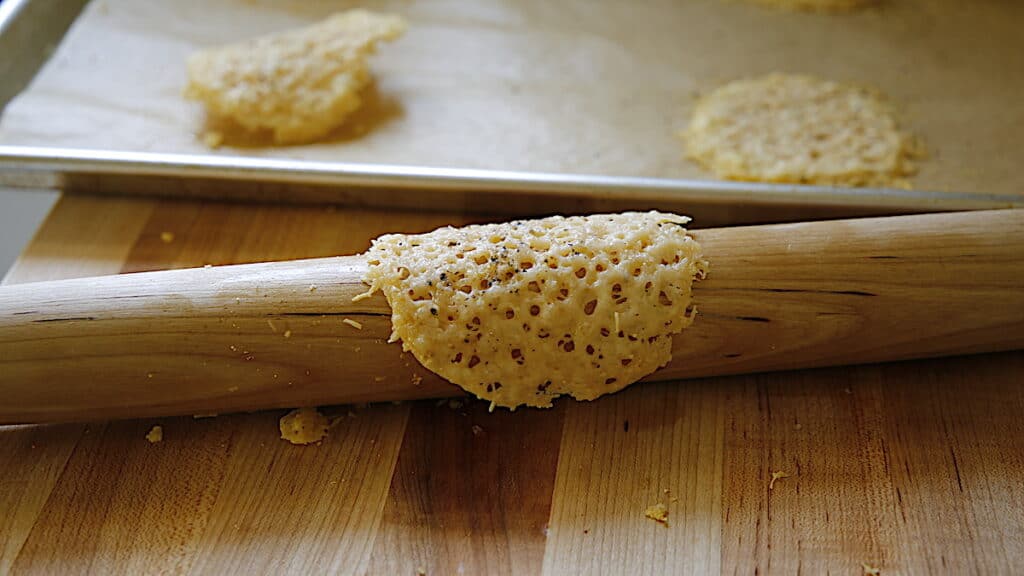
- Once they are cool enough to handle, place the cheese crisp over a rolling pin. I like to use a French-style rolling pin because they are thinner than a standard rolling pin and will create a more dramatic curve.
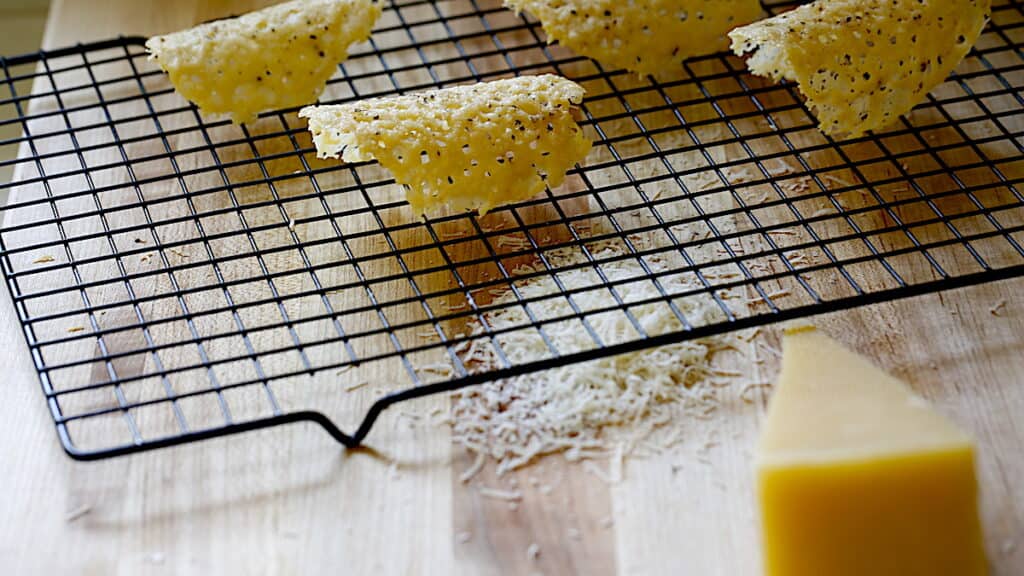
- Then allow them to firm up on a cooling rack.
Make Ahead Tips:
- You can make them at least 1-2 hours ahead of time and leave them at room temperature until ready to serve.
- Guests are always delighted by a homemade tuile, and for the minimal effort they require, you’ll be assured a “rock-star” moment when you bring these to the table.
If you enjoyed this recipe
please leave a rating and a review below!
Parmesan Tuile Recipe
This Parmesan tuile recipe is somewhere between a cracker and a crouton and makes a delicious addition to my cream of celery soup recipe or my grilled chicken caesar salad recipe. And you won't believe how easy they are to make!
Ingredients
- 2 cups (180g) freshly grated parmesan cheese
- freshly cracked pepper
Instructions
- Preheat oven to 400F.
- Line a baking sheet with parchment paper. Place ¼ cup mounds of the cheese on the parchment spread out to allow room to spread. You may need to do this in 2 batches to get 8. Top with freshly cracked pepper.
- Bake for 10 minutes. Remove from the oven and allow to cool just until they are warm but safe to touch.
- Then once they are cool enough to handle remove them with a metal spatula. Place them over a rolling pin and bend gently around the pin. The crisps will conform to the shape of the pin. Remove and allow them to cool further on a cooling rack.
- Serve immediately, or allow to rest at room temperature 1-2 hours before serving.
Notes
- If you don’t have a rolling pin, you can keep the tuiles “flat” and call them crisps.
- Once the cheese is baked, don't wait too long to form them or they will be too brittle and will break. If they have cooled too long you can pop them back in the oven to reheat and become pliable and try again.
- MAKE AHEAD TIP:
- You could place the tuiles in a container and refrigerate, then reheat in a 350F oven for 10 minutes to crisp back up.
Nutrition Information:
Yield: 8 Serving Size: 1Amount Per Serving: Calories: 106Total Fat: 7gSaturated Fat: 4gTrans Fat: 0gUnsaturated Fat: 2gCholesterol: 22mgSodium: 451mgCarbohydrates: 4gFiber: 0gSugar: 0gProtein: 7g



Typo found, houses instead of HOURS, in make ahead time.
Oh my! Thank you!! Just fixed that :). Appreciate it!