How To Make Ice Cream Sandwiches
SHARE THIS RECIPE!


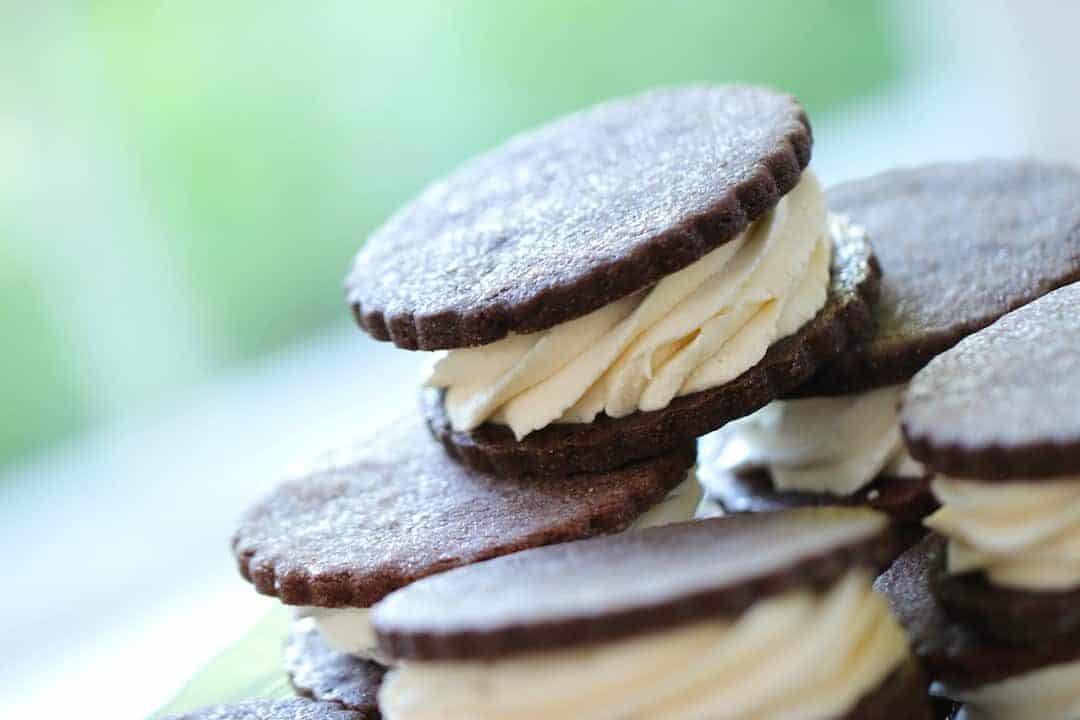
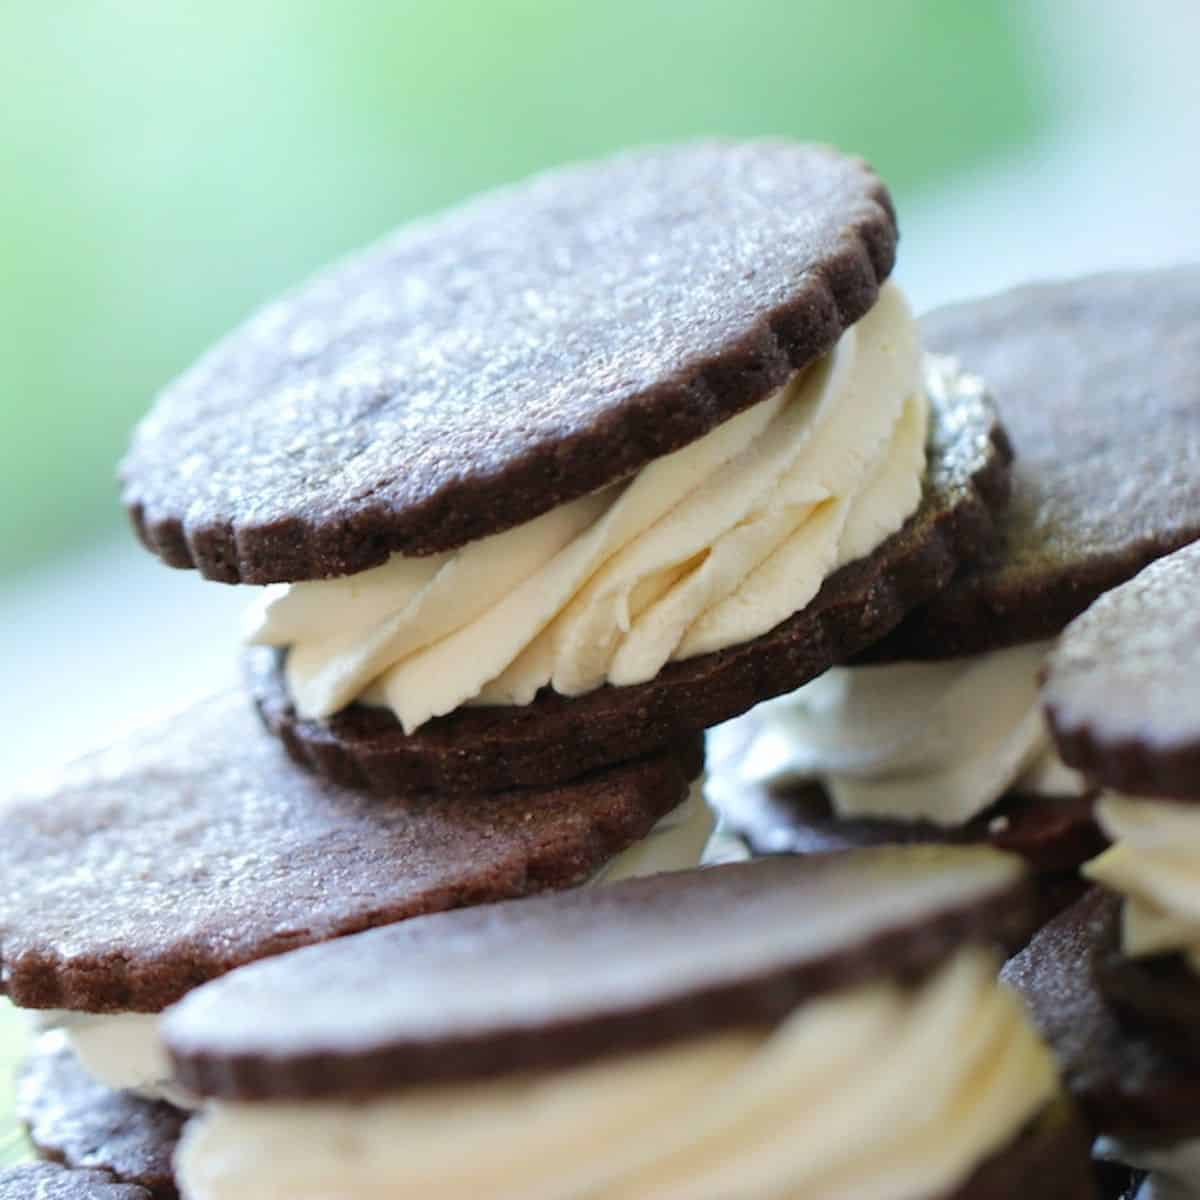
These ice cream sandwiches are reminiscent of those soft-serve Ice Cream Sandwiches that were the mainstay of my New England childhood. But they can be hard to find here out west, so I decided I would try and make my own! And let me tell you, they are even better!
This is a really fun Ice Cream Recipe for Summer Entertaining! For more Ice Cream recipes try my Salted Caramel Ice Cream recipe or my Fresh Mint Ice Cream Recipe both are fantastic served with some homemade chocolate hot fudge sauce.
Ice Cream Sandwiches with Homemade Cookies
- The best part of these sandwiches is that you can bake the cookies yourself using your favorite decorative design.
- I love the scallop design because it mimics the vintage style of these ice cream sandwiches and gives them a pretty charm.
- They come out much more chocolatey this way and crisper too than the kind bought at the ice cream truck! So it’s worth the effort to make the cookies yourself.
For a step-by-step tutorial watch my video demo below
Subscribe to my YouTube Channel and never miss a recipe!
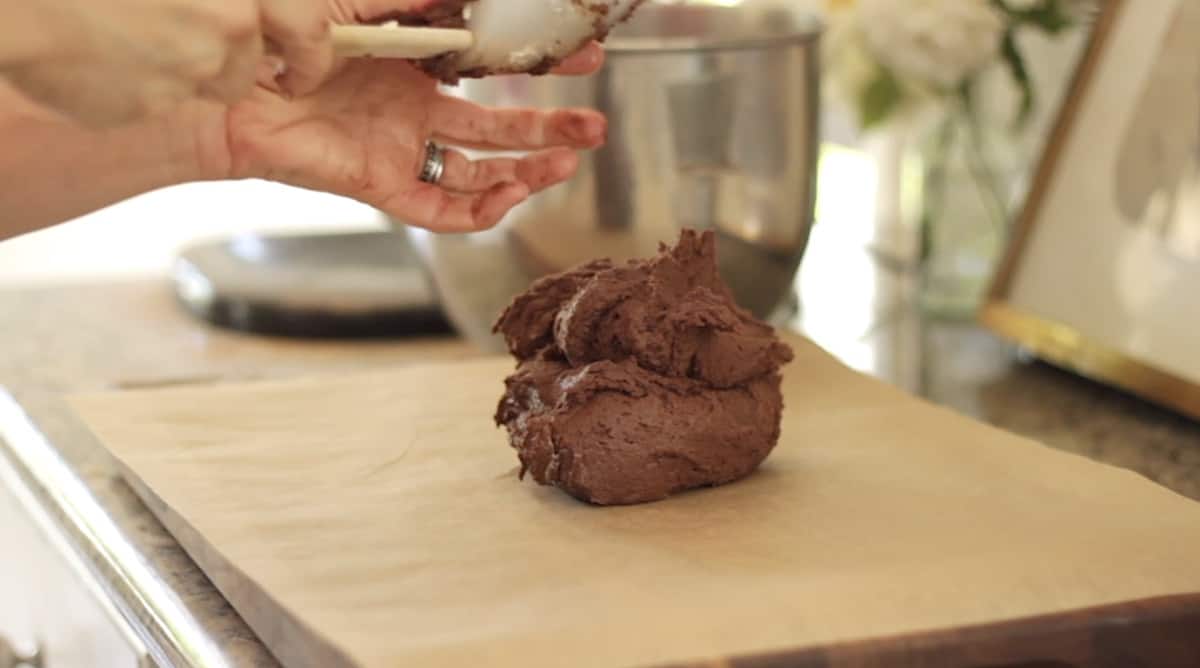
Step#1: Make the Cookie Dough
- What makes these cookies so delicious is the use of unsweetened cocoa powder, it gives them such a rich flavor. The dough will be very sticky at first, so it’s best to place it on a sheet of parchment paper, rather than a board to flatten it out.
- I really love the pre-cut sheets of parchment paper it makes wrapping up cookie dough a breeze, especially when your hands are sticky!
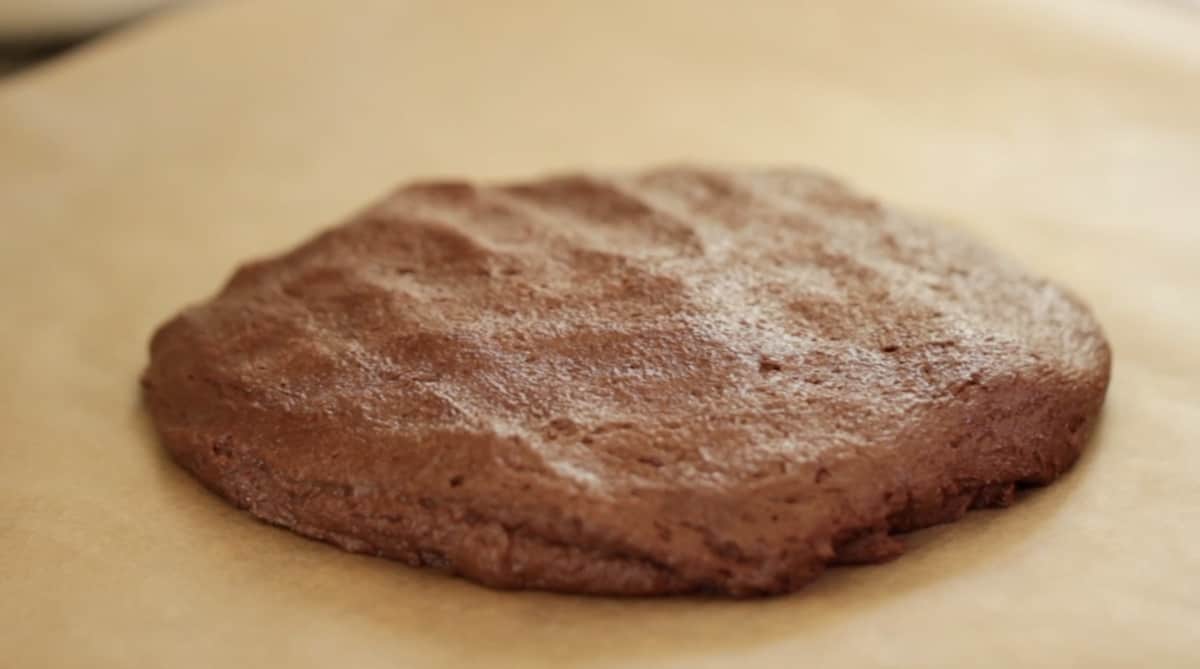
Chilling the Dough
- Flatten the dough into two discs and chill for at least 1-2 hours.
- The longer you chill a sticky dough like this the easier it will be to roll out and cut out the cookies from it.
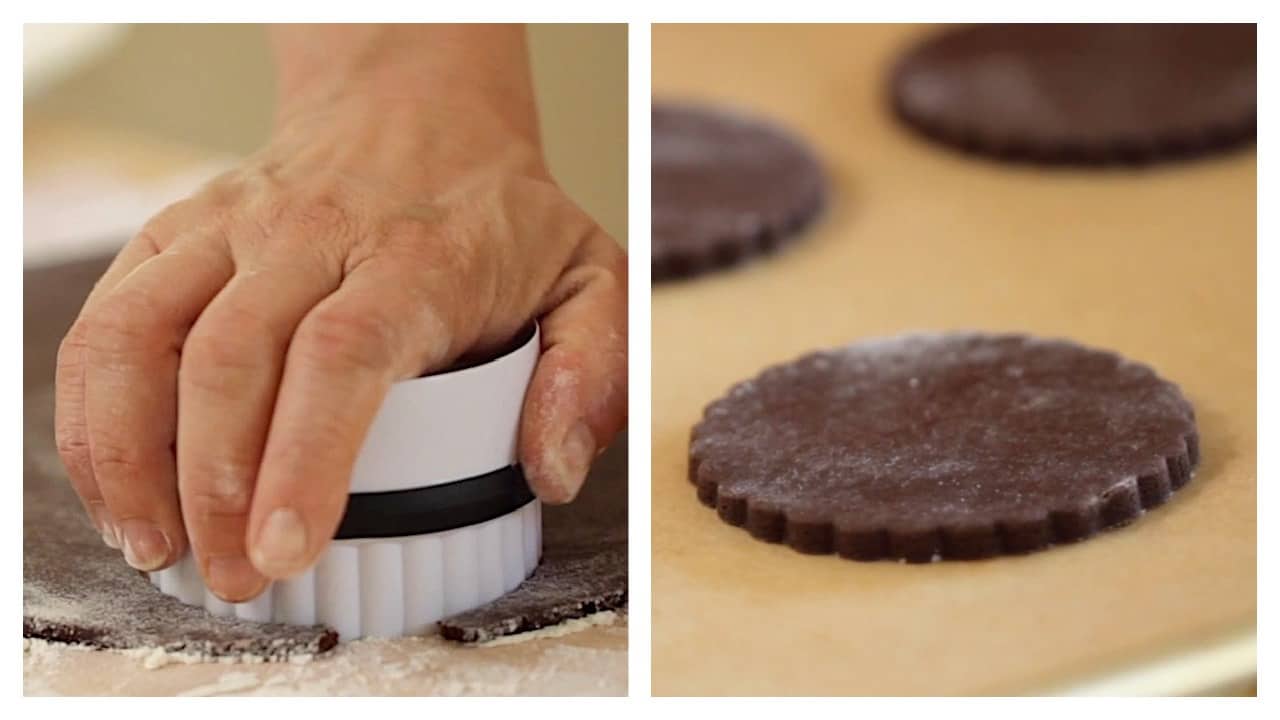
Rolling and Cutting The Cookies
- Because you will be using 2 cookies to form the ice cream sandwiches, it’s best if the dough is rolled out thinly to a 1/4″ thickness.
- I prefer a French Style Rolling Pin for rolling out cookie dough because they are lightweight and give you more control in the rolling.
- To create the scalloped design use a 3″ biscuit cutter with a scalloped edge. You can also use this same cutter with my Lemon Thyme Sugar Cookies too.
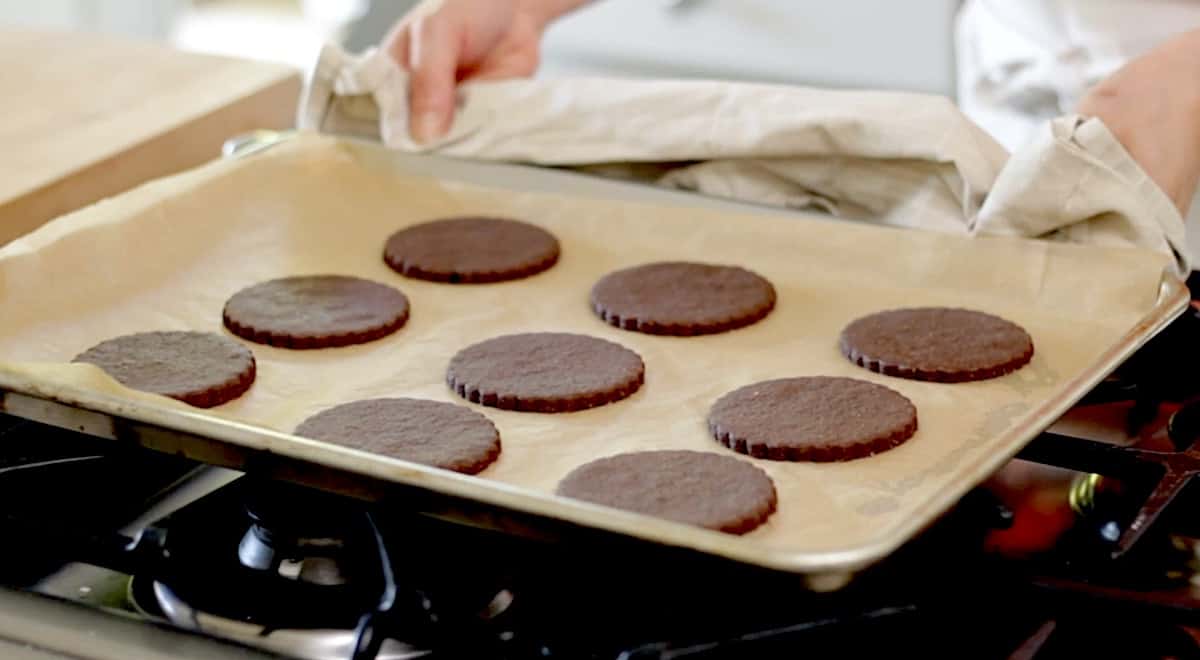
- Be sure to place the cookies on a parchment paper-lined cookie sheet so the bottoms don’t burn or become too hard after baking
- The cookies do not spread much, but rather keep their shape beautifully so you can fit 8 cookies on a sheet pan at once, without the fear of spreading.
Step#2: Bake the Cookies
The cookies don’t take long to bake, only 8 minutes. Once they are done allow them to cool on the baking sheet, the residual heat will set them up a bit further.
Step#3: Make the Ice Cream
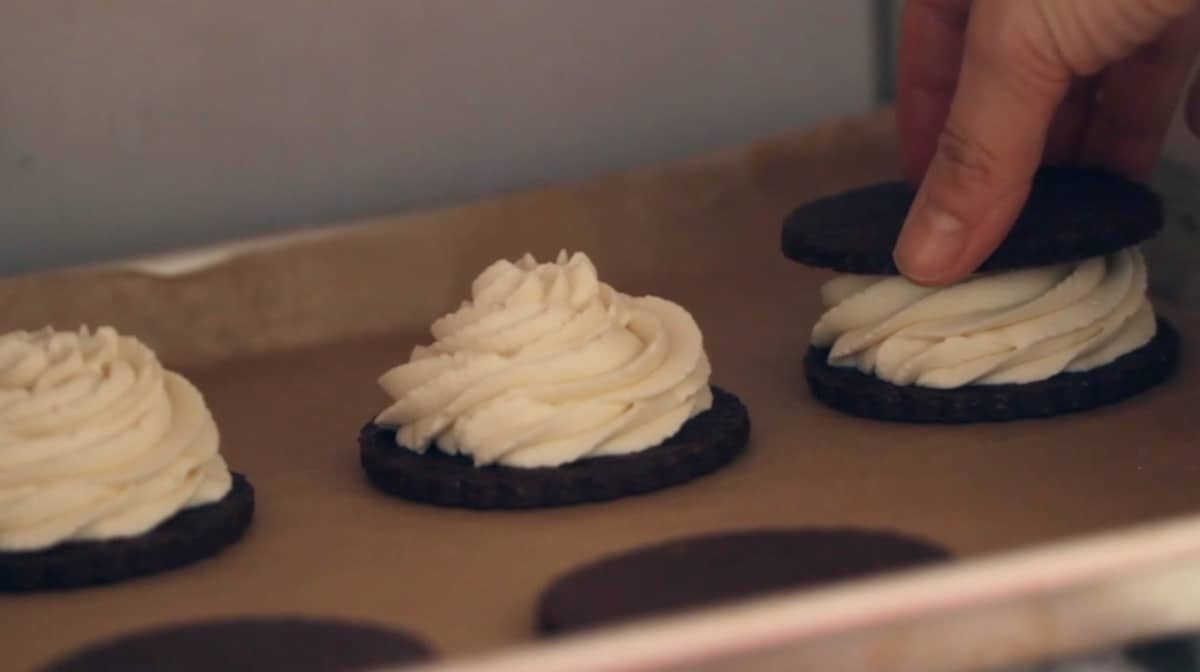
The “Iced Cream” couldn’t be easier to do! No-Machine needed which makes them even easier! It’s essentially a whipped cream base that is transferred into a pastry bag and pipped on to the cookie bottoms.
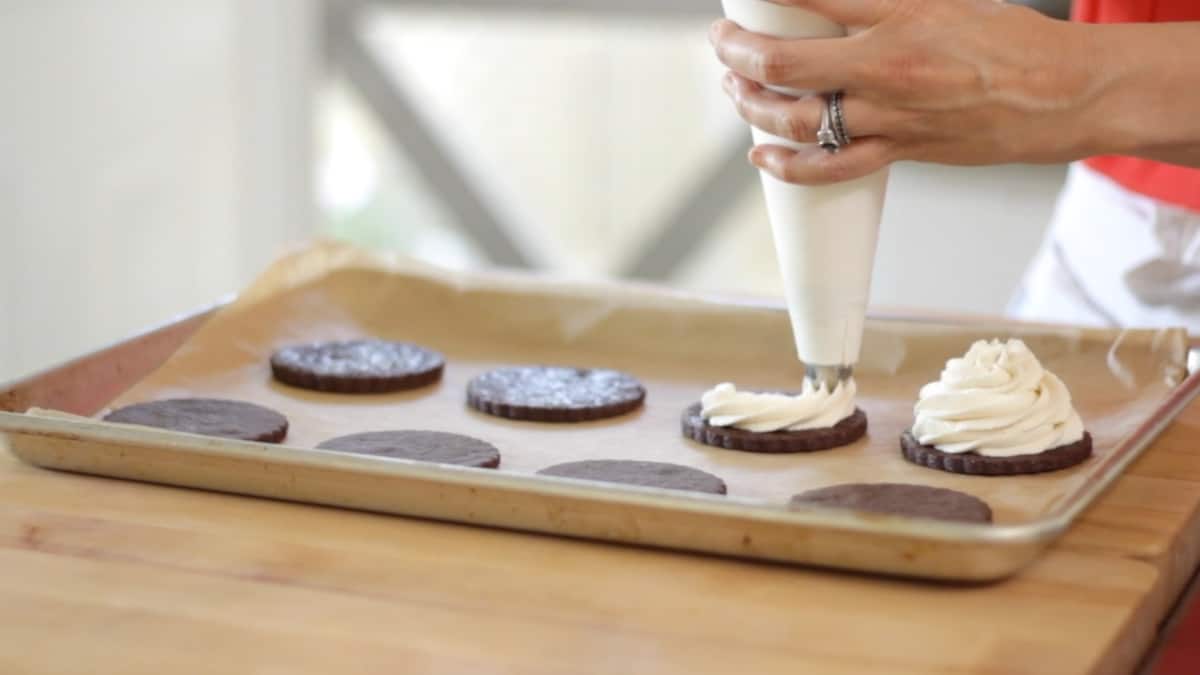
Creating the “Soft-Serve” Effect
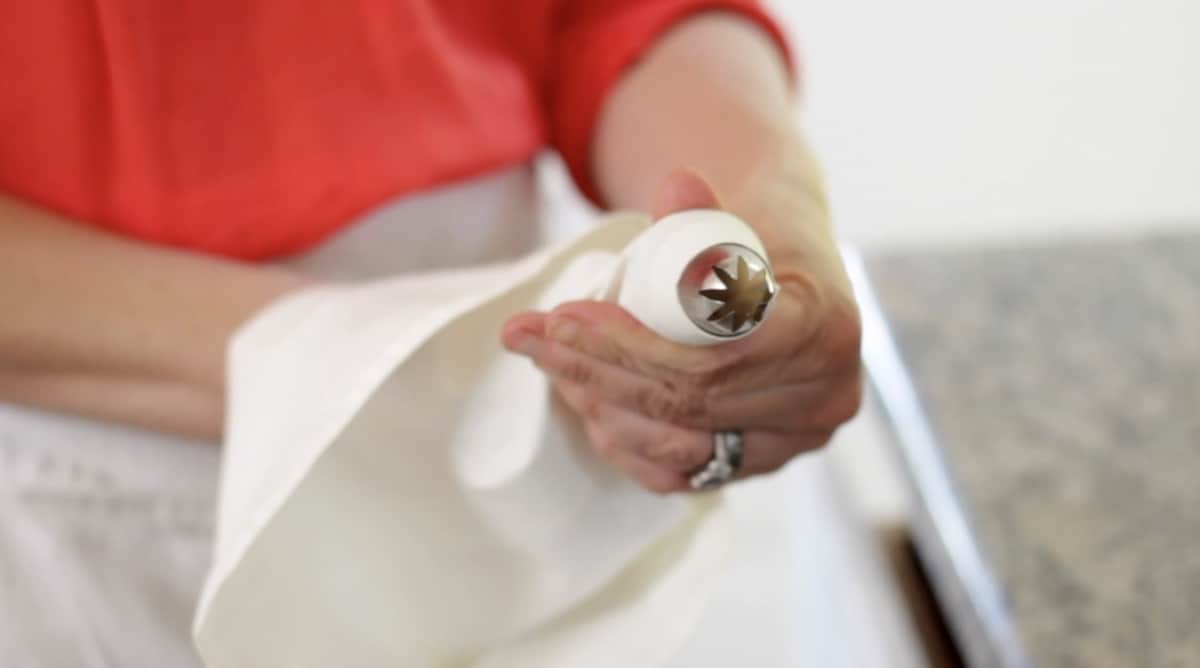
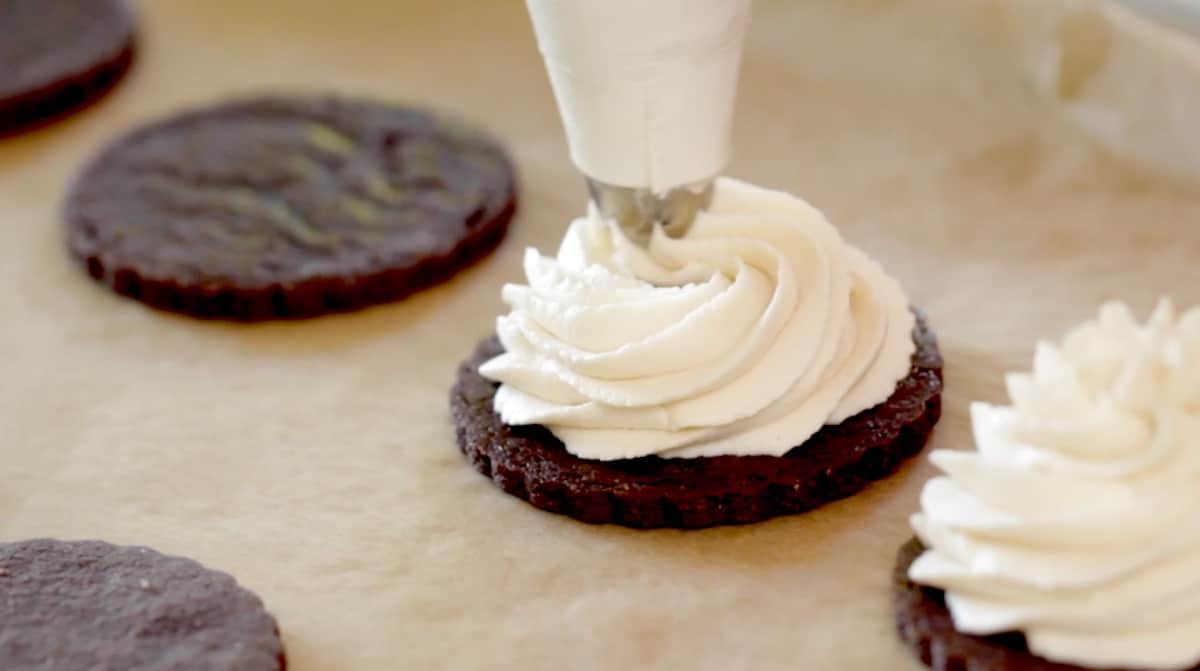
The pastry bag and tip help sell the “soft-serve” look and makes, what is a very simple recipe, look extra special. Pick your favorite star tip with a wide opening so you get a nice swirl.
For Stabilization and Texture
The whipped cream filling has more white sugar in it than regular whipped cream, which gives the cream a nice creamy texture, much like real ice cream, once it’s frozen.
The powdered sugar is used for stabilization, the cornstarch that is in powdered sugar will help the cream stay in place while you pipe it onto the cookie bottoms.
Step#4: Freeze
- To prevent your beautiful swirls from collapsing on the way to the freezer, it’s best to place their tops on, in the freezer itself.
- That way there will be no risk of the sandwiches collapsing on their way to the freezer.
Serving Tips:
- Remove the ice cream sandwiches from the freezer 10 minutes before serving to come up to room temperature just a bit.
- They will be easier to bite into that way.
- Serve them stacked on a cake stand and serve with lots of napkins!
- I promise these will be the hit at your next summertime gathering! A real vintage treat to be enjoyed for kids of all ages!
More Summer Recipes!
If You Enjoyed This Recipe
Please Leave a Rating and A Review Below
How-To Make Ice Cream Sandwiches
Soft-serve Ice Cream Sandwiches were the mainstay of my New England childhood. But they can be hard to find sometimes here out West, so I decided I would try and make my own! And let me tell you, they are even better!
Ingredients
- For Cookies:
- 1 cup of unsalted butter
- 1 ½ cups sugar
- 1 egg
- 1 egg yolk
- 2 tsp vanilla
- 2 cups flour
- 1 cup unsweetened cocoa powder
- ¾ tsp salt
For Iced Cream:
- 2 cups heavy cream
- ½ cup white sugar
- ¼ cup powdered sugar
- 2 tbsp vanilla
Instructions
For the Cookies:
Beat together butter and sugar with an electric mixer until fluffy. Add eggs and vanilla.
Whisk together the flour, cocoa powder, and salt. Set aside.
Slowly add flour mixture to butter mixture in thirds, until well combined. Form dough into a ball, and flatten into a disc. Refrigerate for 1 hour.
Roll out dough on a well-floured surface to about ¼ ". Cut round cookies and transfer to a cookie sheet lined with parchment.
Pop in the freezer for 5 mins to preserve their shape when they bake
Bake 350F for 8 mins until set
For the Cream Filling:
In an electric mixer whip together cream, sugars, and vanilla.
Whip until stiff peaks form. Transfer to a pastry bag with a large star tip.
To assemble place cookies on their backs. Top one with a piped nest of cream on top 2 rows. Place in the freezer, and then place the other cookie gently on top, press down gently to adhere.
Freeze sandwiches for a minimum of two hours. Keep frozen until ready to serve. Enjoy!
Nutrition Information:
Yield: 12 Serving Size: 1Amount Per Serving: Calories: 530Total Fat: 31gSaturated Fat: 19gTrans Fat: 0gUnsaturated Fat: 10gCholesterol: 116mgSodium: 166mgCarbohydrates: 57gFiber: 2gSugar: 37gProtein: 6g

Hi Beth!
I tried this recipe and it seems like the cookie is still pretty hard out from the freezer. Is there anything I can do to have a chewier cookie? Overall cookie tasted great and has a yummy soft serve like filling.
Oh sure I would omit the egg yolk (just keep the 1 egg) and take them out 1-2 minutes sooner from the oven and allow them to cool on the baking sheet. This will set the cookies so they are done inside, without making them too hard the way 1-2 extra minutes in the oven might. Hope that helps for next time. 🙂
Hi, Beth 🙂
I am one of your loyal subscriber on Youtube, but this is my first time asking question about your recipe.
If I just want to make the chocolate cookie (without put any ice cream), would the baking time be different?
I plan to make this for baby shower treat and pipe some royal icing work on top of the cookie 🙂
Thank you for your answer.
Oh sure that would be a lovely idea! The cookies are really yummy on their own 🙂 No need to change the baking time. Hope you enjoy them and thanks so much for your support over the years! 🙂
Yay! Thanks a lot for replying super quick.
OK noted about the baking time.
No, THANKS TO YOU and keep up the good work 😉 (when in doubt, I always looking for your recipe)